Your cart is empty
Ultimate Guide on How to Train Smithing in OSRS

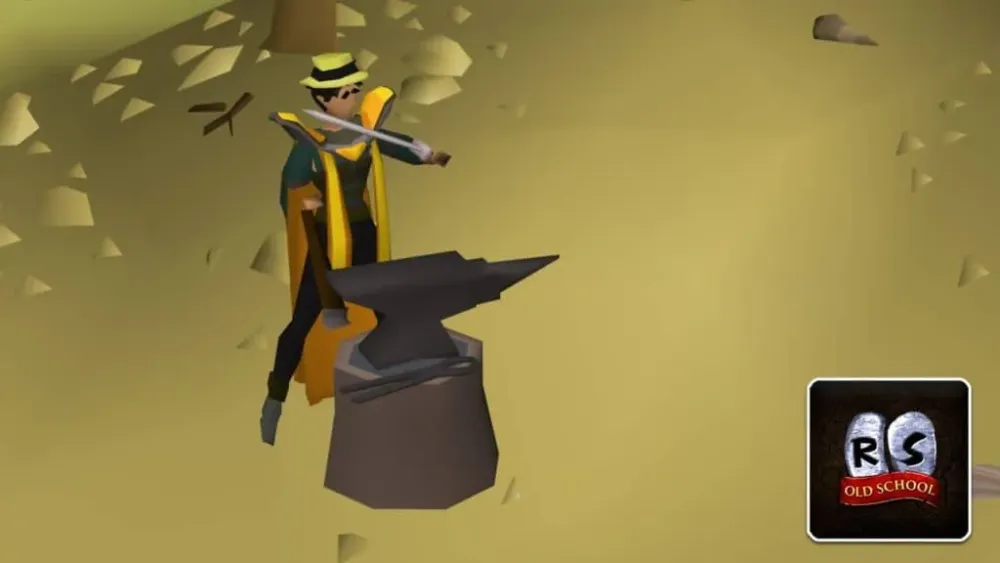
Smithing is a vital skill in Old School RuneScape (OSRS) that allows players to forge weapons, armor, and various other items. It plays a crucial role in combat and the economy, as crafted items can be sold or used to enhance gameplay. Mastering Smithing not only increases your efficiency in creating gear but also unlocks access to higher-level equipment. This guide will delve into the nuances of training Smithing, helping you maximize your experience and reach your goals.
In OSRS, Smithing experience is gained by smelting ores into bars or forging items from those bars. The experience required to level up increases with each level, starting from just 83 experience points at level 1 up to a staggering 2,000,000 experience points at level 99. Players can earn experience in various ways, primarily through two methods: smithing bars and creating items.
Smelting ores is the first step in the Smithing process. To begin, players need to mine ores from different rocks, and each type of ore requires a certain Smithing level to smelt into bars. For instance, bronze bars are created using copper and tin ores, and players can start smelting them at level 1. As players progress, they can smelt higher-level ores like iron, mithril, adamant, and rune, each yielding more experience. The experience gained from smelting ores varies, with iron bars providing 12.5 experience per bar and rune bars offering a hefty 100 experience per bar.
Once players have obtained bars, they can create various items like weapons and armor. Each item has a specific experience reward associated with its creation, which often increases with the item’s tier. For example, crafting a bronze sword provides 12.5 experience, while creating an adamant full helm grants 75 experience. To maximize experience gains, players should focus on forging items that yield the highest experience per item, especially when using higher-tier bars.
Additionally, players can utilize the Blast Furnace, a special location that allows for smelting multiple ores simultaneously, significantly speeding up the training process. This method is particularly effective for training at higher levels, as the Blast Furnace also provides a 50% reduction in the amount of coal required when smelting ores into bars. Players can opt for this method to efficiently grind experience while minimizing resource consumption.
Understanding the experience mechanics and strategically choosing which ores to smelt and items to forge is crucial for efficient Smithing training. By focusing on high-yield items and utilizing facilities like the Blast Furnace, players can streamline their path to mastering Smithing in OSRS.
3. Essential Smithing Equipment and Tools
When it comes to training Smithing in Old School RuneScape (OSRS), having the right equipment and tools can make all the difference in your efficiency and success. Here’s a rundown of the essentials you’ll need:
- Hammer: This is your primary tool for Smithing. You can use any hammer, but the Dragon Hammer offers the best speed, followed by the Rune Hammer. For beginners, a Bronze Hammer will suffice.
- Anvil: You’ll need access to an anvil to forge your metals. There are many locations throughout Gielinor, including in cities like Varrock and Falador.
- Bars: Depending on your level, you’ll be working with different types of bars. Start with Bronze and Iron bars, and as you level up, progress to Steel, Gold, and even Rune bars.
- Ores: To make bars, gather ores like Copper, Tin, and Iron. You can mine these from various locations, so stock up!
- Smelting Furnace: You’ll need a furnace to smelt ores into bars. There are many furnaces available across the game, with notable ones in Varrock and Edgeville.
Having these essential tools and equipment will set you up for success in your Smithing journey. Remember, the right gear can enhance your overall training experience!
4. Best Training Methods for Smithing
Now that you have your equipment ready, let’s dive into the best training methods for Smithing in OSRS. The right training method can save you time and resources, allowing you to level up efficiently.
| Training Method | Level Required | Experience per Hour | Notes |
|---|---|---|---|
| Bronze/Iron Bars | 1-15 | 100-200 | Start with Bronze and move to Iron as you level up. |
| Steel Bars | 30 | 400-600 | Great experience and profit potential. |
| Gold Bars | 40 | 800-1,000 | High profit, but requires more input. |
| Rune Bars | 85 | 1,200-1,500 | Best for endgame training; profitable but costly. |
In addition to these methods, you can also consider:
- Blast Furnace: This is a highly efficient way to smelt bars, especially for Steel and Gold. It requires a bit of investment in Goldsmith Gauntlets for maximum efficiency.
- Smithing Quests: Don’t forget to complete Smithing-related quests! They often reward you with experience and unlock new training methods.
Choosing the right method depends on your goals—whether you want fast experience or profit. Experiment and find what works best for you!
5. Locations for Smithing in OSRS
When it comes to training your Smithing skill in Old School RuneScape (OSRS), choosing the right location can make a huge difference in efficiency and convenience. Here are some of the best spots to train your Smithing:
- Varrock West Mine: This location is ideal for miners and smiths. The nearby furnace allows for easy smelting of ores, and the proximity to banks makes it convenient for storing your materials.
- Edgeville: The Edgeville furnace is a popular choice due to its close distance to the bank. You can easily mine iron and coal in the nearby mines and quickly smelt your bars.
- Blast Furnace: Located in Keldagrim, the Blast Furnace is a great option for those looking to smelt ores quickly and efficiently. It requires a small fee but offers a significant time-saving advantage, especially for higher-level ores.
- Al Kharid: The furnace here is well-placed for those who want to smelt gold and silver ores. Plus, the nearby bank provides easy access for your mined materials.
- Port Phasmatys: This lesser-known location has a furnace and is ideal for players who have completed certain quests. It’s a quieter spot for training.
Each of these locations has its pros and cons, so consider what materials you’re working with and how quickly you want to train your Smithing. Happy smithing!
6. Common Mistakes to Avoid While Training Smithing
Training Smithing in OSRS can be an enjoyable experience, but there are some common pitfalls that players often encounter. Avoiding these mistakes can save you time and resources:
- Ignoring the Blast Furnace: Many players overlook the benefits of the Blast Furnace. While it costs a little to use, the time saved by smelting multiple bars at once can significantly speed up your training.
- Not Using Your Best Equipment: Make sure you’re wearing any available gear that boosts your Smithing efficiency. For example, the Varrock Armor can help you smelt extra bars when you reach level 1.
- Focusing Solely on Bars: While crafting bars is essential, don’t forget to create items like armor and weapons as well. This not only gives you more experience but also helps you learn various Smithing recipes.
- Failing to Plan Your Inventory: Before heading to a furnace or anvil, make sure your inventory is organized. Bring the right ores and enough supplies to avoid unnecessary trips to the bank.
- Overlooking Quests: Some quests provide Smithing experience and unlock new recipes. Completing them can give you a significant head start in your training.
By steering clear of these common mistakes, you’ll find your Smithing journey much smoother and more enjoyable. Keep these tips in mind and watch your skill level soar!
7. Tips for Efficient Smithing Training
Training Smithing in OSRS can be a bit of a grind, but with the right strategies, you can make the most of your time and resources. Here are some effective tips to boost your Smithing training:
- Plan Your Levels: Before you start, have a clear plan of which items you want to smith at each level. This will help you avoid wasting materials and time.
- Utilize the Blast Furnace: The Blast Furnace is a game-changer for Smithing. By using it, you can smelt ores in bulk for a fraction of the coal cost, which can save both time and money.
- Use the Right Equipment: Equip a Smithing cape if you have one, as it provides benefits like reducing the chance of failing at certain tasks and faster smithing times.
- Train in Burthorpe: Burthorpe‘s anvil is close to a bank, making it easy to get your ores and bars without wasting too much time on travel.
- Join a Smithing Clan: Being part of a clan can provide you with valuable insights and tips from experienced players, plus it’s a great way to socialize!
- Complete Quests: Some quests reward you with Smithing experience. Focus on completing them to get a head start on your training.
- Consider Using XP Lamps: If you have any XP lamps, use them on Smithing to give yourself a quick boost.
By following these tips, you can maximize your Smithing training efficiency and level up faster!
8. Frequently Asked Questions about Smithing
Smithing can raise a lot of questions for both new and experienced players alike. Here are some frequently asked questions about Smithing in OSRS:
| Question | Answer |
|---|---|
| What is the fastest way to level Smithing? | Using the Blast Furnace to create items like gold bars or steel bars is one of the fastest methods, especially when paired with experience-boosting items. |
| Is it worth using my ores for training? | Yes! Smithing can be very profitable, especially if you focus on high-demand items like dart tips or barrows items. |
| Can I train Smithing without any quests? | Absolutely! You can train Smithing solely through smelting and crafting items without completing quests, but quests can make it easier. |
| What is the best item to smith? | Generally, adamant bars and rune items are very profitable, but it can vary depending on the current market. |
| Should I focus on smelting or smithing? | Both are essential, but focus on smelting first to gather your materials before smithing them into items. |
These FAQs should help clarify some common Smithing queries and guide you on your journey to becoming a proficient smith in OSRS!
Ultimate Guide on How to Train Smithing in OSRS
Smithing is one of the essential skills in Old School RuneScape (OSRS), allowing players to create weapons, armor, and other items. This guide will provide you with an effective training method to maximize your experience gain and level up your Smithing skills efficiently.
Here are the primary methods to train Smithing in OSRS:
- Smelting Bars: Start by mining ores and then smelting them into bars. This method is ideal for beginners.
- Smithing Items: Once you have bars, use them to create items such as swords, armor, and tools. This will provide significant experience.
- Using the Blast Furnace: For higher efficiency, consider using the Blast Furnace, which allows you to smelt multiple ores at once and reduces the coal cost.
- Making Rune Items: At higher levels, focus on creating rune items for maximum experience. Rune items give the highest experience per bar used.
The following table summarizes the experience gained from various Smithing activities:
| Item | Experience |
|---|---|
| Bronze Bar | 6 |
| Iron Bar | 12 |
| Steel Bar | 17.5 |
| Gold Bar | 22.5 |
| Rune Bar | 50 |
To optimize your training, consider using items that provide experience boosts, such as the Varrock armor and participating in events like the Smithing Community Events for additional rewards.
In conclusion, mastering Smithing in OSRS requires strategic planning and efficient training methods. By following the outlined techniques and utilizing the right resources, you can achieve high Smithing levels and enhance your gameplay experience.

