Your cart is empty
OSRS Mourning’s End Part 2: The Ultimate Quest Guide for 2025

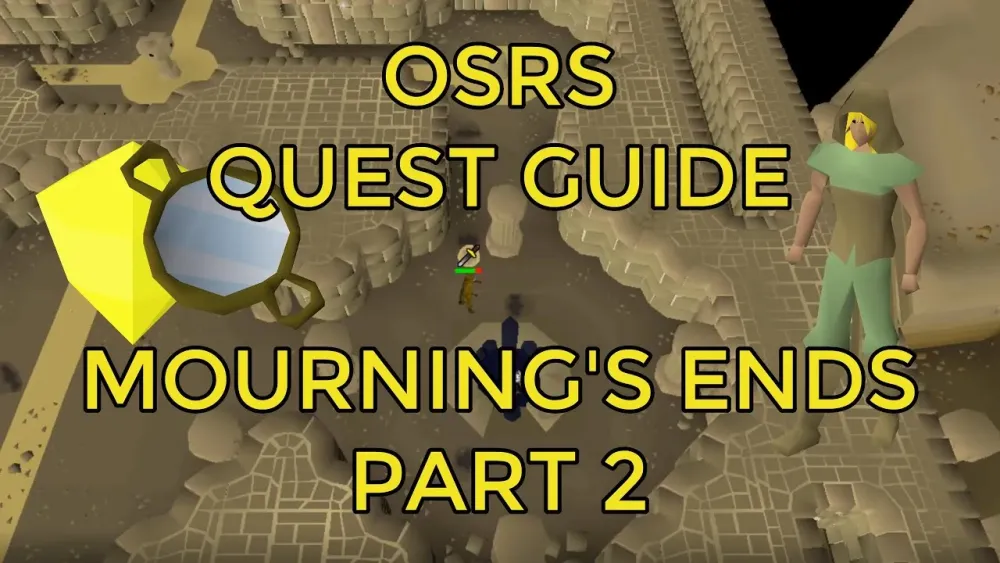
Old School RuneScape (OSRS) is packed with challenging quests, but few test your patience and problem-solving skills like Mourning’s End Part 2. Known as “The Temple of Light,” this quest is the seventh installment in the Elf quest series and is infamous for its complex light puzzle. Whether you’re a seasoned adventurer or a first-timer, this guide will walk you through every step to conquer Mourning’s End Part 2 in 2025. Let’s dive into the requirements, walkthrough, and tips to make this quest less daunting and more rewarding!
Before you embark on Mourning’s End Part 2, preparation is key. This quest isn’t just about combat—it’s a mental marathon. Here’s what you need to get started.
Skill Requirements
- 60 Agility (boostable, but higher levels reduce fail chances at obstacles)
- No other strict skill requirements, but 43 Prayer (Protect from Melee) is highly recommended
Quest Prerequisites
You can’t jump into Mourning’s End Part 2 without completing some groundwork. Make sure you’ve finished:
- Mourning’s End Part 1
- Roving Elves
- Big Chompy Bird Hunting
- Sheep Herder
- Plague City
Recommended Items
Pack smart to survive the Temple of Light and its dangers:
- Full Mourner Gear (from Mourning’s End Part 1)
- Chisel
- Elf Teleport Crystal (or other teleports like Ardougne)
- Food and Prayer Potions (to tank Dark Beasts)
- Agility Potions (if your Agility is low)
- Three free inventory spaces for quest items
With these in hand, you’re ready to face the mourners and the temple’s infamous puzzle.
Starting Mourning’s End Part 2
The journey begins in Lletya, the elven hideout. Here’s how to kick things off.
Speaking to Arianwyn
Head to Lletya and find Arianwyn. He’ll brief you on the mourners’ plan to excavate beneath West Ardougne, threatening the elves’ safety. Your mission: stop them by infiltrating their operation. Arianwyn sends you to Mourner HQ with a task to retrieve a key from Essyllt.
Infiltrating Mourner HQ
Equip your full mourner gear and teleport to Ardougne. Head to the Mourner HQ basement in West Ardougne. Speak to Essyllt, who reluctantly hands over a new key after some dialogue. This key unlocks the western door leading to the tunnels—and the real challenge begins.
The Temple of Light: Navigating the Tunnels
Once you enter the tunnels, you’re in hostile territory. Dark Beasts (level 182) roam here, so toggle on Protect from Melee or bring plenty of food.
Reaching the Temple Entrance
Run past the Dark Beasts to the Temple of Light entrance. You’ll see a cutscene of the mourners’ digging team getting ambushed by Shadows (level 73). Search the guard’s corpse on the northern wall to loot Edern’s Journal, a key item for later.
Entering the Temple
Head west from the entrance and climb the stairs to the middle floor. This is where the real test begins—the light puzzle that’s driven countless players to frustration.
Solving the Temple of Light Puzzle
The Temple of Light puzzle is the heart of Mourning’s End Part 2. It involves redirecting colored beams of light using mirrors and crystals. It’s complex, but with this step-by-step guide, you’ll crack it.
Understanding the Puzzle Mechanics
The goal is to unlock a sealed door by directing light beams to specific colored pillars. You’ll use:
- Mirrors: Rotate them to redirect light
- Crystals: Collect and place them to split or filter light
- Pillars: Match the light color to the pillar’s requirement
The puzzle spans multiple floors, and missteps can force a reset. Patience is your ally here.
Step-by-Step Walkthrough
- Collect Initial Items: On the middle floor, search the nearby corpse for a blue crystal.
- First Beam: Place the blue crystal in the western pillar, then rotate the mirror north of it to direct white light into the blue crystal, turning the beam blue.
- Second Floor Access: Climb to the top floor via the ladder. Use your chisel on the sealed chest to obtain a red crystal.
- Red Beam: Place the red crystal in the eastern pillar on the top floor. Adjust mirrors to direct light through it, creating a red beam hitting the southern pillar.
- Final Steps: Return to the middle floor, grab the yellow crystal from the south room, and align mirrors to hit the yellow pillar. This unlocks the door.
Tips to Avoid Frustration
- Reset if Stuck: Use the reset lever near the entrance if the beams get tangled.
- Watch a Video: Visual guides on YouTube can clarify mirror angles.
- Take Breaks: This puzzle can take 30-60 minutes—don’t burn out!
Quest Completion and Rewards
Once the puzzle is solved, the end is in sight. Here’s how to wrap up Mourning’s End Part 2 and claim your rewards.
Confronting the Shadows
Enter the newly unlocked door and face a wave of Shadows. They’re not too tough (level 73), so dispatch them with combat or tank them with food. Search the chest inside for the blackened crystal.
Returning to Arianwyn
Teleport back to Lletya and hand the blackened crystal to Arianwyn. He’ll congratulate you on thwarting the mourners and conclude the quest.
Rewards Breakdown
Your efforts yield:
| Reward | Details |
|---|---|
| Quest Points | 2 |
| Experience | 20,000 Agility XP |
| Access | Temple of Light (for Death Altar) |
Plus, you unlock the Death Altar, a handy spot for crafting death runes—great for Ironmen or magic training.
Final Thoughts: Mourning’s End Part 2 is a beast of a quest, but with this guide, you’ve got the tools to tame it. The light puzzle may test your sanity, but the sense of accomplishment (and that sweet Agility XP) makes it worthwhile. Ready to take on the Temple of Light? Share your experience in the comments below, and happy questing in OSRS!

