Your cart is empty

OSRS Monkey Madness Safespot Guide for Easy Quest Completion
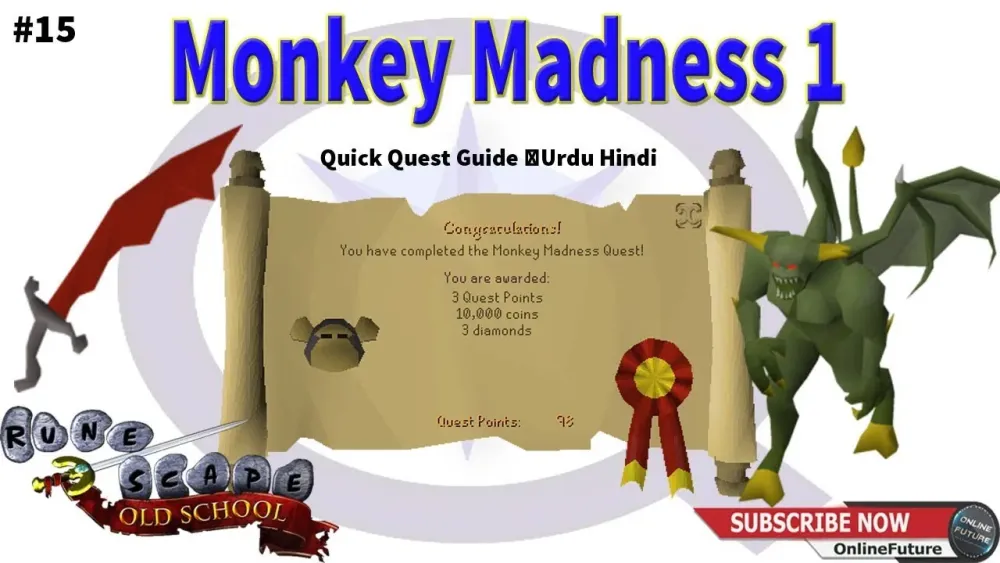
Old School RuneScape (OSRS) players know that Monkey Madness I is one of the most iconic and challenging quests in the game. Set on the treacherous Ape Atoll, this quest pits you against aggressive monkeys, a deadly jungle demon, and a maze of dangers. But fear not—using safespots can make this quest significantly easier, especially for low-level players or those looking to minimize risk. In this guide, we’ll walk you through the best safespot strategies for Monkey Madness I, ensuring you complete it efficiently while staying safe. Whether you’re a pure, an ironman, or just questing for the Dragon Scimitar, this guide has you covered.
Ape Atoll is a hostile environment filled with high-level enemies like Monkey Guards, Monkey Archers, and the infamous Jungle Demon. Without proper preparation, you can quickly find yourself overwhelmed. Safespots allow you to attack enemies from a distance or position where they can’t retaliate, preserving your health and resources. This is especially important for:
- Low combat levels: Players with limited stats can avoid direct combat.
- Pures: Safespots prevent unwanted melee experience.
- Ironmen: Limited gear makes safespotting a lifesaver.
By mastering safespots, you’ll navigate Ape Atoll’s dangers with confidence and complete the quest without unnecessary deaths.
Preparation for Safespotting
Before diving into safespots, ensure you’re ready for the quest. Here’s what you need:
- Ranged or Magic gear: Safespots rely on distance, so prioritize weapons like a crossbow, shortbow, or magic spells (e.g., Fire Strike).
- Protect from Melee prayer: Essential for surviving initial encounters with Monkey Guards.
- Food and potions: Bring high-healing food (e.g., sharks) and antipoison potions for Ape Atoll’s poisonous spiders.
- Emergency teleport: A one-click teleport (e.g., Teleport to House) can save you if things go wrong.
Navigating Ape Atoll with Safespots
Ape Atoll’s open areas are crawling with enemies that hit hard and fast. Using safespots while moving through the island is key to avoiding damage. Below, we detail how to stay safe in key areas.
Safespotting Monkey Guards and Archers
When you first arrive on Ape Atoll, you’ll need to sneak past Monkey Guards (level 167) and Monkey Archers (level 86). These enemies can deal significant damage, but you can avoid them entirely with careful positioning.
- Temple safespot: Inside the Ape Atoll temple, climb the ladder to the upper level. Position yourself near the southern ladder, where you can attack a Monkey Guard below without it healing or retaliating. This is ideal for collecting bones for greegrees later.
- Grass hiding: When moving through the city, stick to tall grass to avoid detection. If spotted, run to a building corner or behind a wall to break aggro.
Avoiding the Monkey Aunt
In the banana garden, you’ll encounter the Monkey Child and the patrolling Monkey’s Aunt. If she sees you, she’ll call guards, leading to your arrest. To safespot this section:
- Wait until the Monkey’s Aunt is on the opposite side of her patrol path (around the wooden house).
- Quickly enter the garden when she’s out of sight, staying behind the banana trees to avoid her line of vision.
This isn’t a traditional safespot but uses positioning to avoid combat entirely.
Monkey Madness Dungeon Safespots
The underground dungeon in Monkey Madness I is where things get tricky. You’ll face zombie monkeys, skeletons, and traps. Safespots here let you conserve food and prayer for the final boss.
Safespotting Monkey Zombies
In the dungeon, you’ll need to craft the M’speak amulet by using an enchanted bar on the wall of flames. Monkey Zombies (level 98) will attack as soon as you descend the trapdoor.
- Wall of flames safespot: Run to the wall of flames immediately after entering. Stand directly next to it, and the zombies won’t be able to hit you while you use the bar.
- Ladder escape: If overwhelmed, climb back up the ladder to reset aggro. Activate Protect from Melee before re-entering.
Dealing with Traps Safely
The dungeon is littered with traps like collapsing ceilings and spikes. While not combat-related, you can “safespot” these by:
- Timing your movement: Watch for patterns in falling rocks and sprint through when clear.
- Hugging walls: Stick to the dungeon’s edges to avoid most floor traps.
Jungle Demon Safespot Strategy
The Jungle Demon (level 195) is the final boss of Monkey Madness I and a major hurdle for unprepared players. With both melee and magic attacks, it can hit up to 32 and wipe out low-level accounts quickly. Fortunately, a reliable safespot makes this fight manageable.
Locating the Safespot
The Jungle Demon arena has a bridge on the outer edge that serves as the perfect safespot. Here’s how to use it:
- Upon entering the arena, run to the nearest bridge (west or east side).
- Position yourself on the outer edge of the bridge, where the Jungle Demon can’t cross due to its large size.
- Activate Protect from Magic to block its magic attacks.
- Use Ranged or Magic to attack from the safespot. A dwarf multicannon can also be set up here for faster kills.
The 10th Squad gnomes will assist by weakening the demon, so you only need to deal the final blows.
Tips for Pure and Low-Level Accounts
For pures or players with low combat stats, the Jungle Demon safespot is a game-changer. Additional tips include:
- Use poison: Apply a poison weapon (e.g., poisoned darts) to chip away at its health over time.
- Bring rings of recoil: These deal passive damage if the demon’s attacks hit through prayer.
- Stay patient: Low damage output means the fight will take longer, but the safespot ensures you take no damage.
Post-Quest Safespot Uses
After completing Monkey Madness I, you’ll return to Ape Atoll for tasks like training, Recipe for Disaster, or Monkey Madness II. Safespots remain useful for these activities.
Collecting Greegree Bones Safely
For Recipe for Disaster, you’ll need additional greegrees, requiring bones from various monkeys. Use the temple safespot mentioned earlier to kill Monkey Guards and Archers without risk.
Training on Ape Atoll
Ape Atoll’s skeleton monkeys in the dungeon are a popular training spot for Ranged and Magic. Safespot them by:
- Standing behind stalagmites to block their attacks.
- Using long-range weapons like a longbow to maintain distance.
Monkey Madness II Safespots Preview
If you plan to tackle Monkey Madness II, safespots are even more critical due to tougher bosses like Glough and Kruk. For example:
| Boss | Safespot Location | Strategy |
|---|---|---|
| Kruk | Next to a wall in the cave | Stand diagonally to avoid melee hits; attack when his health bar disappears. |
| Glough | North wall in the first room | Lure him to a specific square and use a long-range weapon (e.g., twisted bow). |
These strategies build on the skills you’ll learn in Monkey Madness I, making this quest great practice.
By leveraging safespots throughout Monkey Madness I, you’ll turn a daunting quest into a manageable adventure. From dodging Monkey Guards to defeating the Jungle Demon, these strategies save hitpoints, prayer, and stress. Equip your Ranged or Magic gear, stock up on supplies, and head to Ape Atoll with confidence. Have a favorite safespot or tip? Let us know in the comments below!
