Your cart is empty

OSRS Haunted Mine Boss Fight: Guide to Defeating Treus Dayth
The Haunted Mine quest in Old School RuneScape (OSRS) is a thrilling adventure that takes players deep into a creepy, abandoned mine south of Mort Myre Swamp. While the quest itself is packed with exploration and puzzles, the highlight for many is the intense boss fight against Treus Dayth, the ghostly guardian of the coveted Salve Crystal. This guide will walk you through everything you need to know to conquer the Haunted Mine boss fight, from preparation to strategy, ensuring you emerge victorious with minimal frustration. Whether you’re a seasoned player or a newbie tackling this mid-level quest, this blog post has you covered.
Before diving into the boss fight, it’s worth understanding the context of the Haunted Mine quest. Released on December 21, 2004, this quest is known for its eerie atmosphere and challenging navigation through a multi-level mine. The ultimate reward? Access to the Salve Amulet, a powerful item that boosts combat stats against undead creatures. But standing in your way is Treus Dayth, a spectral boss who doesn’t go down without a fight.
Quest Requirements
To even reach the boss, you’ll need to meet a few prerequisites:
- Level 15 Agility – For navigating the mine’s obstacles.
- Level 35 Combat – Recommended to handle Treus Dayth effectively.
- Priest in Peril – A prerequisite quest to unlock Morytania.
- Items: A light source (e.g., lantern), tinderbox, and a chisel.
Getting to the Boss
The journey to Treus Dayth involves solving a mine cart puzzle and navigating dark, trap-filled corridors. After obtaining the Zealot’s Key and cutting the Salve Crystal, you’ll trigger the boss fight on the lowest level of the mine. Be prepared—this isn’t a straightforward slugfest.
Who is Treus Dayth?
Treus Dayth is the restless spirit of a miner who once worked in the Haunted Mine. Now a vengeful ghost, he guards the Salve Crystal with supernatural powers. What makes this boss unique is his unconventional combat style—he doesn’t attack you directly but uses the environment against you, making it one of OSRS’s more memorable encounters.
Boss Stats and Mechanics
- Combat Level: 95
- Hitpoints: 100
- Attack Style: Indirect (via machinery and ghosts).
- Weakness: Vulnerable to melee, ranged, or magic depending on preparation.
Treus Dayth teleports around the room, activating cranes, blades, and ghostly pickaxes to deal damage. His ghostly nature also makes him immune to damage unless you’re wielding the Salve Crystal Shard you obtain during the fight.
Preparing for the Treus Dayth Fight
Preparation is key to surviving this encounter. Treus Dayth’s mechanics can overwhelm unprepared players, so here’s how to gear up effectively.
Recommended Gear
Your equipment will depend on your combat style, but here’s a general setup:
| Combat Style | Weapon | Armor |
|---|---|---|
| Melee | Rune Scimitar or better | Rune armor |
| Ranged | Magic Shortbow with Rune Arrows | Green D’hide armor |
| Magic | Staff of Air + Fire Bolt | Mystic robes |
Additional Items: Bring a teleport (e.g., Ectophial), 10-15 pieces of high-level food (sharks or better), and energy potions to keep running from hazards.
Inventory Setup
- Food: Sharks, Monkfish, or Lobsters (depending on your level).
- Potions: Attack/Strength for melee, Ranging for ranged, or Magic for mages.
- Crystal Key: Obtained earlier in the quest to access the boss room.
- Light Source: Essential for visibility in the dark mine.
Strategies to Defeat Treus Dayth
The fight against Treus Dayth is less about raw damage output and more about positioning and timing. Here’s how to tackle him step-by-step.
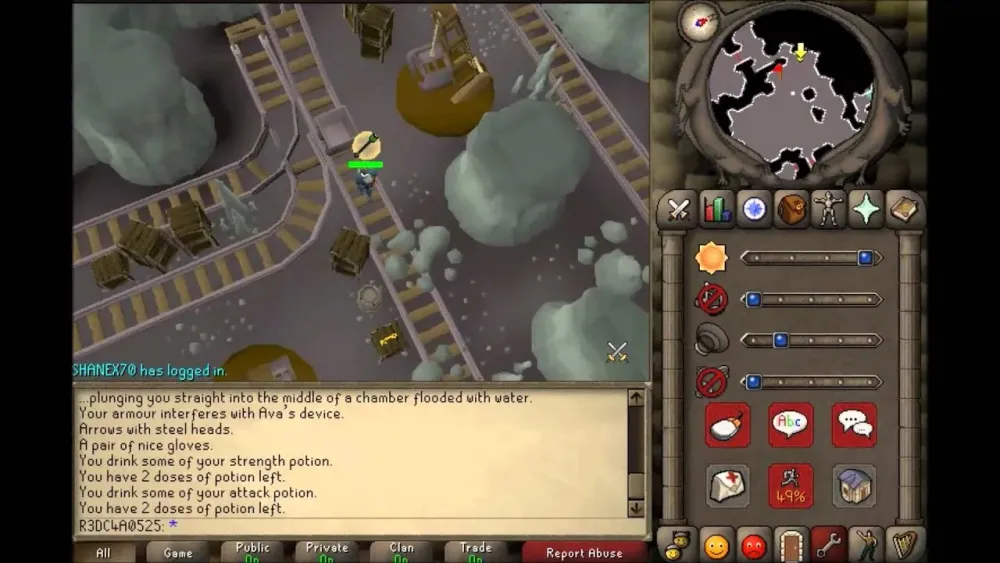
Understanding the Arena
The boss room is a cluttered mess of mining equipment. Cranes swing across the ceiling, carts roll unpredictably, and ghostly pickaxes fly at you. Your goal is to stay mobile while landing hits on Treus Dayth whenever he appears.
Combat Tactics
- Melee: Equip the Salve Crystal Shard as a weapon (it’s a dagger-like item). Chase Treus as he teleports, avoiding cranes by staying on the edges of the room.
- Ranged: Use the crystal shard if close, or switch to your bow when he’s at a distance. Stand near the center to avoid cart paths.
- Magic: Cast spells like Fire Bolt while dodging hazards. The shard isn’t required but can speed things up if used.
Pro Tip: Turn on Protect from Ranged to mitigate some damage from flying pickaxes, though it won’t block everything.
Avoiding Damage
The real challenge isn’t Treus himself—it’s the environmental hazards. Watch for:
- Cranes: They swing in predictable arcs; time your movements to avoid getting hit (10-15 damage).
- Carts: Stick to the sides or corners to avoid their paths (up to 20 damage).
- Pickaxes: Randomly target you; keep moving to minimize hits (5-10 damage each).
Eating food proactively rather than reactively can save your life here.
Tips for Success and Common Mistakes to Avoid
Even with the right gear and strategy, the Haunted Mine boss fight can trip up players. Here’s how to ensure success and sidestep pitfalls.
Top Tips for Victory
- Practice Movement: Spend a few moments in the room getting used to hazard patterns before engaging Treus.
- Conserve Energy: Sip an energy potion mid-fight to maintain stamina for dodging.
- Bring Extra Food: Over-prepare rather than risk running out—15 sharks is safer than 10.
- Use the Shard: Don’t forget to equip the Salve Crystal Shard; it’s your only way to damage him.
Common Mistakes
- Standing Still: Idling in one spot invites crane and cart damage.
- Underestimating Damage: The hazards hit hard and fast—don’t skimp on food.
- Ignoring Prayer: Even low-level players can benefit from Protect from Ranged.
- Forgetting a Teleport: If things go south, you’ll want a quick exit.
By now, you should feel confident tackling Treus Dayth. The Haunted Mine boss fight is a test of adaptability more than brute strength, rewarding players who master its chaotic rhythm. Defeat him, claim the Salve Crystal, and enjoy the fruits of your labor with the Salve Amulet. Have you beaten Treus Dayth yet? Share your experience or ask for more tips in the comments below!
