Your cart is empty

OSRS Burst Abyssal Demons Guide for Maximum Slayer XP
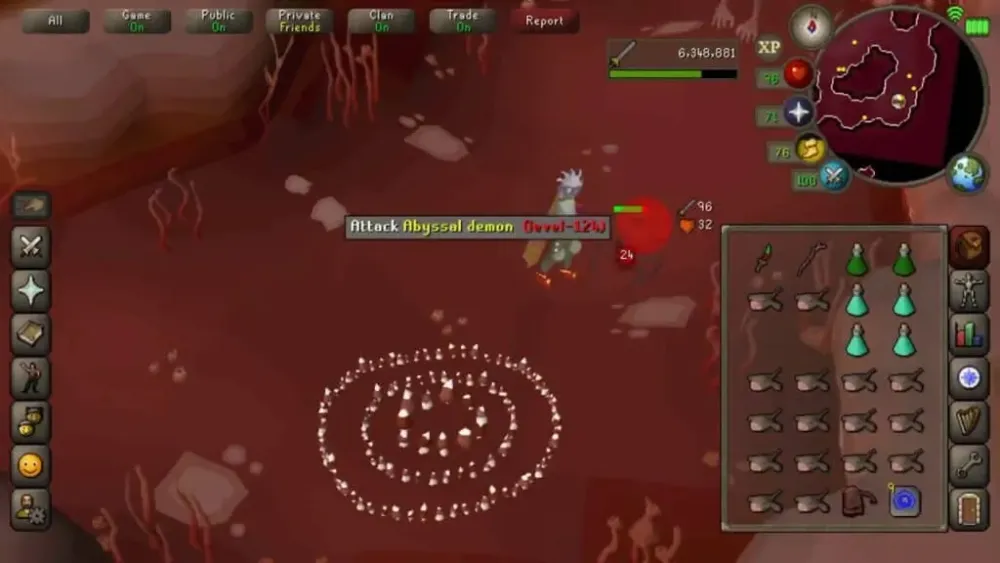
In Old School RuneScape (OSRS), bursting Abyssal Demons is one of the most efficient ways to train Slayer and Magic while tackling a high-level task. Requiring 85 Slayer, Abyssal Demons are iconic for their valuable drops like the Abyssal Whip and their unique teleport mechanic, which makes bursting in the right setup both challenging and rewarding. This guide dives into everything you need to know to burst Abyssal Demons effectively, from optimal locations to gear setups, spell choices, and tips to maximize experience rates.
Bursting Abyssal Demons offers some of the highest Slayer and Magic XP rates in the game, especially in multicombat areas like the Catacombs of Kourend. Their low Magic defense makes them ideal for area-of-effect (AoE) spells, and their teleport mechanic can be managed with the right strategy. Plus, with drops like the Abyssal Whip and ensouled heads, you can offset costs or even profit while training.
Key Benefits of Bursting
- High XP Rates: Up to 300k Magic XP and 100k Slayer XP per hour with efficient setups.
- Valuable Drops: Abyssal Whip, Abyssal Dagger, and ensouled heads add profit potential.
- Prayer XP Bonus: Using Demonic Offering and Master Reanimation spells yields significant Prayer XP.
- Multicombat Efficiency: Stack multiple demons for AoE spell damage, reducing rune costs per kill.
Best Locations for Bursting Abyssal Demons
Choosing the right location is critical for bursting Abyssal Demons, as their teleport mechanic and combat style require specific environments to optimize XP and efficiency. The Catacombs of Kourend stand out as the top choice, but other options exist depending on your goals.
Catacombs of Kourend
The Catacombs are the go-to spot for bursting due to their multicombat areas and high demon density. Two rooms in the northern section house nine Abyssal Demons (five in the north room, four in the south), which can be lured into a central tunnel for stacking.
- Pros: Multicombat allows AoE spell efficiency; access to Catacombs’ unique drop table.
- Cons: Can be crowded during peak times; requires teleport anchoring to prevent disruption.
Slayer Tower
The Slayer Tower is a single-combat area, making it less ideal for bursting but viable for quieter sessions. It’s better for melee or AFK methods, though some players burst here with careful aggro management.
- Pros: Less crowded; simpler navigation.
- Cons: Single-combat limits AoE effectiveness; lower XP rates.
Wilderness Slayer Cave
This multicombat area offers similar benefits to the Catacombs but with an extra drop table for Wilderness tasks. However, the risk of PKers makes it less popular unless you’re assigned a Wilderness task by Krystilia.
- Pros: Extra loot potential; multicombat for bursting.
- Cons: High PK risk; deeper cave location complicates escapes.
Optimal Gear and Inventory Setup

Your gear and inventory setup directly impacts your bursting efficiency, balancing Magic damage, Prayer sustainability, and aggression management. Abyssal Demons have low Magic defense, so prioritize Magic damage and Prayer bonuses over accuracy.
Recommended Gear
Here’s a breakdown of the best gear for bursting Abyssal Demons, tailored for high XP and cost-efficiency.
| Slot | Item | Alternative |
|---|---|---|
| Head | Slayer Helmet (i) | Ancestral Hat |
| Cape | Imbued God Cape | Ardougne Cloak |
| Neck | Occult Necklace | Amulet of Glory |
| Body | Ancestral Robe Top | Ahrim’s Robetop |
| Legs | Ancestral Robe Bottom | Ahrim’s Robeskirt |
| Weapon | Harmonised Nightmare Staff | Kodai Wand |
| Shield | Arcane Spirit Shield | Mage’s Book |
| Hands | Tormented Bracelet | Barrows Gloves |
| Boots | Eternal Boots | Infinity Boots |
| Ring | Lightbearer | Seers Ring (i) |
Note: Use a Bracelet of Slaughter to extend task length over a Tormented Bracelet for cost-efficiency.
Inventory Setup
Your inventory should focus on sustaining Prayer, managing aggression, and handling teleports. A typical setup includes:
- Teleport Anchoring Scroll (1): Prevents demons from teleporting you.
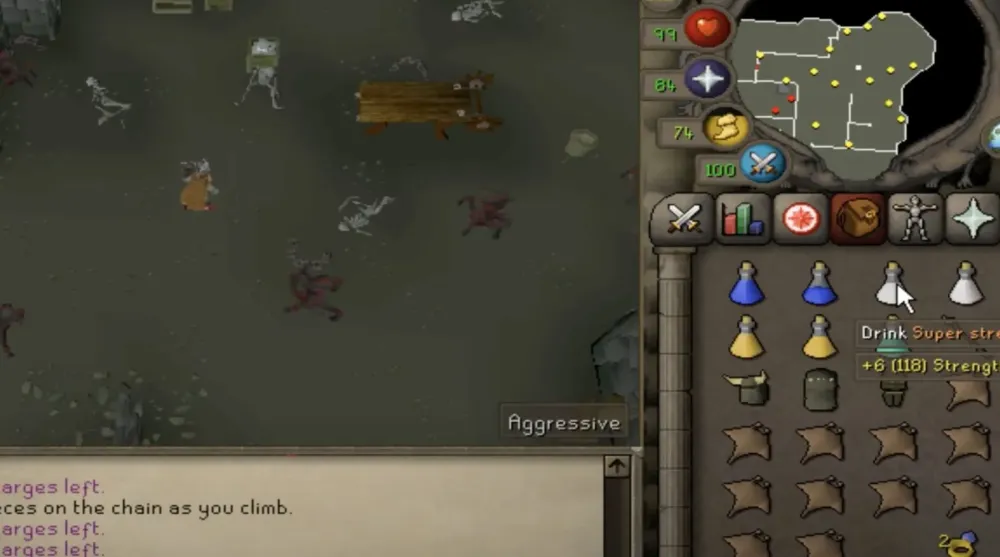
- Prayer Potions (8-10): Maintain Protect from Melee and Mystic Might.
- Rune Pouch: Smoke Burst/Barrage runes (Chaos, Death, Fire, Air).
- Iron Darts (100-200): For tagging demons to stack them.
- Stamina Potions (2-3): Maintain run energy while luring.
- Teleport to House (5-10): Quick banking or Kourend teleports.
- Food (3-5): Sharks or brews for emergencies.
- Holy Wrench: Boosts Prayer potion efficiency.
Bursting Strategy and Spell Choice
Bursting Abyssal Demons requires precise luring and spell selection to counter their teleport mechanic. Smoke spells are preferred over Ice spells, as freezing demons can disrupt stacks when they teleport out of range.
Step-by-Step Bursting Method
- Use Teleport Anchoring Scroll: Read it before starting to block demon teleports, ensuring you stay centered.
- Lure the South Room: Tag all four demons in the south room with darts or Dinh’s Bulwark, luring them to the central tunnel.
- Cast Smoke Burst/Barrage: Hit the stacked demons to establish aggression.
- Lure the North Room: Tag the five demons in the north room and bring them to the same tunnel, stacking all nine.
- Maintain Stack: Keep casting Smoke spells to kill the group, re-tagging any stragglers that teleport away.
- Manage Prayer: Sip Prayer potions to sustain Protect from Melee; use Lightbearer’s special to reset aggression if needed.
Smoke vs. Ice Spells
Smoke Burst (level 86 Magic) or Smoke Barrage (level 88 Magic) are the best choices for bursting Abyssal Demons. Ice spells, while powerful, freeze demons, causing them to stay out of range if they teleport while frozen, reducing efficiency.
- Smoke Burst: Cheaper, costing ~800 gp per cast; ideal for mid-tier budgets.
- Smoke Barrage: Higher damage, ~1,200 gp per cast; better for maxed accounts.
- Ice Spells: Avoid unless using an alt to lure, as frozen demons disrupt stacks.
Tips for Maximizing Efficiency
To get the most out of your Abyssal Demon bursting sessions, incorporate these advanced strategies and habits to boost XP, reduce costs, and stay focused.
Prayer and Drop Management
Abyssal Demons drop ensouled heads and ashes, which can be used for Prayer XP. With 90 Magic and completion of A Kingdom Divided, you can gain ~307 Prayer XP per kill using Master Reanimation and Demonic Offering.
- Arceuus Spellbook: Swap to reanimate heads on drop, then use Demonic Offering on ashes.
- Ash Sanctifier: Automatically converts ashes to Prayer XP, saving inventory space.
- Loot Efficiently: Prioritize high-value drops like whips, runes, and gems; use area looting to save time.
Dealing with Crowds
The Catacombs can get busy, especially during peak hours. To secure a world:
- World Hop Early: Start sessions during off-peak times (e.g., early mornings).
- Use Total Level Worlds: Higher total level worlds (e.g., 2,200+) are often less crowded.
- Be Polite: Communicate with others to share spawns if needed.
Cost-Saving Tricks
Bursting can be expensive, with rune costs adding up. Mitigate this with:
- Bracelet of Slaughter: Extends tasks, reducing trips and setup time.
- Runelite Plugins: Use loot trackers to ensure you’re breaking even or profiting.
- Buy Runes in Bulk: Stock up on Chaos and Death runes when prices dip on the Grand Exchange.
Bursting Abyssal Demons in OSRS is a powerhouse method for training Slayer, Magic, and Prayer, with the added bonus of chasing iconic drops like the Abyssal Whip. By setting up in the Catacombs of Kourend, using Smoke spells, and optimizing your gear and strategy, you can achieve top-tier XP rates while keeping costs manageable. Follow this guide, practice your luring, and watch your levels soar!