Your cart is empty

OSRS Black Demon Safe Spot Taverley Dungeon Guide
In Old School RuneScape (OSRS), Black Demons are a popular Slayer task for players seeking experience and loot. Found in Taverley Dungeon, these high-combat monsters are perfect for ranged or magic users due to their low defense and the availability of safe spots. This guide explores the Black Demon safe spot in Taverley Dungeon, offering strategies, gear setups, and tips to maximize efficiency. Whether you’re a mid-level player or a seasoned adventurer, this guide will help you tackle Black Demons with ease.
Taverley Dungeon is a prime location for slaying Black Demons due to its unique advantages. With 24 Black Demon spawns, it’s one of the most populated areas for these monsters, ensuring consistent kills. The dungeon’s single-combat nature and cannon compatibility make it ideal for efficient grinding, while stalagmite safe spots allow players to avoid damage entirely.
Key Benefits of Taverley Dungeon
- High Spawn Density: 24 Black Demons ensure a steady supply of targets.
- Cannon Support: Use a Dwarf Multicannon to boost XP rates.
- Safe Spots: Stalagmites provide cover for ranged or magic attacks.
- Accessibility: Easy to reach via Falador or Taverley teleports.
Navigating to the Black Demon Area
Reaching the Black Demons in Taverley Dungeon requires some preparation, as they reside deep within the dungeon. Located south of Taverley and west of Falador, the dungeon entrance is accessible via multiple methods. The Black Demon area is past Black Knights and lesser demons, so plan your route carefully.
Getting to Taverley Dungeon
- Falador Teleport: Use a teleport spell or tablet, then run northwest.
- Taverley Teleport: House portal or tablet, then head south.
- Balloon Transport: Travel to Taverley if unlocked.
- Wizards’ Guild Portal: Requires 66 Magic, teleports to Dark Wizards’ Tower.
Inside the Dungeon
Once inside, you’ll need to navigate to the Black Demon room. Here are your options:
- Agility Shortcuts: 70 Agility for the pipe shortcut or 80 Agility for a faster route.
- Dusty Key: Kill the jailer near the entrance to free Velrak the Explorer for the key. This unlocks a gate near the lesser demons.
Tip: Bring antipoison potions, as poison spiders are near the Black Demon area.
Mastering the Safe Spot Strategy
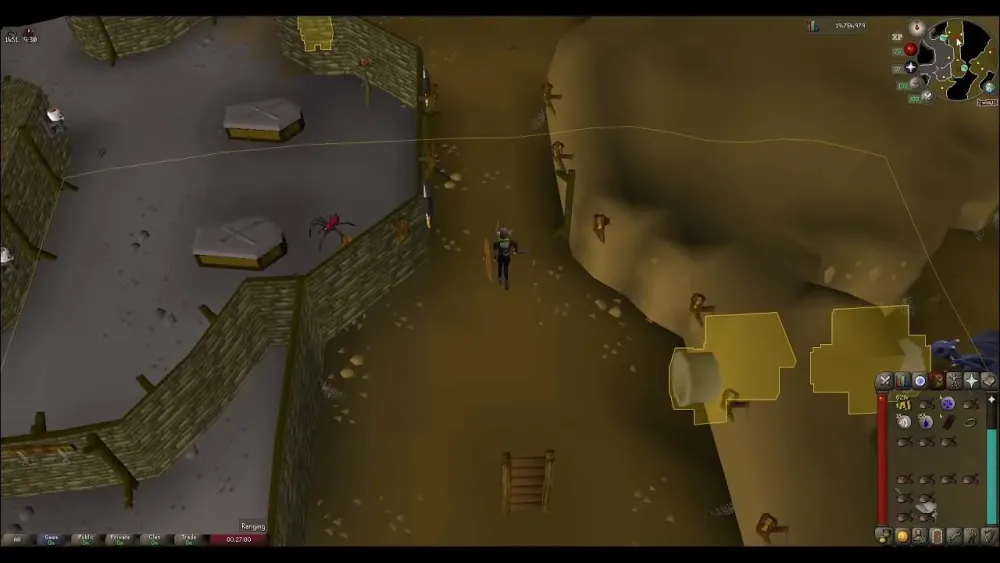
The key to slaying Black Demons without taking damage lies in using the stalagmite safe spots, particularly in the southwest corner of their room. These natural barriers allow you to attack with ranged or magic while the demons can’t reach you. Combined with a cannon, this method maximizes both safety and efficiency.
Setting Up the Safe Spot
Follow these steps to use the safe spot effectively:
- Enter the Black Demon room and head to the southwest corner.
- Position yourself behind the stalagmites, ensuring no demons can attack you.
- Place your Dwarf Multicannon in the center of the room to aggro multiple demons.
- Use ranged or magic to attack demons while staying behind the stalagmite.
Cannon Placement Tips
Since Taverley Dungeon is single-combat, the cannon will only attack demons you’re not directly fighting. Place it strategically to hit as many demons as possible while you safe spot. Reload it with cannonballs periodically to maintain its output.
Note: An empty world is ideal to avoid competition and maximize XP rates, which can reach 60k+ Slayer XP per hour for high-level players.
Recommended Gear and Inventory
Your gear and inventory setup will determine your success against Black Demons. Since you’ll be safe spotting, prioritize prayer-boosting gear and ranged or magic equipment. Below is a recommended setup for mid to high-level players.
Ranged Gear Setup
| Slot | Item |
|---|---|
| Head | Slayer Helmet (i) or Black Mask (i) |
| Neck | Necklace of Anguish |
| Body | Armadyl Chestplate or Blessed D’hide |
| Legs | Armadyl Chainskirt or Blessed Chaps |
| Weapon | Toxic Blowpipe or Rune Crossbow |
| Boots | Pegasian Boots |
| Gloves | Barrows Gloves |
| Ring | Archers Ring (i) |
| Cape | Ava’s Assembler |
Magic Gear Setup
For magic users, focus on high magic attack bonuses:
- Head: Slayer Helmet (i) or Ahrim’s Hood
- Body: Ahrim’s Robetop or Mystic Robe Top
- Weapon: Trident of the Seas or Iban’s Staff
- Cape: Imbued God Cape
- Neck: Occult Necklace
Inventory Setup
- Prayer Potions: 4-6 for Protect from Melee.
- Antipoison: 1-2 for poison spiders.
- Cannonballs: 100-200 for the Dwarf Multicannon.
- Teleport: Falador or Taverley tablet for quick exit.
- Food: 2-4 high-healing items (e.g., sharks) for emergencies.
- Ranging/Magic Supplies: Bolts, runes, or scales for your weapon.
Tip: Equip a Ring of Wealth to improve drop rates by removing “nothing” drops from the loot table.
Tips for Maximizing Efficiency
To make the most of your Black Demon Slayer task in Taverley Dungeon, consider these advanced strategies and alternatives to enhance your experience and profits.
Optimizing XP and Loot
- Use a Cannon: Boosts Slayer and Ranged XP significantly.
- Prayer Management: Sip prayer potions sparingly to extend trips.
- World Hopping: Find an empty world to avoid competition.
- Loot Key Items: Pick up high-value drops like Rune Chainbodies or Chaos Talismans.
Alternative Monsters for Black Demon Tasks
If Black Demons feel too slow, you can kill these monsters for your Slayer task:
- Demonic Gorillas: Post-Monkey Madness II, they offer better loot, including Zenyte Shards (1/300 drop rate).
- Skotizo: Counts as a Black Demon, accessible in Catacombs of Kourend with a Dark Totem.
Dealing with Crowds
Taverley Dungeon can get busy, especially during peak hours. If the Black Demon area is crowded, try these alternatives:
- Switch to the Chasm of Fire (Fairy Ring DJR), which is also cannonable.
- Kill Black Demons in the Catacombs of Kourend for AFK melee training and totem piece drops.
Note: Avoid Edgeville Dungeon or Wilderness Slayer Cave unless you’re on a Wilderness Slayer task, as PKers pose a risk.
By leveraging the Taverley Dungeon safe spot, you can turn Black Demon tasks into a profitable and efficient grind. Pack your gear, set up your cannon, and dominate those demons! For more OSRS Slayer guides, check out our other posts on efficient training methods and task strategies.
