Your cart is empty
OSRS Akkha Radius Marker Guide for Tombs of Amascut Success

Warning: Undefined variable $post in /home/osrsmoneymaking.guide/public_html/wp-content/themes/kadence/functions.php on line 391
Warning: Attempt to read property "ID" on null in /home/osrsmoneymaking.guide/public_html/wp-content/themes/kadence/functions.php on line 391
In Old School RuneScape (OSRS), the Tombs of Amascut (ToA) raid challenges players with complex boss mechanics, and Akkha, the Guardian of Het, is no exception. One tool that has revolutionized how players tackle this boss is the Akkha radius marker plugin for RuneLite. This guide dives into what Akkha radius markers are, how to set them up, and why they’re a game-changer for mastering this fight. Whether you’re a seasoned raider or a ToA beginner, understanding radius markers can boost your efficiency and confidence.
Akkha is one of the four demi-bosses in the Path of Het within ToA, known for his dynamic combat style switches and punishing special attacks. His mechanics require precise positioning, prayer switching, and quick reactions, making him a formidable opponent. Radius markers simplify these challenges by providing visual cues, helping players focus on strategy rather than memorizing attack patterns.
Why Akkha Is Tough Without Tools
Akkha uses all three combat styles—melee, ranged, and magic—cycling through them in a predictable order unless the “Stay Vigilant” invocation is active, which randomizes switches. His attacks hit hard, and mistakes can be costly, especially in high-level raids. Without visual aids, players must rely on memory and split-second decisions, increasing the risk of errors.
The Role of Plugins in ToA
RuneLite plugins have become essential for many OSRS players, offering quality-of-life improvements without automating gameplay. The radius marker plugin, in particular, highlights Akkha’s attack styles, reducing cognitive load and letting players prioritize movement and prayer switches.
What Are Akkha Radius Markers?
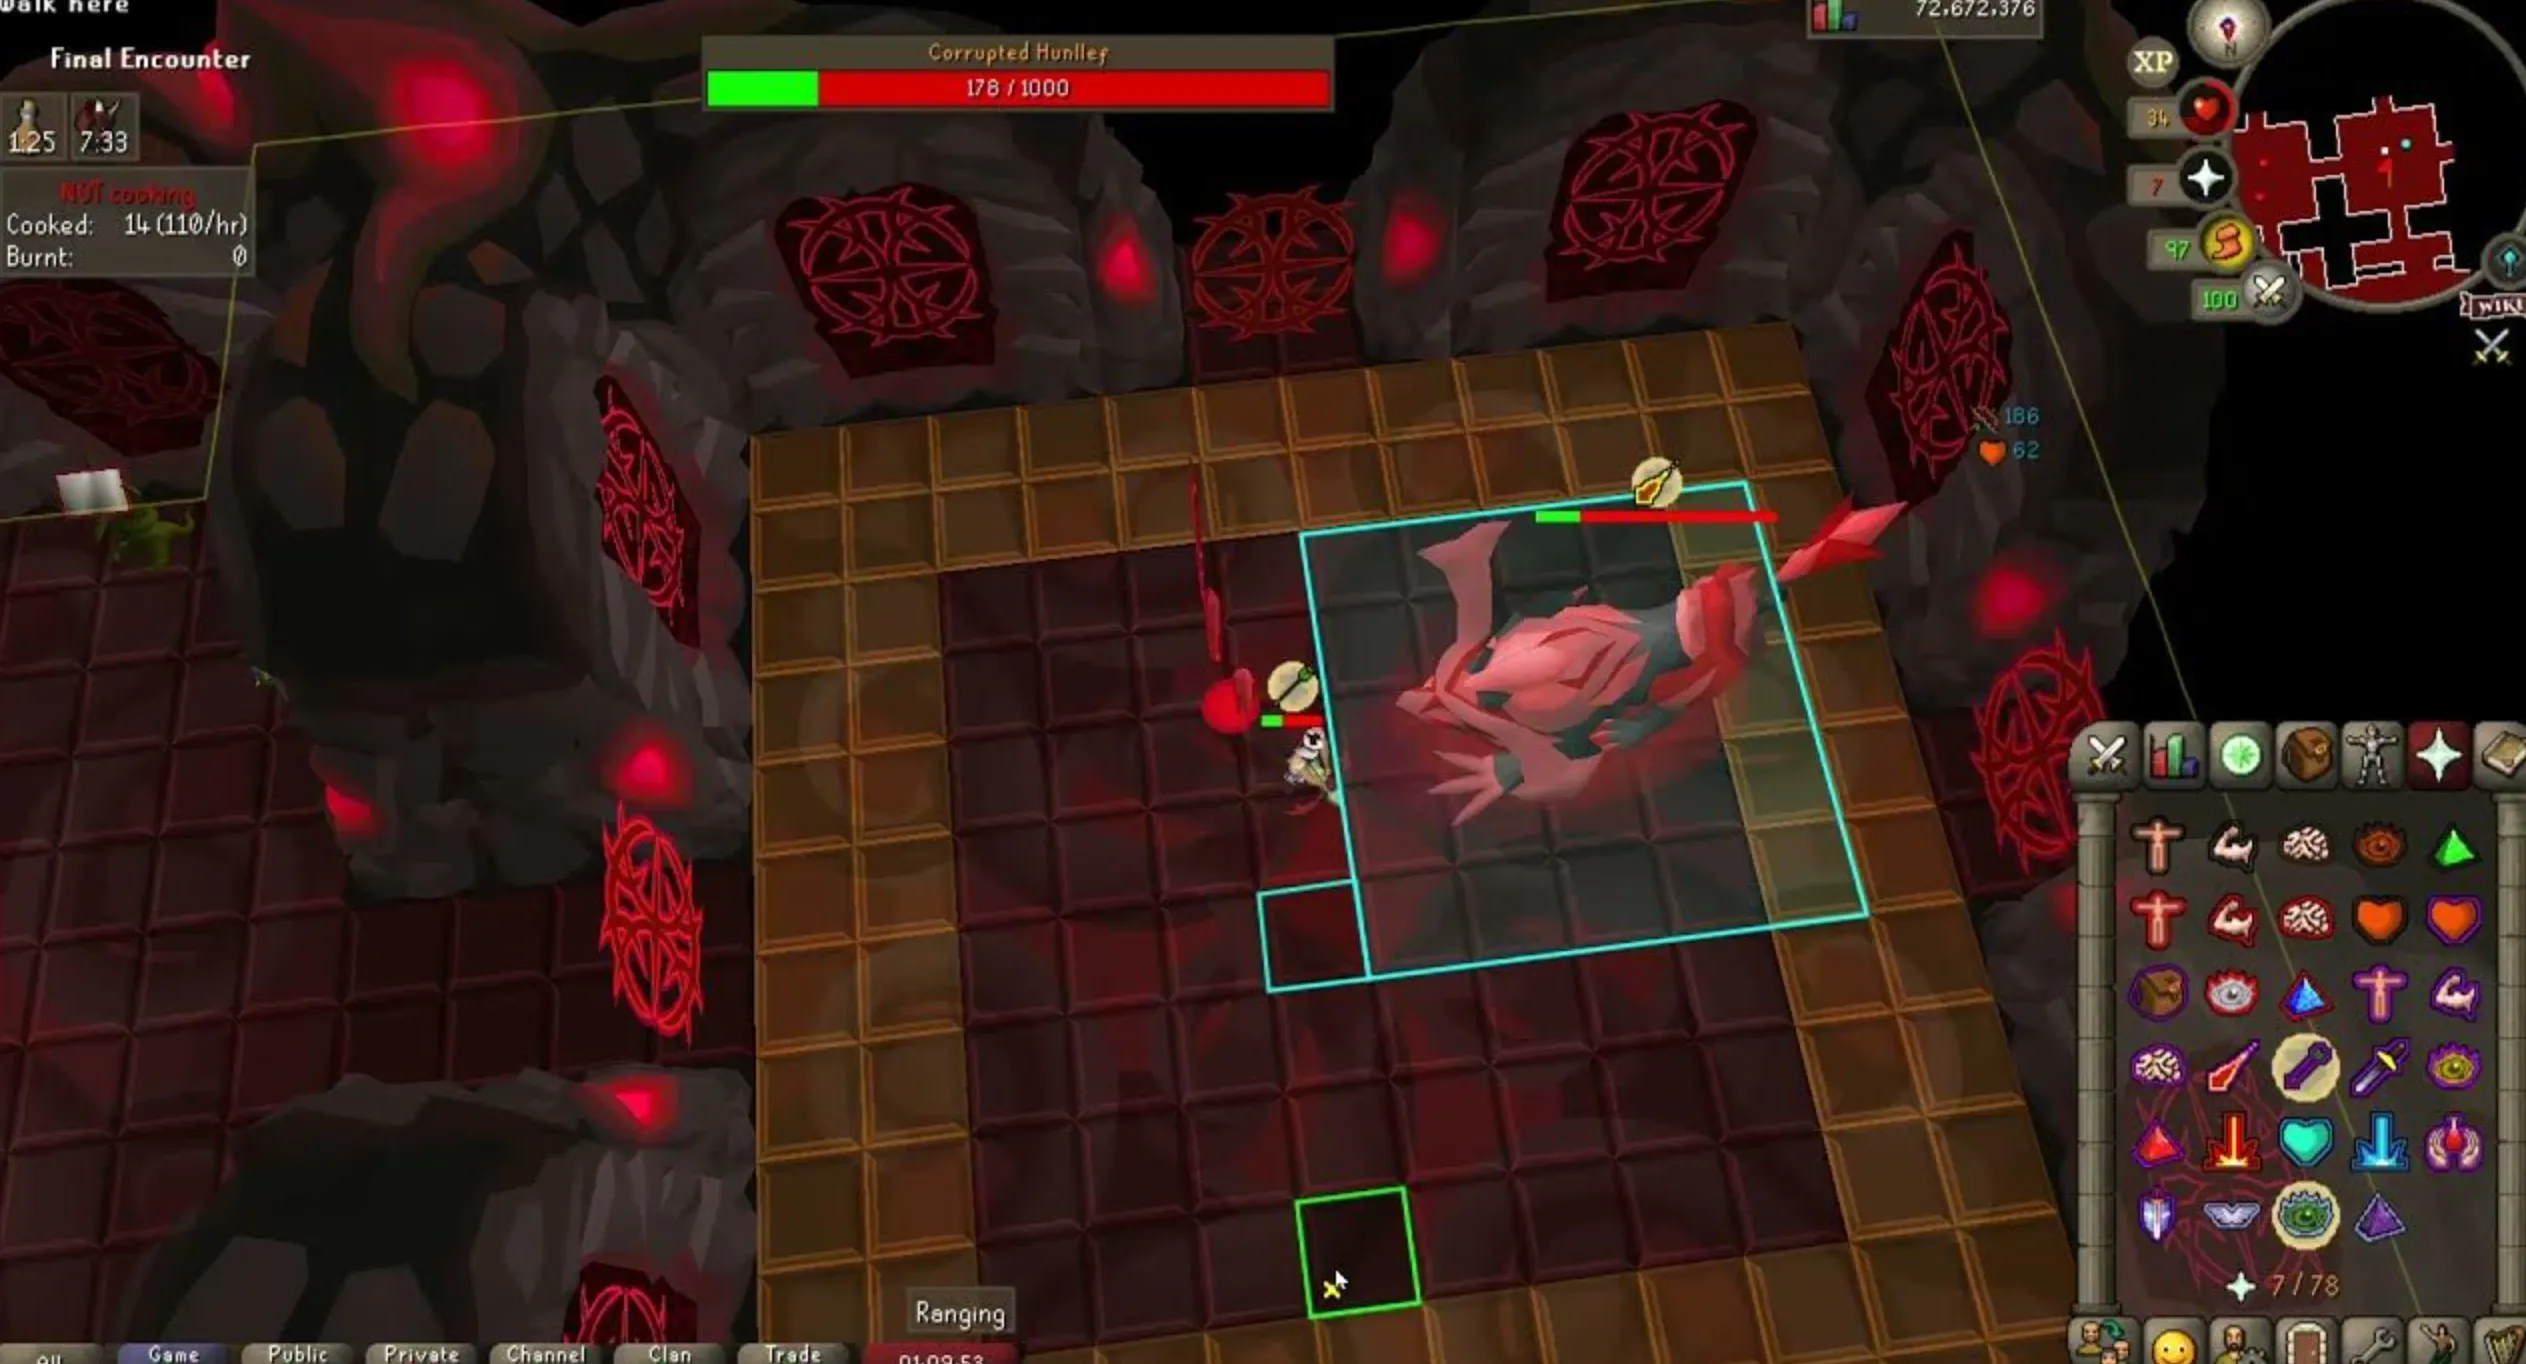
Radius markers are a RuneLite plugin feature that visually outline NPCs, tiles, or objects in-game. For Akkha, they highlight the boss with different colors based on his current attack style, making it easier to anticipate and counter his moves. For example, a red outline might indicate melee, green for ranged, and blue for magic, aligning with the prayers needed to mitigate damage.
How Radius Markers Work
The plugin uses Akkha’s NPC IDs (11790 for melee, 11791 for ranged, 11792 for magic) to detect his combat style and apply a colored outline. These markers move with Akkha, ensuring you always know his current threat, even during chaotic phases like shadow attacks or special moves.
Benefits of Using Radius Markers
- Improved Reaction Time: Visual cues let you switch prayers faster.
- Reduced Mental Fatigue: Less need to track attack patterns manually.
- Better Team Coordination: Clear indicators help groups stay synchronized.
- Beginner-Friendly: Lowers the learning curve for new ToA players.
Setting Up Akkha Radius Markers in RuneLite
Configuring radius markers is straightforward but requires attention to detail. Below is a step-by-step guide to get you started, along with tips to avoid common pitfalls.
Step 1: Install the Radius Marker Plugin
Open RuneLite’s Plugin Hub and search for “Radius Markers.” Install it, then restart RuneLite to ensure it loads correctly. The plugin is lightweight and won’t impact performance, even on lower-end devices.
Step 2: Access the Plugin Settings
Once installed, find the Radius Markers icon in RuneLite’s sidebar (usually under the loot or combat tab). Click it to open the settings panel, where you’ll configure markers for Akkha.
Step 3: Import or Manually Add Markers
You can manually create markers or import pre-made settings from community sources like Pastebin. Here’s a sample configuration for Akkha:
| Attack Style | NPC ID | Color | Interaction Radius |
|---|---|---|---|
| Melee | 11790 | Red (#FFC80000) | 0 |
| Ranged | 11791 | Green (#FF00C800) | 0 |
| Magic | 11792 | Blue (#FF0F00C8) | 0 |
To import, copy a JSON string from a trusted source (e.g., Reddit’s r/2007scape community) and paste it into the plugin’s import function. Always verify the source to avoid incorrect settings.
Step 4: Test and Tweak
Enter a ToA raid and test the markers during the Akkha fight. Adjust colors or visibility if they’re too faint or distracting. Ensure only one set of Akkha markers is active to prevent conflicts with other plugins like NPC Indicators.
Common Setup Mistakes to Avoid
- Overlapping Markers: Multiple active markers for different bosses (e.g., Nex and Akkha) can cause glitches.
- Incorrect NPC IDs: Double-check IDs to ensure they match Akkha’s phases.
- Cluttered Interface: Too many plugins running can obscure markers, so disable unnecessary ones during raids.
Using Radius Markers Effectively in Akkha’s Fight
Radius markers shine in Akkha’s multi-phase battle, but they’re only as good as your ability to use them. Here’s how to leverage them across his mechanics.
Phase 1: Combat Style Switches
Akkha starts with a predictable cycle (melee → ranged → magic) unless Stay Vigilant is on. Watch the marker’s color to switch prayers instantly. For example, when the outline turns green, activate Protect from Missiles. Keep moving to avoid his melee cleave if you’re in range.
Phase 2: Shadow Attacks
At 80%, 60%, 40%, and 20% health, Akkha summons shadows in the arena’s corners. Markers remain active, so you can still track his style while luring him to dispelled shadow quadrants. Pair this with ground markers for precise positioning.
Special Attacks and Orbs
Akkha’s special attacks—like Detonate, Memory Blast, and Trailing Orbs—require focus. Radius markers let you keep prayer up while dodging orbs or memorizing patterns, reducing the chance of taking unnecessary damage.
Enrage Phase
In his final stand, Akkha merges with a shadow and uses Protect from Magic and Missiles. The marker for his enrage phase (NPC ID 11795) can help you confirm his state, though you’ll rely more on positioning here. Stay alert for white orbs and keep attacking to finish the fight.
Tips and Community Insights for Mastery
Beyond setup and mechanics, community wisdom and practice can elevate your Akkha game. Here are actionable tips to maximize radius markers’ impact.
Combine with Other Plugins
Radius markers pair well with:
- Ground Markers: Mark safe tiles for shadow phases or orb dodging.
- True Tile Indicator: Track Akkha’s exact position for butterfly tech (a movement strategy to minimize damage).
- Menu Entry Swapper: Prioritize movement over attacks when dispelling shadows.
Practice the Butterfly Method
The butterfly method involves kiting Akkha along specific tiles to avoid damage while dealing consistent hits. Radius markers make it easier to maintain prayer while following the pattern, especially with Tumeken’s Shadow or high-magic gear. Check community guides, like those on RuneNation, for tile setups.
Stay Ethical and Informed
Some players debate whether radius markers simplify ToA too much, but they’re within Jagex’s plugin guidelines as they don’t automate gameplay. Stay updated via Reddit or the RuneLite GitHub for any rule changes, as Jagex has tweaked plugin allowances before (e.g., limiting color-coded prayer indicators).
Join the Community
Engage with OSRS communities on Reddit (r/2007scape), Discord, or YouTube for shared marker configs and strategies. Posts from 2022–2023 on Reddit highlight how players refined Akkha markers, with Pastebin links still circulating for quick imports.
Adapt to Your Skill Level
If you’re new, focus on surviving with markers and basic prayers. As you improve, experiment with advanced tactics like tick-perfect movement or solo raids. Markers give you the flexibility to scale your approach without overwhelming you.
By integrating Akkha radius markers into your ToA runs, you’ll turn a daunting boss into a manageable challenge. They’re not a crutch but a tool to enhance your skill, letting you enjoy the raid’s depth while chasing purples. Set them up, practice, and join the ranks of raiders who’ve conquered the Guardian of Het with style.
Warning: Undefined variable $post in /home/osrsmoneymaking.guide/public_html/wp-content/themes/kadence/functions.php on line 391
Warning: Attempt to read property "ID" on null in /home/osrsmoneymaking.guide/public_html/wp-content/themes/kadence/functions.php on line 391

