Your cart is empty
Nightmare Solo Guide OSRS: Master the Nightmare of Ashihama Solo in 2025

Warning: Undefined variable $post in /home/osrsmoneymaking.guide/public_html/wp-content/themes/kadence/functions.php on line 391
Warning: Attempt to read property "ID" on null in /home/osrsmoneymaking.guide/public_html/wp-content/themes/kadence/functions.php on line 391
Are you ready to take on one of Old School RuneScape’s (OSRS) most challenging bosses solo? The Nightmare of Ashihama, located in the Sisterhood Sanctuary beneath Slepe in Morytania, is a formidable foe that tests your combat skills, preparation, and patience. Whether you’re chasing unique drops like the Inquisitor’s Mace or simply aiming to conquer this beast for bragging rights, this Nightmare Solo Guide OSRS will walk you through everything you need to succeed in 2025. From gear setups to phase-by-phase strategies, we’ve got you covered!
Soloing the Nightmare offers a unique challenge and reward structure compared to group encounters. While teaming up can make the fight easier and faster, going solo gives you full control over the loot table and a sense of accomplishment that’s hard to beat. Plus, with the right setup, soloing can be a viable way to practice for the even tougher Phosani’s Nightmare variant. Let’s dive into why this boss is worth your time.
The Appeal of Solo Nightmare Runs
Soloing the Nightmare means you don’t have to split drops like the Nightmare Staff or Inquisitor’s armor pieces. It’s also a great way to hone your skills for Combat Achievements, such as the “Nightmare Solo Speed-Trialist” task, which requires a kill under 23 minutes. For Ironmen or players seeking self-sufficiency, solo runs eliminate reliance on others.
Rewards Worth Fighting For
The Nightmare drops some of OSRS’s most coveted items:
- Inquisitor’s Armor Set: Best-in-slot melee crush gear.
- Nightmare Staff: A versatile magic weapon with powerful orbs.
- Slepey Tablet: Unlocks a teleport to Slepe, making future runs easier.
- Parasite: A pet drop for the ultimate flex.
These rewards make the grind worthwhile, especially if you’re lucky enough to snag a unique early.
Preparation: Gear and Inventory Setup

Before you step into the Sisterhood Sanctuary, preparation is key. The Nightmare’s mechanics demand a mix of high DPS, sustainability, and prayer management. Here’s how to gear up for success.
Recommended Gear for Solo Nightmare
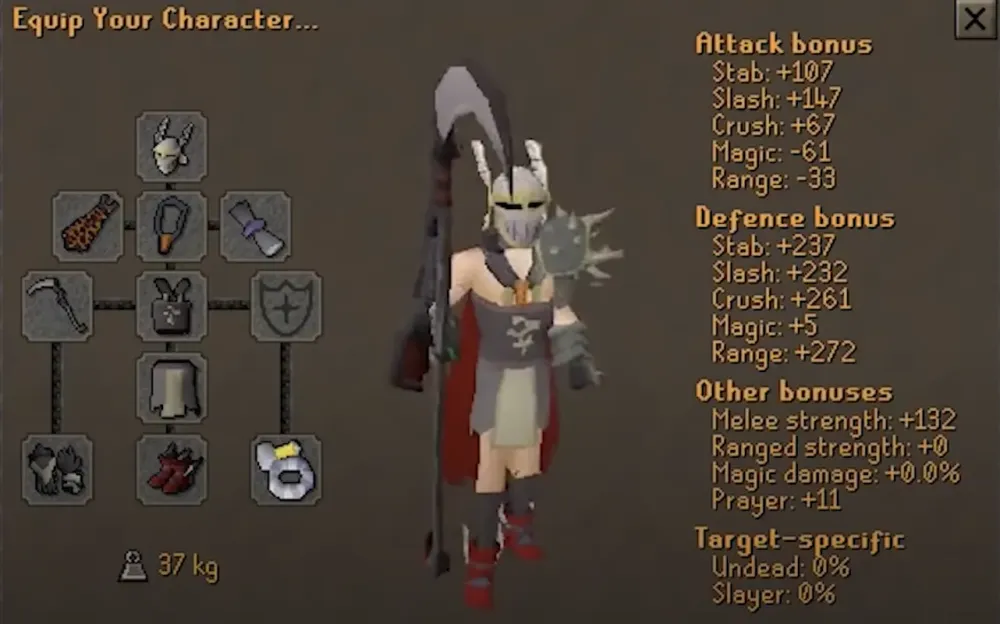
Your gear should prioritize melee strength and defense, with some magic options for flexibility. Here’s a recommended setup:
| Slot | Best-in-Slot | Budget Alternative |
|---|---|---|
| Head | Inquisitor’s Great Helm | Neitiznot Faceguard |
| Body | Inquisitor’s Hauberk | Bandos Chestplate |
| Legs | Inquisitor’s Plateskirt | Bandos Tassets |
| Weapon | Scythe of Vitur | Abyssal Bludgeon |
| Shield | Avernic Defender | Dragon Defender |
| Amulet | Amulet of Torture | Amulet of Fury |
| Ring | Berserker Ring (i) | Warrior Ring (i) |
Note: An Amulet of Blood Fury or Sanguinesti Staff is highly recommended for healing chip damage in solo runs, as the fight can take 16+ minutes.
Inventory Essentials
Your inventory should balance damage output, healing, and prayer restoration:
- Super Combat Potion: Boosts Attack, Strength, and Defense.
- Prayer Potions (4-6): Keeps Protect from Melee/Magic active.
- Saradomin Brews (8-10): Primary healing source.
- Super Restores (4-6): Restores prayer and stats reduced by brews.
- Sharks or Better: Emergency food for quick heals.
- Special Attack Weapon: Dragon Claws or Lightbearer for parasite phases.
Getting to the Nightmare: Fast Travel Tips
The Nightmare resides in the Sisterhood Sanctuary under Slepe. Getting there efficiently saves time and frustration, especially after deaths.
Fastest Travel Methods
Here are the top ways to reach Slepe, ranked by speed:
- Drakan’s Medallion (Slepe Teleport): Unlocked via Slepey Tablet drop after A Taste of Hope quest.
- Hallowed Sepulchre Teleport: Use a Hallowed Crystal Shard, then run east (63 Agility shortcut recommended).
- Ectophial: From Ghosts Ahoy quest, followed by a short run.
- Fairy Ring (CJR): Near Slepe, but requires manual navigation.
Unlocking the Slepe teleport is a game-changer for repeat runs, so prioritize it if you plan to grind.
Mastering the Nightmare Fight: Phase-by-Phase Strategy
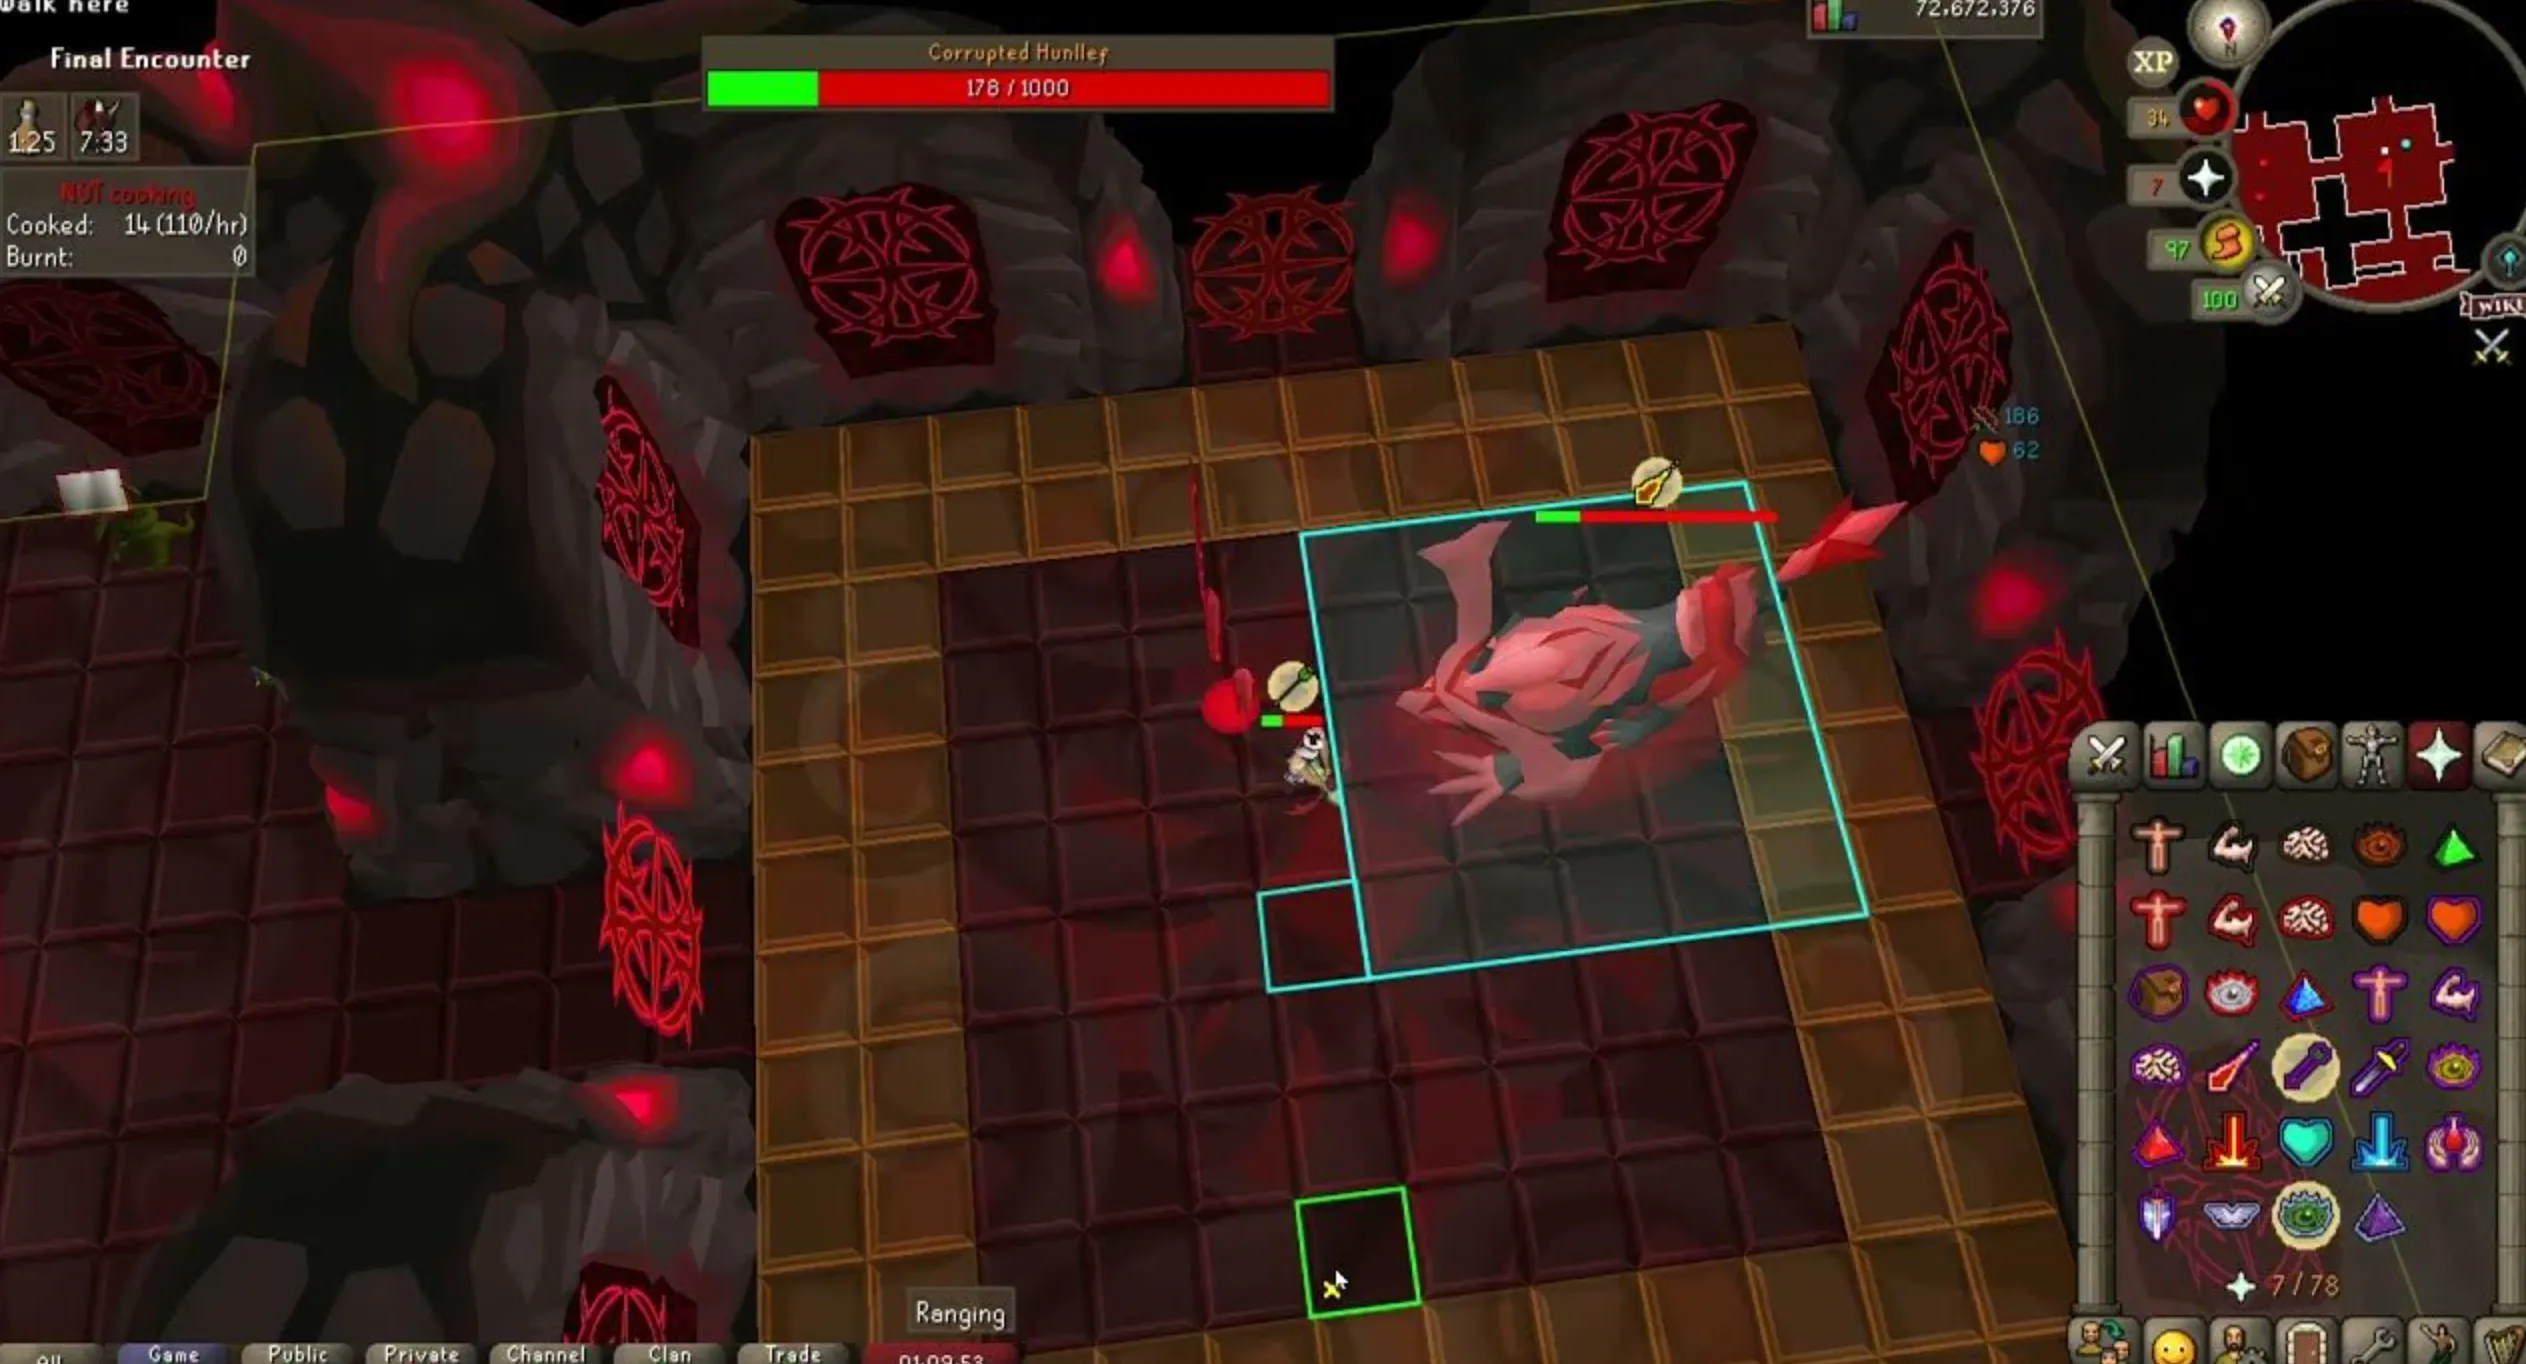
The Nightmare fight consists of four shield phases (2,400 total shield HP) and a final desperation phase (600 HP). Each phase introduces mechanics you must counter to survive. Here’s the breakdown.
Phase 1-4: Shield Phases
The Nightmare starts with a 2,400 HP shield, split across four phases (600 HP each). She uses three attack styles—melee, ranged, and magic—targeting the player with the highest defense bonus. Key mechanics include:
- Grasping Claws: Avoid shadow pools on the ground to prevent heavy damage.
- Husks: Two husks spawn, freezing you until killed. Use quick DPS (e.g., Dragon Claws).
- Corpse Flowers: Four flowers spawn; stand between them to avoid healing the Nightmare.
- Parasites: Spawn and heal the Nightmare’s shield if not killed fast. Prioritize them with spec attacks.
Tip: Pray Protect from Melee if tanking, or stay out of melee range if not. Switch prayers based on her attack animations (ranged = contortion, magic = petals).
Totem Phase (Between Shield Phases)
After each shield phase, four totems spawn with 800 charge total (200 each). Charge them by attacking while fending off parasites that reverse the charge. Use high DPS here to minimize downtime.
Final Phase: Desperation
At 600 HP, the Nightmare enters her final phase. She summons 1-24 Sleepwalkers (1 in solo) that walk toward her. Kill them quickly—each one that reaches her powers up an unavoidable power blast (5-70+ damage). With only one in solo, this is manageable if you don’t miss.
Strategy: Max DPS with your best weapon (Scythe or Bludgeon) and stay on top of prayer switches.
Tips and Tricks for Nightmare Solo Success
Soloing the Nightmare is a marathon, not a sprint. Here are advanced tips to optimize your runs and avoid common pitfalls.
Optimizing DPS and Survivability
- Use Thralls: If on Arceuus spellbook, summon thralls for extra damage.
- Lightbearer Specials: Boost spec regen to nuke parasites quickly.
- Blood Fury Healing: Reduces brew usage, extending trips.
- Tick Eating: Eat food on the same tick as big hits (e.g., power blast) to survive.
Common Mistakes to Avoid
- Ignoring Parasites: They’ll prolong the fight by healing the shield.
- Prayer Flicking Errors: Misjudge her attacks, and you’ll take massive hits.
- Overusing Brews: Balance brews with restores to avoid stat drain.
- Skipping Sleepwalkers: In solo, letting one reach her is a guaranteed KO.
Combat Achievement Tips
For the “Solo Speed-Trialist” task (sub-23 minutes), focus on:
- Max DPS gear (Scythe or Inquisitor’s Mace).
- Perfect prayer switches and parasite kills.
- Practice runs to nail the rhythm of mechanics.
With practice, you’ll shave minutes off your kill time and claim that elite task!
Final Thoughts: Soloing the Nightmare in OSRS is a test of endurance and skill, but the rewards—both tangible and personal—are worth it. Gear up, study the phases, and take on this nightmare head-on. Have you tried soloing the Nightmare yet? Share your tips or drop stories in the comments below!
Warning: Undefined variable $post in /home/osrsmoneymaking.guide/public_html/wp-content/themes/kadence/functions.php on line 391
Warning: Attempt to read property "ID" on null in /home/osrsmoneymaking.guide/public_html/wp-content/themes/kadence/functions.php on line 391

