Your cart is empty
Mastering the DT2 Final Fight in OSRS: A Comprehensive Guide

The Desert Treasure II – The Fallen Empire quest in Old School RuneScape (OSRS) is a grandmaster-level adventure renowned for its challenging combat encounters. Among these, the final fight stands out as a true test of skill, strategy, and perseverance. Whether you’re an experienced PvMer or a newcomer tackling this epic showdown, this guide will walk you through everything you need to know to conquer the DT2 final fight in OSRS. From preparation to mechanics, we’ll break it all down to help you secure victory and claim your rewards.
The DT2 final fight pits you against four consecutive bosses—Sliske’s wights—in an intense gauntlet within the Ancient Vault. After navigating the quest’s earlier challenges, including battles against the Forgotten Four (Vardorvis, Duke Sucellus, The Leviathan, and The Whisperer), this climactic encounter demands precision and adaptability. You’ll face the Forsaken Assassin, Ketla the Unworthy, Kasonde the Craven, and Persten the Deceitful, all in one go without banking between fights. Let’s dive into what makes this battle unique and how to prepare.
What Makes the DT2 Final Fight Unique?
Unlike standalone boss fights, the DT2 final fight is a marathon, requiring you to manage resources across multiple phases. Each wight has distinct mechanics, forcing you to switch combat styles, prayers, and strategies on the fly. The lack of a bank break means your inventory must sustain you through all four encounters, making preparation critical.
Rewards for Conquering the Final Fight
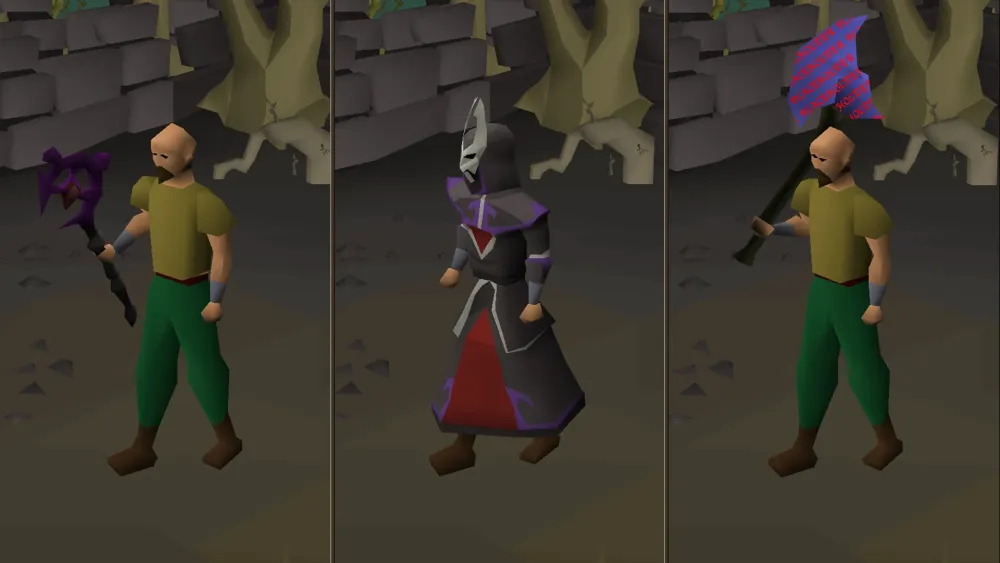
Defeating the wights completes Desert Treasure II, unlocking access to the Forgotten Four as repeatable bosses. You’ll also earn three ancient lamps (100,000 XP each in combat skills of your choice) and the ability to wield powerful gear like the Virtus robes and Soulreaper Axe components. The prestige of finishing one of OSRS’s toughest quests is a bonus worth celebrating!
Preparation for the DT2 Final Fight

Success in the DT2 final fight hinges on thorough preparation. Your gear, inventory, and combat stats will determine how smoothly you progress through this gauntlet. Here’s how to set yourself up for victory.
Recommended Combat Stats
- Attack: 85+ (for accurate melee hits)
- Strength: 85+ (to maximize damage output)
- Defence: 80+ (to reduce incoming damage)
- Ranged: 90+ (crucial for Ketla and Persten)
- Magic: 85+ (optional but useful for versatility)
- Prayer: 70+ (for key protection prayers like Piety)
Gear Setup
A hybrid setup with a focus on Ranged is ideal, as it excels against most wights. Here’s a recommended loadout:
| Slot | Best-in-Slot | Budget Alternative |
|---|---|---|
| Head | Masori mask (f) | Armadyl helmet |
| Body | Masori body (f) | Armadyl chestplate |
| Legs | Masori chaps (f) | Armadyl chainskirt |
| Weapon | Bow of Faerdhinen | Toxic Blowpipe |
| Shield | Dragon defender | Rune defender |
| Ammo | Amethyst arrows | Rune arrows |
Bring a melee switch (e.g., Abyssal Whip or Dragon Dagger for specs) for the Assassin and Kasonde.
Inventory Setup
- Prayer Potions: 3-4 (for sustained prayer use)
- Super Restores: 2-3 (to recover stats and prayer)
- Saradomin Brews: 6-8 (for healing)
- Sharks/Karambwans: Fill remaining slots (combo food for quick heals)
- Ranging Potion: 1 (to boost Ranged accuracy)
- Stamina Potion: 1 (for mobility)
- Teleport: 1 (e.g., Xeric’s Talisman for emergencies)
Breaking Down the DT2 Final Fight Mechanics
Each wight presents unique challenges. Understanding their attacks and how to counter them is key to surviving the gauntlet. Let’s tackle them one by one.
Forsaken Assassin
The Assassin opens the fight with fast melee attacks and occasional poison bottles. He spawns white and pink smoke clouds:
- White Smoke: Lure him into these to deal bonus damage.
- Pink Smoke: Avoid these—they heal him or hurt you.
Strategy: Pray Protect from Melee, use your melee switch (Whip/DDS), and kite him into white smoke while dodging pink clouds. Spec him down with Dragon Dagger specials when possible.
Ketla the Unworthy
Ketla relies on Ranged attacks and spawns clones that mimic her moves. Her charged shot (skull overhead) is deadly unless you hide behind a clone.
- Clones: Have 1 HP; kill a few with darts or Blowpipe to reduce chip damage.
- Charged Shot: Stand behind a clone to block it.
Strategy: Pray Protect from Missiles, use your Ranged setup, and keep clones alive for cover. Focus damage on Ketla, not the clones, unless they overwhelm you.
Kasonde the Craven
Kasonde uses melee with black circle AoE attacks that hit hard if you’re in range.
- Black Circles: Step away to avoid massive damage.
- Mobility: Kite him to minimize hits.
Strategy: Switch to Protect from Melee if close, or Protect from Missiles if kiting with Ranged. Use pillars or space to dodge circles and wear him down steadily.
Persten the Deceitful
Persten is the toughest, wielding Magic attacks, lightning strikes, and spawning portals that release leeches.
- Lightning: Move a few tiles to dodge.
- Portals/Leeches: Ignore them—focus on Persten.
Strategy: Pray Protect from Magic, rush to a corner opposite the entrance after Kasonde dies to avoid leech aggro, and blast her with Ranged. Kite leeches if they get close, but prioritize DPS on Persten.
Tips and Tricks for Success
Beyond mechanics, these practical tips can make or break your run through the DT2 final fight.
Resource Management
Conserve food and potions early on—Ketla and Persten are the real resource drains. Sip brews sparingly during the Assassin and Kasonde to stay topped off without wasting supplies.
Prayer Switching
Practice flicking prayers between fights. For example, switch from Melee (Assassin) to Missiles (Ketla) quickly to avoid unnecessary damage. Use Piety or Rigour when safe to boost DPS.
Kiting Techniques
Movement is your friend. Kite the Assassin into smoke, keep Ketla’s clones between you and her, and run from Kasonde’s circles. For Persten, staying in a corner minimizes leech interference.
Learning from Failure
If you die, don’t despair—teleporting out resets you to the Assassin. Analyze what went wrong (e.g., ran out of food at Persten) and adjust your approach. Each attempt builds muscle memory.
Common Mistakes to Avoid in the DT2 Final Fight
Even seasoned players can stumble. Here’s what to watch out for to ensure your DT2 final fight goes smoothly.
Overcommitting to Portals
Persten’s portals can tempt you to waste time and ammo. Ignore them—killing leeches or portals slows your DPS on her, dragging out the fight and draining supplies.
Poor Inventory Management
Don’t bring too few brews or overload on junk. Balance healing, prayer restoration, and combat boosts to last the full gauntlet.
Ignoring Prayer
Forgetting to swap prayers between wights can lead to quick deaths. Stay alert and adjust based on each boss’s primary attack style.
With this guide, you’re equipped to tackle the DT2 final fight in OSRS like a pro. It’s a brutal challenge, but with the right gear, strategy, and mindset, victory is within reach. Take your time, learn the patterns, and soon you’ll be basking in the glory of completing one of RuneScape’s toughest quests. Good luck, adventurer!

