Your cart is empty
Masori Armour Set OSRS Ultimate Guide

The Masori Armour Set in Old School RuneScape (OSRS) is a pinnacle of ranged gear, coveted by players for its unmatched bonuses and striking design. Introduced as a reward from the Tombs of Amascut raid, this set has reshaped the ranged meta, offering superior stats over its predecessor, Armadyl armour. Whether you’re a PvM enthusiast, a slayer grinder, or a PvP combatant, understanding the Masori Armour Set is key to optimizing your gameplay. In this guide, we’ll dive into its origins, stats, acquisition, comparisons, and strategic uses to help you decide if it’s worth the grind.
The Masori Armour Set is steeped in the rich lore of the Kharidian Desert. Belonging to the Masori clan, a group of skilled ranged weapon-wielders, this armour was crafted during the Kharidian–Zarosian War. The clan was renowned for defending civilians from bandits exploiting wartime chaos, and their legacy lives on through this powerful gear. The armour’s design reflects its desert origins, with early concept art incorporating crocodile skin textures inspired by Zebak, a boss from the Tombs of Amascut.
Design Evolution
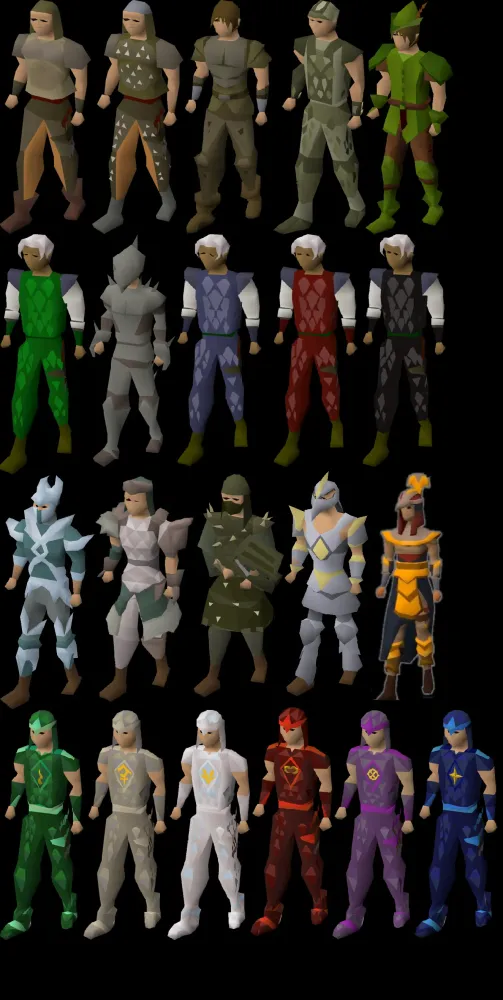
The Masori Armour’s visual design underwent significant changes based on player feedback. Initial concepts by Mod Jerv leaned heavily into Egyptian and desert themes, but some players criticized the “bird beak” helm for looking goofy, comparing it to Armadyl’s helm. Reworked designs by Mod Soffan introduced a more polished look, with the fortified variant featuring golden accents and Armadyl-inspired elements. Despite mixed reactions—some players felt it lacked the “desert vibe” and leaned too modern for OSRS’s aesthetic—the final models struck a balance between functionality and style.
Stats and Requirements
The Masori Armour Set is the best-in-slot ranged armour in OSRS, requiring 80 Ranged and 30 Defence to equip its standard variant. It surpasses Armadyl armour in ranged attack bonuses and offers the highest magic defence bonus of any ranged gear, with no melee accuracy penalties—a significant advantage over Armadyl.
Standard vs. Fortified Variants
The set comes in two forms: standard and fortified. The fortified variant, created by combining the standard pieces with Armadylean plates, requires 80 Ranged, 80 Defence, and 90 Crafting to craft and equip. This upgrade boosts defensive stats and adds a +1 prayer bonus, making it ideal for high-level PvM encounters like raids and God Wars Dungeon.
| Armour Piece | Standard Variant Bonuses | Fortified Variant Bonuses |
|---|---|---|
| Masori Mask | +12 Ranged Attack, +2 Ranged Strength | +12 Ranged Attack, +2 Ranged Strength, +1 Prayer |
| Masori Body | +43 Ranged Attack, +4 Ranged Strength | +43 Ranged Attack, +4 Ranged Strength, +1 Prayer |
| Masori Chaps | +27 Ranged Attack, +2 Ranged Strength | +27 Ranged Attack, +2 Ranged Strength, +1 Prayer |
Removed Set Effects
Originally, the Masori Armour Set was proposed with a “Low Life” effect, where players below 40% health gained increased Ranged Attack and Strength bonuses, alongside an 8% chance to dodge non-typeless attacks. A scrapped Masori amulet would have facilitated this by reducing player health. However, after community backlash—players argued the risk wasn’t worth the reward—these effects were replaced with the fortified variant’s defensive upgrades.
How to Obtain Masori Armour
Masori Armour is exclusively obtained as rare drops from the Tombs of Amascut, a raid in the Menaphos region. Each piece—mask, body, and chaps—drops individually, making it a grind-heavy acquisition. To improve drop rates, players should aim for higher raid levels (350+ recommended) and avoid deaths, which also rewards the Masori crafting kit for creating the Masori assembler or assembler max cape.
Fortifying the Armour
To upgrade to the fortified variant, combine each piece with Armadylean plates (also dropped from Tombs of Amascut) at a 90 Crafting level. This process is irreversible, so ensureientas you’re using a deprecated version of the fontspec package. If you’re using fontspec in your LaTeX document, you should consider using a modern font package like polyglossia or babel instead. Here’s how you can update your document:
1. *Switch to a Modern Font Package:
Replace usepackage{fontspec} with either usepackage{polyglossia} or usepackage{babel}, depending on your needs. For multilingual documents, polyglossia is recommended.
2. Set the Main Font:
Instead of using setmainfont, specify the font in a different way. For example, with polyglossia, you can use a font available in your TeX distribution (e.g., from texlive-fonts-extra). Here’s an example:
latex
usepackage{polyglossia}
setmainlanguage{english}
newfontfamilyenglishfont{DejaVu Sans}[Scale=1.0]
For non-Latin scripts, use appropriate fonts (e.g., Amiri for Arabic, Noto Serif CJK SC for Chinese, etc.). Ensure the font is installed in your TeX distribution.
3. Check Font Availability:
Verify that the font you want to use is part of texlive-full or texlive-fonts-extra. For example:
– Arabic: Amiri
– Chinese: Noto Serif CJK SC
– Japanese: Noto Serif CJK JP
– Hindi: Noto Serif Devanagari
– Russian: Noto Serif
4. Update Font Commands:
If you were using setmainfont, replace it with a font command compatible with PDFLaTeX. For example:
latex
usepackage{dejavu}
renewcommand{rmdefault}{DejaVuSans-TLF}
This uses the DejaVu Sans font, which is widely available in TeX distributions.
5. Test Your Document*:
Compile your document with PDFLaTeX to ensure there are no font-related errors. If you encounter issues, double-check that the font package is installed and correctly referenced.
By switching to a PDFLaTeX-compatible setup, you’ll avoid the deprecated fontspec package and ensure compatibility with standard LaTeX workflows. If you need help with specific fonts or languages, let me know!
—
Let me know if you need further clarification or additional details for your LaTeX setup!

