Your cart is empty

Kree’arra Solo OSRS Guide for Efficient Armadyl Kills
Soloing Kree’arra, the Armadyl-aligned general in Old School RuneScape’s God Wars Dungeon, is a challenging yet rewarding endeavor for players seeking high-value loot like the Armadyl hilt or chestplate. This comprehensive guide covers everything you need to know to tackle Kree’arra solo, from preparation and gear setups to strategies and tips for maximizing efficiency. Whether you’re a seasoned PvMer or a first-time boss hunter, this guide will help you navigate the fight and boost your chances of success.
Kree’arra is a powerful aviansie boss located in the Armadyl section of the God Wars Dungeon. Known for his high-damage ranged attacks and tanky defenses, he requires specific strategies to defeat solo. His bodyguards—Flight Kilisa (melee), Wingman Skree (magic), and Flockleader Geerin (ranged)—add complexity to the fight, making preparation crucial.
Key Requirements for Soloing Kree’arra
Before heading to the God Wars Dungeon, ensure you meet the following requirements:
- 70 Ranged: Required to access the Armadyl encampment using a crossbow and mithril grapple.
- 60 Strength or Agility: Needed to bypass the boulder blocking the dungeon entrance.
- Partial completion of Death Plateau and Troll Stronghold: Grants access to the God Wars Dungeon.
- 40 Armadyl kill count or an ecumenical key: Necessary to enter Kree’arra’s boss room.
Why Solo Kree’arra?
Soloing Kree’arra offers several benefits, including full control over loot and the ability to tailor your strategy. While teaming can extend trips, soloing is ideal for players who prefer independence and want to maximize their profit from rare drops like the Armadyl chestplate (worth millions of GP). It’s also a great way to progress aviansie Slayer tasks.
Recommended Gear and Inventory Setup
Your gear and inventory are critical for surviving Kree’arra’s high-damage attacks and dealing consistent damage. Below are recommended setups for different budgets, focusing on ranged or magic combat styles since melee attacks (except salamanders) are ineffective.
High-End Gear Setup
For players with a larger budget, this setup maximizes damage output and survivability:
| Slot | Item | Notes |
|---|---|---|
| Head | Slayer Helmet (i) (on task) / Masori Mask (f) | Slayer Helmet boosts damage by 15% on aviansie tasks. |
| Body | Masori Body (f) | High ranged strength and defense. |
| Legs | Masori Chaps (f) | Complements Masori body for optimal stats. |
| Weapon | Twisted Bow / Tumeken’s Shadow | Twisted Bow excels due to Kree’arra’s high magic level; Shadow is best for magic setups. |
| Ammo | Black Chinchompas (ranged) / None (magic) | Chinchompas for AoE damage on minions and boss. |
| Shield | Crystal Shield / Elidinis’ Ward (f) | Boosts ranged defense for tanking hits. |
| Cape | Ava’s Assembler | Recovers ammo and boosts ranged stats. |
| Amulet | Necklace of Anguish | Increases ranged damage. |
| Ring | Ring of Suffering (i) | Provides defense and recoil damage. |
Budget Gear Setup
For players with limited funds, this setup is effective and affordable:
- Head: Armadyl Helmet or God D’hide Coif
- Body: Armadyl Chestplate or Black D’hide Body
- Legs: Armadyl Chainskirt or Black D’hide Chaps
- Weapon: Armadyl Crossbow or Rune Crossbow (with Diamond Bolts (e))
- Shield: Book of Balance or Blessed Spirit Shield
- Cape: Ava’s Accumulator
- Amulet: Amulet of Glory
- Ring: Archers Ring
Inventory Setup
A balanced inventory ensures you can stay in the fight longer:
- 6-8 Saradomin Brews: Heals 16 per dose, restores health quickly.
- 4-6 Super Restores: Restores prayer and stats lowered by brews.
- 1 Ranging Potion: Boosts ranged level for better accuracy.
- Bones to Peaches Tablets: Converts dropped bones into peaches (heals 8 HP each).
- 3-5 High-Healing Food: Sharks or Manta Rays for emergency healing.
- Ecumenical Key: Skips kill count for faster boss access.
- Teleportation Items: Trollheim Teleport, Ring of Dueling, or Glory for banking.
- Ancient Staff or Kodai Wand: For Blood Barrage to heal off minions post-kill.
Combat Strategies for Solo Kree’arra
Kree’arra’s attacks demand precise positioning and prayer management. His ranged attack (grey dust tornado) can hit up to 71, while his magic attack (blue dust tornado) hits up to 21. If not targeted, he uses a melee attack (up to 26). Always keep Protect from Missiles active to mitigate his most dangerous attack.
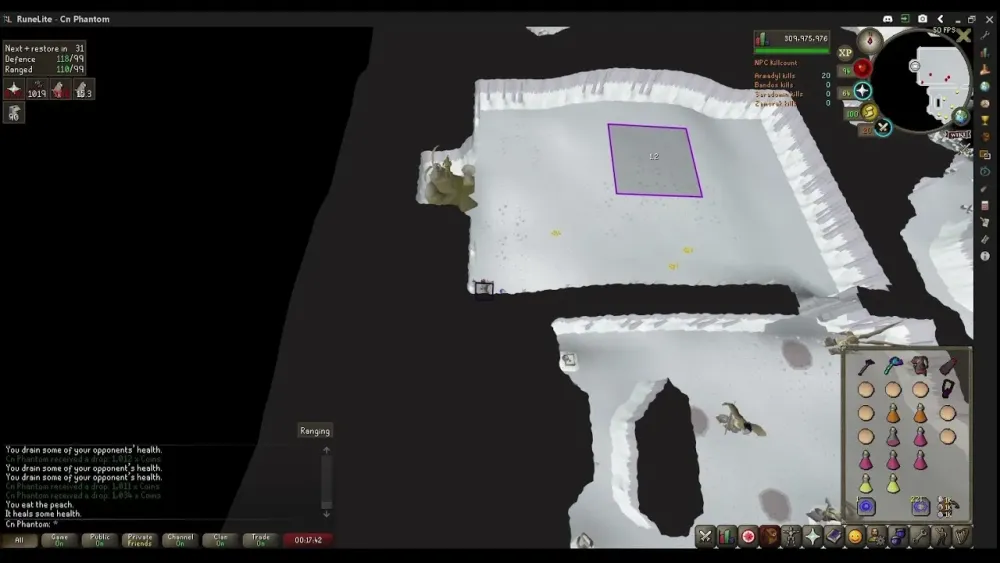
Chinchompa Method (High DPS)
The chinchompa method is the most efficient for soloing due to its AoE damage, which hits both Kree’arra and his minions. Here’s how to execute it:
- Enter the boss room and head to the southwestern corner to avoid knockback.
- Wait for Kree’arra and Flight Kilisa (melee minion) to approach you.
- Target Flight Kilisa with black chinchompas—her lower defense ensures more consistent hits, and the AoE damage splashes onto Kree’arra.
- After Kilisa dies, switch to targeting Kree’arra directly or another minion if needed.
- Use Blood Barrage on minions after Kree’arra dies to heal up for the next fight.
Pro Tip: Freeze the melee minion with Ice Barrage at the start to reduce incoming damage, especially if not on a Slayer task.
Crossbow/Bow Method (Budget-Friendly)
For players without chinchompas, a crossbow or bow setup is viable but slower:
- Stand in a corner and activate Protect from Missiles.
- Target Kree’arra directly with Diamond Bolts (e) or a Twisted Bow for maximum damage.
- Lure Kree’arra into melee range by briefly stopping attacks, then resume attacking to keep him close.
- Use abilities like Death’s Swiftness (unlocked via The World Wakes) to boost ranged damage by 50% for 30 seconds.
- Switch to Soul Split or Blood Barrage on minions after Kree’arra’s death to recover health.
Tips for Maximizing Efficiency
To get the most out of your Kree’arra solo trips, consider these tips:
- Use Ecumenical Keys: Skip the tedious Armadyl kill count by farming keys in the Wilderness God Wars Dungeon. Carry multiple keys to save time.
- Prayer Flick Minions: Switch to Protect from Melee or Ranged when focusing minions to reduce damage taken.
- Optimize Inventory: Drop two Saradomin Brews upon teleporting and use a Glory or Ring of Dueling to restock quickly.
- Slayer Task Advantage: Always fight Kree’arra on an aviansie task for the Slayer Helmet’s 15% damage boost, significantly increasing kill speed.
- Manage Adrenaline: Build adrenaline to 100% before using Death’s Swiftness or other thresholds to maximize DPS.
Expected Loot and Profit
Kree’arra’s loot is where the real reward lies, though it’s heavily reliant on rare drops. Here’s a breakdown of notable drops and their approximate Grand Exchange values (as of May 2025):
| Item | Drop Rate | Approximate Value (GP) |
|---|---|---|
| Armadyl Hilt | 1/512 | 20M |
| Armadyl Chestplate | 1/384 | 8M |
| Armadyl Chainskirt | 1/384 | 6M |
| Armadyl Helmet | 1/384 | 3M |
| Godsword Shard | 1/1,524 | 150K |
With a max magic setup using Tumeken’s Shadow, players can achieve around 27 kills per hour, yielding an estimated profit of 1-2M GP/hour, excluding rare drops. Budget setups or chinchompa methods may yield lower profits (500K-1M GP/hour) due to higher supply costs.
Is Kree’arra Worth Soloing?
While Kree’arra’s high defense and supply costs can make soloing resource-intensive, the potential for multi-million GP drops makes it worthwhile, especially on Slayer tasks. Patience is key, as profit relies on hitting the rare drop table. For ironmen, Kree’arra is essential for obtaining best-in-slot ranged gear like the Armadyl chestplate.
Soloing Kree’arra in OSRS is a test of skill, preparation, and persistence. By using the chinchompa method or a budget crossbow setup, leveraging ecumenical keys, and optimizing your gear and inventory, you can conquer this formidable boss and reap the rewards. Happy hunting, and may RNGesus bless your drops!