Your cart is empty

How to Make an OSRS Bot A Step-by-Step Guide
Creating a bot for Old School RuneScape (OSRS) can be an exciting project for those interested in programming and gaming. However, it’s important to approach this with caution, as botting violates Jagex’s terms of service and can lead to account bans. This guide is intended for educational purposes, focusing on the technical aspects of bot development to understand automation and scripting. Below, we’ll walk through the process of making an OSRS bot, from setting up your environment to writing scripts, while emphasizing ethical considerations.
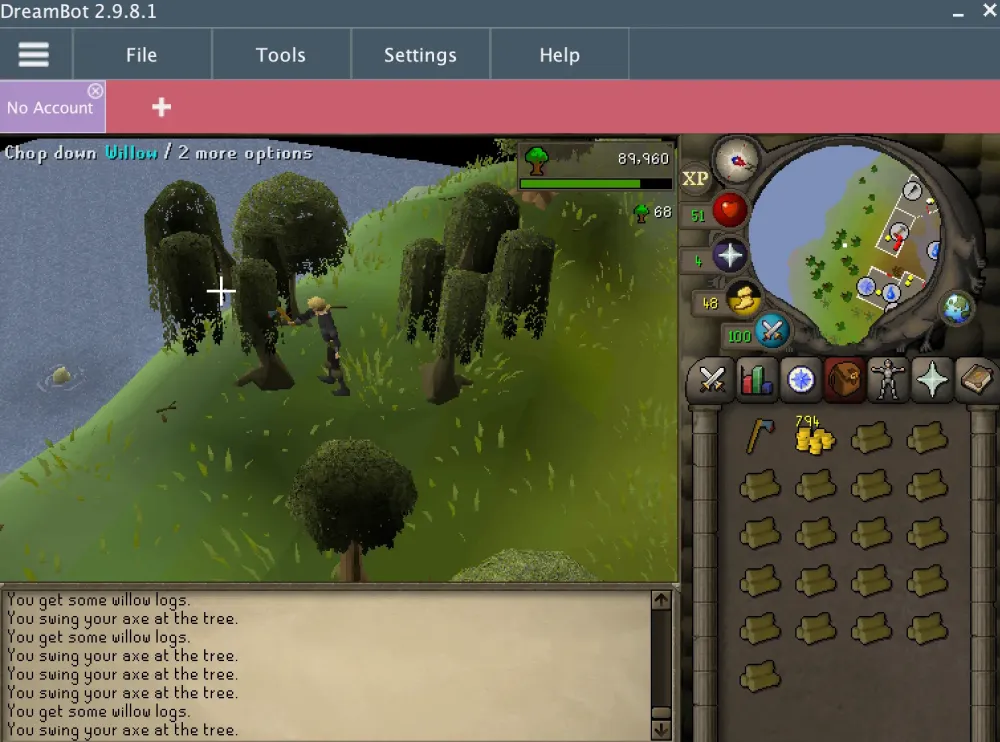
Before diving into code, it’s crucial to grasp what an OSRS bot does. A bot automates repetitive tasks in the game, such as fishing, woodcutting, or combat, by simulating player actions. These programs interact with the game client, reading game data and performing tasks based on predefined logic.
Why Create a Bot?
Building a bot can help you learn programming concepts like automation, image recognition, and API usage. It’s a practical way to apply skills in a real-world context, though you should avoid deploying bots in OSRS to respect the game’s rules.
Legal and Ethical Considerations
Jagex, the developer of OSRS, strictly prohibits botting. Using a bot risks permanent bans, and distributing bot software can have legal implications. Always prioritize fair play and consider using your skills for legitimate projects, like creating tools for other games or platforms that allow automation.
Setting Up Your Development Environment
To start building an OSRS bot, you’ll need a proper setup. This includes choosing a programming language, installing necessary tools, and configuring your workspace.
Choosing a Programming Language
Popular languages for bot development include:
- Java: Widely used due to existing bot frameworks like RuneMate and OSBot.
- Python: Great for beginners, with libraries like PyAutoGUI for automation.
- C#: Used in some bot clients for its robust features.
For this guide, we’ll focus on Python for its simplicity and versatility.
Installing Required Tools
You’ll need the following:
- Python 3.x: Download from python.org.
- IDE: Use PyCharm, VS Code, or IDLE for coding.
- Libraries: Install PyAutoGUI (
pip install pyautogui) for mouse/keyboard control and OpenCV (pip install opencv-python) for image recognition. - OSRS Client: Use the official client or RuneLite for testing (in a sandbox environment).
Creating a Sandbox Environment
Avoid testing on live OSRS servers. Instead, set up a local environment:
- Download a private server emulator (e.g., 2006Scape) to mimic OSRS.
- Run the emulator locally to test scripts safely.
- Ensure your bot interacts only with this server to avoid bans.
Designing Your Bot’s Functionality
Once your environment is ready, decide what your bot will do. Common tasks include skilling (e.g., mining, fishing) or combat automation. Let’s design a simple fishing bot as an example.
Defining Bot Tasks
A fishing bot should:
- Locate fishing spots: Detect spots on the screen using image recognition.
- Click to fish: Simulate mouse clicks to interact with the spot.
- Drop items: Clear inventory when full.
- Handle interruptions: Pause for random events or anti-ban measures.
Planning the Logic Flow
Create a flowchart to outline the bot’s actions:
| Step | Action | Tool |
|---|---|---|
| 1 | Scan screen for fishing spot | OpenCV |
| 2 | Move mouse to spot | PyAutoGUI |
| 3 | Click to start fishing | PyAutoGUI |
| 4 | Wait for inventory to fill | Time module |
| 5 | Drop fish | PyAutoGUI |
Coding the OSRS Bot
Now, let’s write the bot’s code. Below is a simplified Python script for a fishing bot, focusing on core concepts.
Basic Script Structure
Here’s a sample script to get started:
import pyautogui
import cv2
import numpy as np
import time

# Initialize PyAutoGUI
pyautogui.FAILSAFE = True

def find_fishing_spot():
    # Load fishing spot image
    template = cv2.imread('fishing_spot.png', 0)
    screen = pyautogui.screenshot()
    screen = cv2.cvtColor(np.array(screen), cv2.COLOR_RGB2GRAY)

    # Match template
    result = cv2.matchTemplate(screen, template, cv2.TM_CCOEFF_NORMED)
    _, max_val, _, max_loc = cv2.minMaxLoc(result)

    if max_val > 0.8:
        return max_loc
    return None

def main():
    print("Starting bot...")
    time.sleep(3)  # Delay to switch to game

    while True:
        spot = find_fishing_spot()
        if spot:
            pyautogui.moveTo(spot[0], spot[1])
            pyautogui.click()
            time.sleep(10)  # Wait for fishing
        else:
            print("Fishing spot not found")
        time.sleep(1)

if __name__ == "__main__":
    main()
Adding Anti-Ban Features
To make the bot seem more human-like (for educational purposes), add randomization:
- Random Delays: Use
time.sleep(random.uniform(0.5, 1.5))between actions. - Mouse Variation: Offset clicks slightly with
pyautogui.moveTo(x + random.randint(-5, 5), y). - Breaks: Pause the bot randomly to simulate player rest.
Testing the Bot
Test the script in your sandbox environment:
- Launch the private server.
- Run the script and monitor its actions.
- Debug issues like incorrect image detection or click timing.
Tweak parameters (e.g., image thresholds, delays) to improve reliability.
Optimizing and Expanding Your Bot
Once your bot works, you can enhance its features or make it more robust.
Improving Image Recognition
Enhance OpenCV’s accuracy:
- Multiple Templates: Use several images of the same fishing spot under different lighting.
- Color Detection: Filter by color to reduce false positives.
- Dynamic Scaling: Adjust for different screen resolutions.
Adding New Skills
Expand the bot to handle other tasks like woodcutting or mining:
- Modular Code: Create functions for each skill (e.g.,
fish(),chop()). - Config Files: Store settings (e.g., item IDs, coordinates) in a JSON file.
- State Machine: Use a state-based approach to switch between tasks dynamically.
Handling Errors
Make the bot resilient:
- Exception Handling: Wrap code in try-except blocks to catch crashes.
- Logging: Save actions to a log file for debugging.
- Fallbacks: If a fishing spot isn’t found, move to a backup location.
Final Note: While building an OSRS bot is a valuable learning exercise, deploying it in the live game is unethical and risky. Use your skills to create legitimate tools, like game analytics or community mods, to contribute positively to the gaming world.
