Your cart is empty

How to Kill Basilisk Knights in OSRS: Ultimate Slayer Guide

If you’re diving into the world of Old School RuneScape (OSRS) and looking to tackle Basilisk Knights, you’re in for a rewarding yet challenging Slayer task. Found in Jormungand’s Prison beneath the Island of Stone, these formidable foes require preparation, strategy, and the right gear to conquer efficiently. Whether you’re chasing the coveted Basilisk Jaw for the Neitiznot Faceguard or simply grinding Slayer XP, this guide will walk you through everything you need to know to kill Basilisk Knights in OSRS like a pro.
What Are Basilisk Knights?
Basilisk Knights are a high-level Slayer monster introduced with The Fremennik Exiles quest. They’re an upgraded version of regular Basilisks, boasting tougher stats and a lucrative drop table. You’ll need a Slayer level of 60 and completion of the quest to take them on, making them a mid-to-high-tier challenge in OSRS.
Why Kill Basilisk Knights?
The primary draw is the Basilisk Jaw, a rare drop (1/1,000 on-task, 1/5,000 off-task) that upgrades the Helm of Neitiznot into the best-in-slot melee helmet, the Neitiznot Faceguard. Beyond that, they offer decent Slayer XP and consistent loot, making them a solid choice for profit and progression.
Preparation: Gear and Inventory Setup
Essential Requirements
Before heading to Jormungand’s Prison, ensure you meet these prerequisites:
- Slayer Level 60: Required to damage Basilisk Knights.
- The Fremennik Exiles Quest: Grants access to their location.
- Mirror Shield or V’s Shield: Mandatory to avoid their stat-draining gaze attack.
Recommended Gear for Ranging
Ranging is the preferred method due to safe spots, offering both safety and efficiency. Here’s a top-tier setup:
- Head: Slayer Helmet (i) (on-task) or Armadyl Helmet
- Cape: Ava’s Assembler
- Body: Armadyl Chestplate or Black D’hide Body
- Legs: Armadyl Chainskirt or Black D’hide Chaps
- Weapon: Rune Crossbow or Armadyl Crossbow
- Ammo: Broad Bolts (cost-effective) or Diamond Bolts (e) (higher DPS)
- Shield: Mirror Shield or V’s Shield
For budget players, Black D’hide gear with a Rune Crossbow and Broad Bolts works well, especially given their low Ranged defense.
Inventory Setup
Your inventory should balance combat sustainability and loot collection:
- Prayer Potions (4-6): For Protect from Magic.
- Food (Sharks or Better): To heal from occasional hits.
- Teleport (e.g., Rellekka Tab): For quick exits.
- Runes for Telekinetic Grab: To pick up drops from safe spots.
- Bones to Peaches Tabs: Optional for extended trips using their Big Bones drops.
How to Get to Basilisk Knights
Traveling to Jormungand’s Prison
Basilisk Knights reside in Jormungand’s Prison, accessible after The Fremennik Exiles. Here’s how to get there:
- Teleport to Rellekka (e.g., Fremennik Sea Boots or House Teleport with Rellekka portal).
- Head northwest to the docks and take the boat to the Island of Stone.
- Enter the prison via the cave entrance and navigate to the Basilisk Knight area.
Alternatively, use a Lunar Isle teleport and get kicked off to Rellekka for a faster route if you have a Player-Owned House portal setup.
Safe Spot Locations
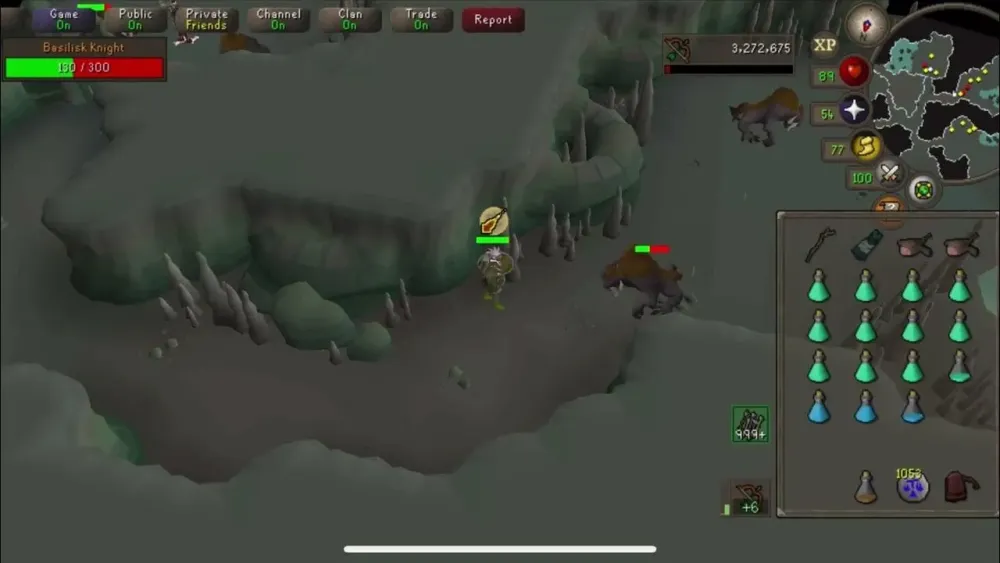
Once inside, use stalagmites as safe spots to avoid melee attacks. Stand at least two tiles away when ranging to prevent them from closing in. Popular spots include the northeastern and southwestern corners of their area.
Combat Strategies for Killing Basilisk Knights
Ranging Tactics
Ranging is the meta for Basilisk Knights due to their low Ranged defense and safe spot availability. Key tips:
- Protect from Magic: Their Magic attack hits hard (up to 20) and matches your weapon’s attack speed.
- Prayer Flicking: Flick Protect from Magic on the tick after your attack to minimize damage.
- Stay Alert: They alternate Magic and Melee when in range, so maintain distance.
Melee Alternative
For higher DPS, melee is viable with top-tier gear like the Inquisitor’s set or Bandos armor, paired with a Zamorakian Hasta. However, it’s riskier and requires more attention:
- High Combat Stats: 80+ Attack, Strength, and Defense recommended.
- Prayer Management: Use Piety and Protect from Magic simultaneously.
- No Safe Spots: You’ll tank hits, so bring plenty of food.
Dealing with Basilisk Sentinels
If you’ve unlocked Bigger and Badder (150 Slayer points), a Basilisk Sentinel (superior variant) may spawn (1/200 chance on-task). It uses a special orb attack that encases you in stone if you don’t move. Dodge by stepping one tile away or spam-click to break free, avoiding massive follow-up damage.
Loot and Rewards from Basilisk Knights
Drop Table Highlights
Basilisk Knights offer a mix of consistent and rare drops. Here’s a breakdown:
| Item | Drop Rate | Value (Approx.) |
|---|---|---|
| Basilisk Jaw | 1/1,000 (on-task) | 20-25M GP |
| Rune Items (Dagger, Axe) | Common | 5-10K GP each |
| Herbs (Grimy Ranarr, etc.) | 3/52 chance | 5-15K GP each |
| Big Bones | 100% | 200-300 GP |
Average kill value is around 27K GP on-task (including Jaw rarity) and 8K GP off-task, dropping to 4K GP without the Jaw factored in.
Maximizing Profit
To boost earnings:
- Slayer Task: The Jaw drop rate jumps fivefold on-task, making it a must for profit-focused players.
- Ring of Wealth: Increases gem table rolls and removes “nothing” drops.
- High Alchemy: Alch Rune items on-site with a Divine Rune Pouch.
Experience Gains
Each kill grants 300 Slayer XP and around 900-1,000 Combat XP, depending on your method. While not the fastest XP, it’s a solid grind when paired with profit potential.
Mastering Basilisk Knights in OSRS requires a blend of preparation, strategy, and persistence. Whether you’re ranging from a safe spot or braving melee for faster kills, this guide equips you to take them down efficiently. With the right setup and a bit of luck, you’ll be cashing in on that Basilisk Jaw in no time. Happy slaying!