Your cart is empty

How to Farm Ancient Shards in Old School RuneScape
Ancient shards are a valuable resource in Old School RuneScape (OSRS), primarily used to create and charge the Arclight, a powerful weapon for demon-slaying, or for quick transportation within the Catacombs of Kourend. Farming these shards efficiently can be a game-changer for players looking to optimize their combat setup or navigate the catacombs with ease. In this guide, we’ll break down the best methods, monsters, and strategies to farm ancient shards, ensuring you maximize your time and effort. Whether you’re a seasoned player or a newcomer, this comprehensive guide will help you gather shards quickly and effectively.
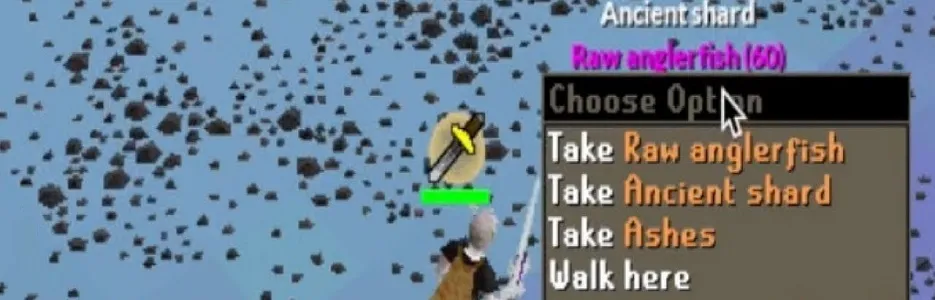
Before diving into farming strategies, it’s essential to understand what ancient shards are and why they’re worth your time. Dropped by monsters in the Catacombs of Kourend (excluding ghosts), ancient shards have two primary uses:
- Creating and Charging Arclight: Combine three shards with a Darklight at the central altar in the Catacombs to create an Arclight, a degradeable weapon with superior stats against demons. Three shards also provide 1,000 charges, with a maximum of 10,000 charges possible.
- Transportation: Use one shard at the central altar for instant teleportation to four areas within the Catacombs: Demon’s Run, Dragon’s Den, Reeking Cove, or The Shallows. Note that this consumes the shard.
The drop rate for ancient shards depends on a monster’s hitpoints, making high-HP targets more likely to drop them. However, balancing kill speed and drop rate is key to efficient farming.
Best Monsters for Farming Ancient Shards
Not all monsters in the Catacombs are equal when it comes to shard farming. The best targets offer a combination of decent hitpoints, manageable defenses, and accessibility. Below are the top monsters to focus on, along with strategies for each.
Greater Nechryaels
Greater Nechryaels are a top choice for high-level players due to their 200 hitpoints and relatively high shard drop rate (approximately 1/48). They’re found in the Catacombs’ northeastern area (Demon’s Run).
- Recommended Method: Use Ice Barrage or black chinchompas to hit multiple Nechryaels at once, significantly boosting shard drops per hour. Being on a Slayer task increases kill speed due to Slayer helm bonuses.
- Gear: High Magic or Ranged gear (e.g., Ahrim’s or Toxic Blowpipe). Bring Prayer potions to sustain Protect from Melee.
- Pros: Fast shard rates, potential for superior monsters (1/66.66 with Bigger and Badder unlock) that guarantee totem pieces.
- Cons: High-effort and costly (runes or chinchompas).
Abyssal Demons
With 150 hitpoints and a shard drop rate of around 1/53, Abyssal Demons are another excellent target, especially for players with strong melee or Ranged setups.
- Recommended Method: Use a Venator bow for a more AFK experience or black chinchompas for faster kills. On-task, a Dwarf Multicannon can speed things up.
- Gear: Elite Void or Bandos with a high-damage weapon like a Dragon Hunter Crossbow or Scythe of Vitur.
- Pros: Decent shard rate, valuable secondary drops (e.g., Abyssal Whip).
- Cons: Crowded spots, requires high combat stats.
Dust Devils
Dust Devils (105 hitpoints, ~1/60 drop rate) are ideal for mid-level players or those seeking a profitable, low-effort method.
- Recommended Method: Burst with Ice Barrage off-task for net-zero or profitable runs due to their valuable drops (e.g., Dragon Chainbody).
- Gear: Mystic robes or Ahrim’s, with a Dust Mask or Slayer Helmet to avoid damage.
- Pros: Profitable, relatively low combat requirements.
- Cons: Slower shard rate compared to Nechryaels or Abyssal Demons.
Hill Giants (Giants’ Den)
For low-level players, Hill Giants in the Giants’ Den (35 hitpoints, ~1/80 drop rate) are a surprisingly effective option due to their low defenses and high spawn density.
- Recommended Method: Use a Dwarf Multicannon to mow through multiple giants quickly. Melee with Protect from Melee is also viable.
- Gear: Budget melee gear (e.g., Rune armor, Dragon Scimitar) and a cannon.
- Pros: Low requirements, access to Catacombs drop table (including totem pieces).
- Cons: Slower shard rate, less efficient for high-level players.
Optimal Farming Strategies
To maximize your ancient shard yield, you’ll need to adopt specific strategies tailored to your combat level, gear, and playstyle. Here are the most effective approaches.
Multi-Hit Attacks for High Efficiency
Attacking multiple monsters simultaneously is the fastest way to farm shards. The following weapons excel at this:
- Ice Barrage: Hits up to nine monsters in a 3×3 area. Ideal for stackable monsters like Greater Nechryaels or Dust Devils. Requires 94 Magic and high rune costs.
- Black Chinchompas: A Ranged alternative to Barrage, hitting multiple targets with high damage. Requires 45 Ranged and significant GP investment.
- Venator Bow: A low-effort option that ricochets to hit multiple targets. Best for AFK farming on Abyssal Demons or Mutated Bloodvelds.
Slayer Task Prioritization
Farming shards during Slayer tasks is highly recommended, as the Slayer helm (i) provides a 15% damage and accuracy boost, increasing kills per hour. Focus on tasks like:
- Greater Nechryaels
- Abyssal Demons
- Dust Devils
- Black Demons (if using a cannon)
Purchase the Bigger and Badder unlock (150 Slayer points) to spawn superior monsters, which have a 100% totem piece drop rate and better shard chances.
Skotizo for Guaranteed Shards
Skotizo, a demi-boss in the Catacombs, guarantees 1–5 shards per kill and is accessible by using a completed Dark Totem at the central altar. Totem pieces drop from Catacombs monsters, so regular farming naturally builds toward Skotizo kills.
- Requirements: High combat stats (80+ recommended), Protect from Melee, and decent gear (e.g., Bandos, Arclight).
- Strategy: Kill Skotizo whenever you have a totem. Use Arclight for faster kills and conserve charges for bossing.
- Tip: Save Skotizo kills for when you need a shard boost, as they’re a reliable source.
Gear and Inventory Setup
Your gear and inventory will significantly impact your farming efficiency. Here’s a recommended setup for high-level players, with adjustments for mid- and low-level players.
| Slot | High-Level | Mid-Level | Low-Level |
|---|---|---|---|
| Helmet | Slayer Helmet (i) | Black Mask | Rune Full Helm |
| Chest | Ahrim’s Robetop | Mystic Robe Top | Rune Platebody |
| Weapon | Kodai Wand (Ice Barrage) | Toxic Blowpipe | Dragon Scimitar |
| Ammo/Runes | Blood, Death, Water Runes | Adamant Darts | N/A |
Inventory:
- Prayer potions (4–6)
- Teleport to Kourend (e.g., Xeric’s Talisman)
- Food (Sharks or better)
- Rune Pouch (for Barrage)
- Cannonballs (if using a cannon)
Tips for Efficient Shard Farming
To wrap up, here are some additional tips to streamline your ancient shard farming:
- Farm During Slayer Tasks: Always prioritize Catacombs tasks to benefit from Slayer bonuses and superior monster spawns.
- Bank Totem Pieces: Save Dark Totem pieces for Skotizo kills, which provide a reliable shard source.
- Use AFK Methods for Long Sessions: If you’re short on time or prefer low-effort farming, use the Venator bow or cannon on Hill Giants.
- Monitor Arclight Usage: Reserve Arclight charges for high-value targets (e.g., Cerberus, Demonic Gorillas) to avoid running out of shards.
- Check Crowded Worlds: Hop worlds to find less crowded spots for Abyssal Demons or Nechryaels to maximize kill efficiency.
Farming ancient shards in OSRS requires a balance of strategy, gear, and patience. By targeting high-HP monsters like Greater Nechryaels, using multi-hit attacks, and incorporating Skotizo kills, you can build a steady supply of shards for Arclight charges or transportation. Whether you’re barraging for speed or cannoning for ease, this guide has you covered. Happy farming, and may the RNG gods be in your favor!