Your cart is empty

How to Charge Dragonfire Shield OSRS
The Dragonfire Shield (DFS) is one of the most powerful defensive items in Old School RuneScape (OSRS), prized for its ability to protect against dragonfire attacks and boost melee and ranged defense. Charging the shield is essential to unlock its full potential, transforming it from a modest shield into one of the best in the game. In this guide, we’ll walk you through everything you need to know about charging the Dragonfire Shield, including requirements, methods, locations, and tips to make the process efficient. Whether you’re a seasoned adventurer or a new player, this blog post will help you master the art of charging your DFS.
The Dragonfire Shield is an upgraded version of the anti-dragon shield, created by combining an anti-dragon shield with a draconic visage at an anvil. It requires 75 Defence and starting the Dragon Slayer I quest to equip. When fully charged, it rivals top-tier shields like the Elysian Spirit Shield, offering exceptional melee and ranged defensive bonuses.
Why Charge the Dragonfire Shield?
An uncharged DFS provides defensive stats slightly better than a mithril square shield. However, charging it increases its melee and ranged defensive bonuses by up to +50, making it a powerhouse for combat against dragons, wyverns, and other high-damage foes. Each charge adds +1 to stab, slash, crush, and ranged defense, up to a maximum of 50 charges.
Key Stats of the Dragonfire Shield
| State | Stab Defence | Slash Defence | Crush Defence | Range Defence | Magic Defence |
|---|---|---|---|---|---|
| Uncharged | +20 | +25 | +22 | +22 | +10 |
| Fully Charged | +70 | +75 | +72 | +72 | +10 |
Note: Magic defence remains unchanged when charging.
Requirements for Charging the Dragonfire Shield

Before you can charge your DFS, you need to meet specific requirements and gather the necessary items. Here’s what you’ll need:
Prerequisites
- 75 Defence: To equip the Dragonfire Shield.
- Started Dragon Slayer I: You don’t need to complete the quest, just begin it.
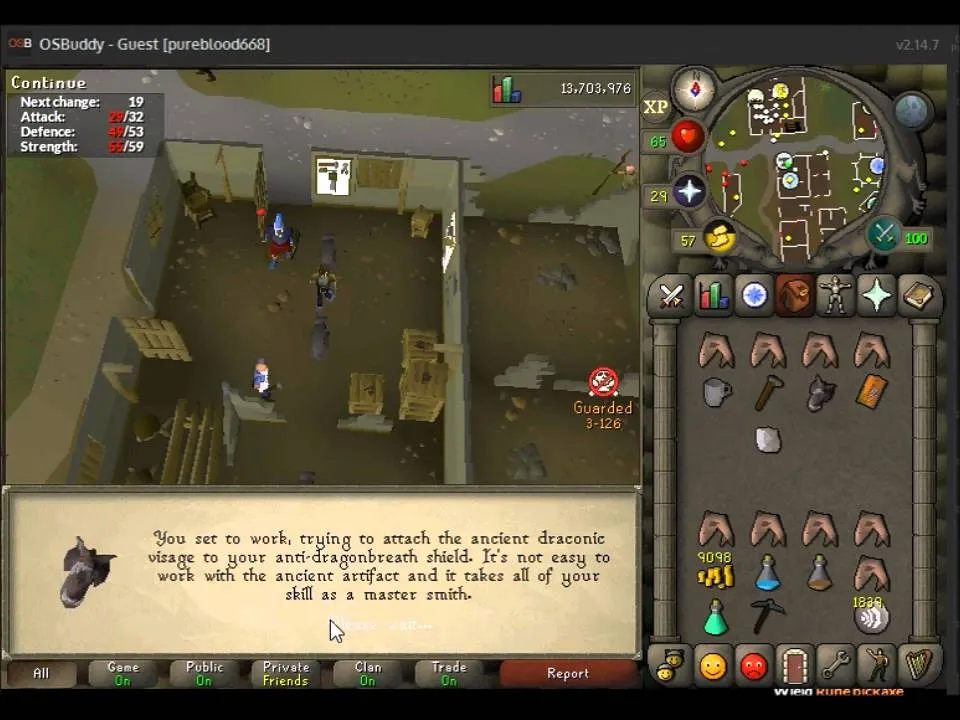
- Uncharged Dragonfire Shield: Crafted by combining an anti-dragon shield and draconic visage at an anvil (requires 90 Smithing or payment of 1,250,000 coins to Oziach in Edgeville).
Recommended Items
- Antifire potion: Prevents damage from dragonfire during charging.
- Teleportation method: For quick access to charging locations (e.g., Teleport to Kourend or Xeric’s Talisman).
- Food (optional): If not using antifire potions, bring high-healing food like sharks.
- Bottled dragonbreath (optional): Instantly charges the shield to 50 charges, available from the Grand Exchange.
Methods to Charge the Dragonfire Shield
There are two primary ways to charge the DFS: absorbing dragonfire or wyvern breath attacks, or using bottled dragonbreath. Below, we explore both methods in detail.
Method 1: Absorbing Dragonfire or Wyvern Breath
The traditional method involves equipping the DFS and letting dragons or wyverns hit you with their breath attacks. Each attack adds one charge, up to a maximum of 50. Here’s how to do it:
- Equip the Dragonfire Shield.
- Drink an antifire potion to negate dragonfire damage.
- Head to a location with dragons or wyverns (see recommended spots below).
- Stand at a distance to ensure dragons use their breath attack instead of melee.
- Check the shield’s charge status by right-clicking and selecting “Inspect.”
Tip: Metal dragons (e.g., iron or bronze) are ideal because they use dragonfire exclusively when you’re out of melee range, speeding up the process.
Method 2: Using Bottled Dragonbreath
For players who want to skip the grind, bottled dragonbreath is a quick alternative. This item, purchasable from the Grand Exchange, instantly charges the DFS to 50 when used. Simply right-click the bottled dragonbreath in your inventory and select “Use” on the uncharged DFS.
Pros: Fast and convenient.
Cons: Can be expensive depending on market prices.
Best Locations for Charging the Dragonfire Shield
Choosing the right location is crucial for efficient charging. Below are the top spots, ranked by speed and accessibility.
Catacombs of Kourend
The Catacombs of Kourend is the fastest location due to its multi-combat area with iron and bronze dragons.
- How to Get There: Use the Teleport to Kourend spell or Xeric’s Talisman (Xeric’s Heart teleport). Run north to the iron and bronze dragon area.
- Why It’s Great: Multiple dragons attack simultaneously, charging the shield in under a minute with an antifire potion.
- Requirements: Access to Kourend (no specific quests needed).
Nightmare Zone (Elvarg Practice Run)
Elvarg in the Nightmare Zone offers a completely safe charging method.
- How to Get There: Teleport to Yanille (e.g., Watchtower Teleport) and enter the Nightmare Zone. Set up a Practice dream with Elvarg.
- Why It’s Great: No risk of death, and Elvarg’s dragonfire charges the shield consistently.
- Requirements: Completion of Dragon Slayer I and Nightmare Zone unlocked.
Brimhaven Dungeon
The Brimhaven Dungeon houses iron and steel dragons, ideal for charging.
- How to Get There: Teleport to Karamja (e.g., Amulet of Glory) and pay 875 coins to enter the dungeon (free after completing hard Karamja Diary).
- Why It’s Great: Dragons use only dragonfire at range, ensuring steady charges.
- Requirements: 875 coins per entry (unless Karamja Diary is completed).
Player-Owned House (POH) Steel Dragon
A steel dragon in a POH Treasure Room is a premium but safe option.
- How to Get There: Visit a friend’s POH with a steel dragon or build one (requires 95 Construction and 10,000,000 coins).
- Why It’s Great: Controlled environment with no external threats.
- Requirements: Access to a POH with a steel dragon.
Tips and Tricks for Efficient Charging
Maximize your charging efficiency with these expert tips:
Use Antifire Potions
Always drink an antifire potion before charging to avoid taking damage. Combine with the DFS for full dragonfire protection, eliminating the need for food.
Stay Out of Melee Range
Position yourself far enough from dragons to trigger their breath attacks. Metal dragons won’t use melee if you’re at a distance, ensuring every hit adds a charge.
Monitor Charges
Right-click the shield and select “Inspect” to check the number of charges. When fully charged, the message “The shield has 50 charges” appears.
Avoid Using the Special Attack
The DFS’s special attack (activated by right-clicking “Activate”) expends one charge to unleash a dragonfire blast, dealing up to 25 damage. This reduces defensive bonuses by 1 per use, so avoid it unless necessary. The attack has a 2-minute cooldown and is less effective against dragonfire-resistant targets.
Empty Charges for Trading
A charged DFS is untradeable. To sell or trade it, right-click and select “Empty” to release all charges harmlessly, making it tradeable again.
Combine with Combat Training
Charge your shield while training Slayer or combat in dragon-heavy areas like the Catacombs. This multitasking saves time and resources.
Conclusion
Charging the Dragonfire Shield in OSRS is a straightforward process that significantly enhances its combat utility. Whether you opt for the traditional method of absorbing dragonfire in the Catacombs of Kourend or use bottled dragonbreath for instant results, a fully charged DFS is a game-changer for dragon-slaying and high-level PvE. By following this guide, you’ll be well-equipped to charge your shield efficiently and dominate your adventures in Gielinor. Grab your antifire potion, head to the dragons, and let the Dragonfire Shield’s power shine!
