Your cart is empty

Galvek Fight Guide OSRS – Master Dragon Slayer II Final Boss
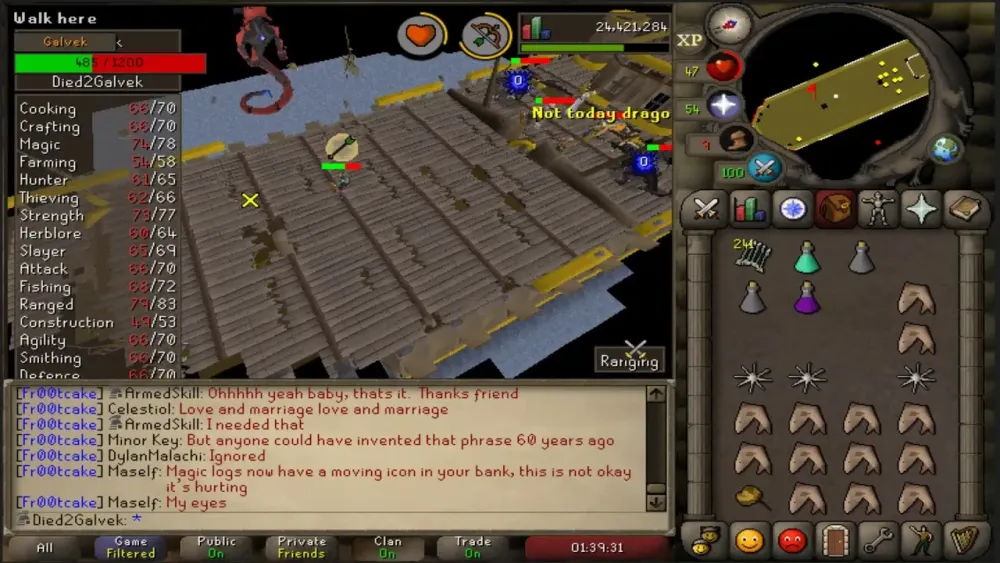
Defeating Galvek, the formidable final boss of the Dragon Slayer II quest in Old School RuneScape (OSRS), is a rite of passage for adventurers seeking glory and access to Vorkath. This serpent-like dragon, with 1,200 hitpoints across four elemental phases, challenges players with a mix of melee, ranged, magic, and devastating dragonfire attacks. Whether you’re a seasoned PvMer or a mid-level player tackling this grandmaster quest, this comprehensive guide will equip you with the strategies, gear setups, and mechanics knowledge to conquer Galvek and claim victory. Let’s dive into the fight mechanics, preparation, and phase-by-phase tactics to ensure your success!
Before facing Galvek, thorough preparation is key to surviving his multi-phase onslaught. From stats to gear and inventory, every detail matters.
Recommended Stats
Galvek is a combat level 608 boss, so higher stats give you an edge, but mid-level players can succeed with the right approach. Aim for:
- Ranged: 80+ (85+ ideal for faster kills)
- Defence: 75+ (to tank hits)
- Prayer: 70+ (for Rigour and protection prayers)
- Hitpoints: 75+ (to survive high-damage attacks)
Lower stats (e.g., 70 Ranged) are viable but require more precision and food.
Gear Setup
Ranged is the most effective combat style against Galvek due to his high magic defence and the need for mobility. Melee is risky, and magic is largely ineffective. Here’s a recommended gear setup:
| Slot | Best-in-Slot | Budget Alternative |
|---|---|---|
| Head | Armadyl Helmet | Archer’s Helm |
| Neck | Necklace of Anguish | Amulet of Fury |
| Body | Armadyl Chestplate | Blessed D’hide Body |
| Legs | Armadyl Chainskirt | Blessed D’hide Chaps |
| Weapon | Dragon Hunter Crossbow | Rune Crossbow |
| Shield | Dragonfire Ward | Anti-Dragon Shield |
| Ammo | Ruby Bolts (e) → Diamond Bolts (e) | Ruby Bolts (e) |
Tip: Ruby Bolts (e) deal massive damage early on, but switch to Diamond Bolts (e) below 150 HP for better accuracy.
Inventory Setup
Your inventory should balance damage, survival, and prayer management. A sample setup includes:
- 1 Ranging Potion (boosts Ranged level)
- 1 Extended Super Antifire (mitigates orange dragonfire)
- 2-3 Prayer Potions or Super Restores
- 4-6 Saradomin Brews (healing without losing ticks)
- 10-12 High-healing Food (Karambwans or Manta Rays)
- 1 Stamina Potion (for pre-fight agility course)
- Teleport (e.g., Myths’ Guild Cape for retries)
Note: Super Antifire + Anti-Dragon Shield nullifies orange and pink dragonfire, but not the one-hit fireball.
Understanding Galvek’s Mechanics

Galvek’s fight is divided into four phases, each with 300 hitpoints and unique elemental themes: Fire, Air, Water, and Earth. He uses all three combat styles, special dragonfire attacks, and phase-specific abilities that demand quick reactions.
General Attacks
- Melee: High-damage slash if you’re too close; stay out of melee range.
- Ranged: Green projectiles; protect from Missiles in later phases.
- Magic: Blue pull attack drags you closer; protect from Magic in early phases.
- Dragonfire: Three types:
- Orange: Standard dragonfire, mitigated by antifire + shield.
- Pink: Disables prayers on impact; re-activate prayers immediately.
- One-hit Fireball: A slow-moving projectile that kills instantly if it hits; move 2 tiles away to avoid, or take 50% damage if adjacent.
Pro Tip: Always keep moving to dodge the one-hit fireball, as it’s the biggest threat in every phase.
Phase-by-Phase Strategy
Each of Galvek’s phases introduces new mechanics, requiring you to adapt your positioning and prayer usage. Here’s how to tackle them.
Phase 1: Fire
Galvek starts at the ship’s bow, using Melee, Magic, and orange/pink dragonfire. His special attack summons fire bombs in a 3×3 radius, dealing massive damage (often 90+) if touched.
- Prayer: Protect from Magic.
- Positioning: Stand near the rails, running east-west to avoid bombs. Never run south, as bombs are fixed in position.
- Tactics: Use Ruby Bolts (e) to chunk his health. Watch for the one-hit fireball and sidestep it. Re-activate prayers if hit by pink dragonfire.
Tip: This phase is lethal due to fire bombs. Memorize their spawn points (they’re consistent) and stay disciplined with movement.
Phase 2: Air
Galvek flies to the eastern side, gaining a gust attack that drains prayer slightly. He alternates Ranged and Magic, with the one-hit fireball remaining a threat.
- Prayer: Protect from Magic (switch to Missiles if Ranged hits hard).
- Positioning: Stay mobile to dodge fireballs. The gust attack is minor, so focus on damage.
- Tactics: Continue with Ruby Bolts (e) until Galvek is below 150 HP, then switch to Diamond Bolts (e). Sip a Super Restore if prayer drops too low.
Note: This phase is a breather compared to Phase 1, but don’t get complacent with fireballs.
Phase 3: Water
Galvek moves to the eastern side again, unleashing tsunami waves that deal 100+ damage if they hit. Combined with the one-hit fireball, this phase is the deadliest due to limited movement space.
- Prayer: Protect from Missiles (Ranged attacks are frequent).
- Positioning: Walk (don’t run) to open columns when waves spawn. If a fireball lands during a tsunami, prioritize dodging the fireball.
- Tactics: Use Diamond Bolts (e) for consistent damage. Eat proactively to stay above 75 HP, as misclicks can be fatal.
Warning: Tsunamis and fireballs together leave little room for error. Practice walking through waves to avoid pathing issues.
Phase 4: Earth
Galvek lands in the ship’s center, using earth projectiles to bind you for seconds, followed by dragonfire. This phase is manageable if you avoid binds.
- Prayer: Protect from Missiles or Magic (alternate based on hits).
- Positioning: Walk in circles around Galvek to dodge earth projectiles. Move one tile to avoid binds.
- Tactics: Keep up damage with Diamond Bolts (e). The bind doesn’t deal damage, but dragonfire after it does, so stay alert.
Tip: This phase is the easiest if you master movement. Circle Galvek to avoid both binds and fireballs.
Tips for Success
Beyond phase mechanics, these general tips can make or break your Galvek fight:
- Conserve Run Energy: Turn off run before the fight, as walking is sufficient. Use a Stamina Potion only for the pre-fight agility course.
- Prayer Management: Sip Super Restores during phase transitions to save ticks. Pink dragonfire is frequent, so re-activate prayers quickly.
- Food Efficiency: Use Saradomin Brews for big heals, but pair with Super Restores to counter stat drains. Karambwans are great for combo-eating.
- Practice in Pool of Dreams: After completing Dragon Slayer II, retry Galvek via the Myths’ Guild Pool of Dreams (safe deaths) to refine your skills.
- Stay Calm: Galvek’s attacks are predictable with practice. If you die, teleport back with a Myths’ Guild Cape and try again.
Advanced Strategies for Speed Kills
For players aiming for the Galvek Speed-Trialist elite combat achievement (kill in under 3 minutes), here’s how to optimize:
Gear and Inventory
- Weapon: Dragon Hunter Crossbow with Ruby Dragon Bolts (e) for Phase 1, then Dragon Hunter Lance for melee in Phases 2-4.
- Special Attacks: Use Bandos Godsword specials in Phase 2 to lower defence, speeding up melee kills.
- Inventory: Include Guthix Rests to eat without losing ticks, plus Divine Ranging and Super Combat Potions.
Tactics
- Phase 1: Pray Rigour and click Galvek during the transition screen to land a Ruby Bolt (e) special immediately. Reset via Nardah teleport if the special doesn’t proc.
- Phase 2-4: Switch to melee with Piety, using Lance for high DPS. Only eat during transitions to maximize damage output.
- Teleports: Use Myths’ Guild Cape and Desert Amulet 4 for quick resets if Ruby Bolts fail early.
Warning: Speed kills require luck with Ruby Bolt specials and flawless mechanics. Expect multiple attempts.
With this guide, you’re ready to take on Galvek and complete Dragon Slayer II. Study the mechanics, gear up, and stay focused—victory is within reach! Share your Galvek kill stories or ask for tips in the comments below. Happy ‘Scaping!
