Your cart is empty

Fossil Island Camp OSRS Your Ultimate Guide to Mastering the Base
Fossil Island in Old School RuneScape (OSRS) is a treasure trove for adventurers, offering unique training methods, rare fossils, and immersive lore. At the heart of this members-only island lies the Museum Camp, a central hub where players can kickstart their Fossil Island journey. This guide dives deep into everything you need to know about the Fossil Island Camp, from setup to activities, rewards, and tips for efficiency. Whether you’re a seasoned player or a curious newcomer, this SEO-optimized blog post will help you make the most of this iconic location.
Before you can explore the Museum Camp, you need to reach Fossil Island. This requires completing the Bone Voyage quest, which unlocks access to the island. You’ll also need at least 100 Kudos with the Varrock Museum, earned through various museum activities like cleaning finds or completing quests. Once these prerequisites are met, you’re ready to travel.
Fastest Travel Methods
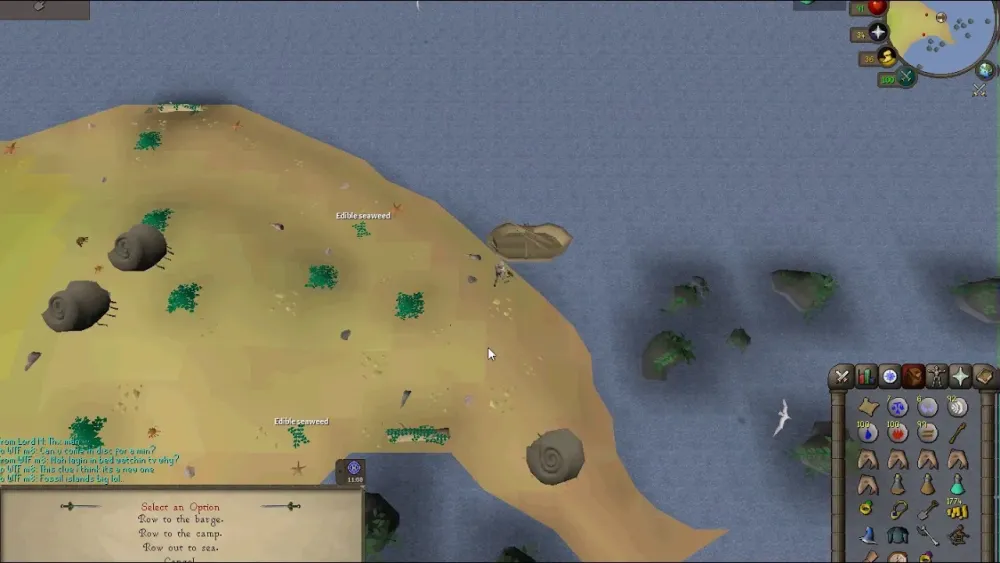
The quickest way to reach Fossil Island Camp is by using a digsite pendant. This item teleports you near the barge at the Digsite, where you can speak to the barge guard to sail to the island. Upon arrival, you’ll find yourself just west of the Museum Camp. Here are other travel options:
- Digsite Teleport Scroll: Teleports you southwest of the barge for quick access.
- Glider and Spirit Tree: From Varrock, use the spirit tree at the Grand Exchange to reach the Gnome Stronghold, then take a glider to ‘Lemanto Andra’ near the Digsite.
- Fairy Ring: Use code ‘AKS’ after completing “One Small Favour,” then run west to the glider.
For faster navigation, unlock the Mycelium Transportation System by visiting magic mushtrees across the island. You can also enchant the digsite pendant at the strange machine in the House on the Hill for direct teleports to a mushtree.
Setting Up the Museum Camp
The Museum Camp starts as a basic outpost, but with some effort, you can transform it into a fully functional base. Using your Construction skill, you can build various utilities to enhance your experience. A hammer is required for all construction tasks, and one can be purchased from the Fossil Island General Store if you forget yours.
Construction Requirements and Materials
To fully upgrade the camp, you’ll need a minimum of 29 Construction and the following materials:
| Item | Quantity | Purpose |
|---|---|---|
| Oak Planks | 10 | Building structures like the bank chest |
| Iron Bars | 2 | Reinforcing utilities |
| Nails | 25 | Securing planks |
| Tinderbox | 1 | Lighting fires |
| Logs | 2 | Fuel for fires |
| Soft Clay | 3 | Crafting pottery |
| Bucket | 1 | Carrying materials |
| Ropes | 2 | Securing structures |
| Planks | 5 | General construction |
Building the bank chest, in particular, requires 21 Construction, 2 oak planks, 1 iron bar, and 5 nails. This upgrade is a game-changer, allowing you to store and retrieve items without leaving the island.
Rewards for Building the Camp
Once you’ve constructed all camp improvements, speak to Peter, found panning southwest of the notice board. He’ll reward you with 5 unidentified small fossils, which are crucial for accessing the Volcanic Mine (requires 50 Mining, 150 Kudos, and this reward). These fossils can also be stored in nearby fossil storage crates, which sync across the island and the Varrock Museum basement.
Activities at the Museum Camp
The Museum Camp is more than just a starting point—it’s a hub for various activities that yield fossils, numulites, and experience. Here’s what you can do:
Fossil Cleaning and Collection
East of the camp, you’ll find the Archaeologists’ Cleaning Bench, where you can clean unidentified fossils. Grab a Fossil Cleaning Kit (trowel, rock pick, specimen brush, leather gloves, and boots) from the crate next to the bench. Dig in the soil around the camp to uncover numulites and unidentified fossils, then clean them to reveal small, medium, large, or plant fossils.
- Tip: Store cleaned or uncleaned fossils in the fossil storage crate to save inventory space.
- Pro Strategy: Clean fossils at the camp, store them, and retrieve them later at the Varrock Museum to complete displays without multiple trips.
Mini-Task List
Check the notice board outside the Fossil Island General Store for a mini-task list divided into four sections: Museum Camp, Northern Reaches, Southern Swamps, and Mountainous East. Completing tasks introduces you to the island’s content and rewards fossils:
- Museum Camp and Northern Reaches: Earn 10 unidentified small fossils (5 per section).
- Southern Swamps and Mountainous East: Earn 10 unidentified medium fossils (5 per section).
Speak to Peter after completing each section to claim your rewards. These tasks are beginner-friendly and help you explore the island’s diverse activities.
Maximizing Efficiency at Fossil Island Camp
To make the most of your time at the Museum Camp, follow these tips for efficiency and resource management.
Optimizing Fossil Collection
While digging at the camp is a decent way to gather fossils, other activities on the island are more efficient. Consider these methods:
- Sulliuscep Trees: Cutting these in the Tar Swamp (65 Woodcutting) yields fossils and up to 100,000 Woodcutting XP per hour. Bring high Hitpoints and Prayer for safety.
- Herbiboar Hunting: Tracking herbiboars in the Mushroom Forest (80 Hunter) provides fossils passively while training Hunter.
- Volcanic Mine: Mining here (50 Mining) offers fossils alongside valuable rewards like volcanic ash.
Toggle off regular fossil drops by speaking to Peter if you’re focusing on other rewards but want to keep rare fossils active.
Using Fossils Effectively
Fossils have multiple uses beyond storage. Here’s how to utilize them:
- Varrock Museum Displays: Cleaned fossils complete displays on the museum’s paleontology floor, earning 2 Kudos and experience lamps (2k XP for small, 3.5k for medium, 5k for large/plant).
- Fossil Collector: Trade unidentified fossils for numulites (100–500 depending on size) to fund activities like the Volcanic Mine or Drift Net Fishing.
- Mycelium Pool: Convert fossils into enriched bones for Prayer XP (500 for small, 1000 for medium, 1500 for large, 2500 for rare). Use a 1:1 ratio of calcite and pyrophosphite for efficiency.
- Ancient Wyvern Shield: Recharge the shield with fossils for a quicker alternative to numulites.
Tips and Tricks for Fossil Island Camp Success
Here are additional strategies to enhance your Fossil Island Camp experience:
- Inventory Management: Always carry a hammer, digsite pendant, and cleaning tools to minimize trips. Use the bank chest once built for quick storage.
- Task Prioritization: Focus on building the bank chest first to streamline fossil cleaning and storage.
- Explore Early: Complete the notice board tasks to unlock the Mycelium Transportation System and familiarize yourself with the island’s layout.
- Combine Activities: Pair fossil collection with skilling (e.g., Woodcutting or Hunter) to maximize XP and rewards.
- Check Kudos: Ensure you have enough Kudos (150) for the Volcanic Mine by completing museum displays or quests like “Below Ice Mountain.”
By leveraging these tips, you’ll turn the Museum Camp into a springboard for conquering Fossil Island’s challenges.
The Fossil Island Camp is your gateway to one of OSRS’s most dynamic areas. From building essential utilities to collecting fossils and tackling mini-tasks, this hub sets the stage for adventure. Use this guide to navigate the camp, optimize your activities, and unlock the island’s full potential. Ready to dig in? Teleport to Fossil Island and start exploring today!
