Your cart is empty
Enakhra’s Lament OSRS Quest Guide

Enakhra’s Lament is an engaging intermediate quest in Old School RuneScape (OSRS) set in the Kharidian Desert. This quest introduces players to the Mahjarrat, powerful beings central to the game’s lore, specifically Enakhra and Akthanakos. With a mix of puzzle-solving, exploration, and crafting, it’s a rewarding experience for mid-level players. This guide covers everything you need to complete Enakhra’s Lament, including requirements, walkthrough, and tips for success, optimized to help you rank higher on search engines.
Before starting Enakhra’s Lament, ensure you meet the prerequisites and have the recommended items to streamline the process.
Skill Requirements
- 50 Crafting: Needed to carve a granite head.
- 45 Mining: Required to mine granite.
- 43 Prayer: Useful for protection prayers during combat.
- 39 Magic: Necessary for casting spells.
Quest Requirements
No prior quests are required, making Enakhra’s Lament accessible for newer players.
Recommended Items
- Soft clay (2): For creating moulds.
- Granite (5kg): For crafting a camel head.
- Chisel: To carve granite.
- Runes for Fire Bolt: 4 fire runes and 3 chaos runes for combat.
- Shantay pass and coins: For desert travel.
- Waterskins and desert clothing: To survive desert heat.
- Teleportation method: Ring of dueling or Amulet of Glory for quick travel.
- Food and prayer potions: For combat and sustaining prayer points.
Starting the Quest
To begin Enakhra’s Lament, head to the quarry south of the Bandit Camp in the Kharidian Desert. You’ll need a Shantay pass to enter the desert from Shantay Pass. Speak to Lazim, a sculptor near the quarry’s center, who is trying to build a statue but needs help. Accept his offer to assist, and the quest begins.
Choosing a Statue Base
Lazim asks you to choose a base for his statue. He offers three options:
| Base Type | Weight | Effect |
|---|---|---|
| Sandstone (10kg) | 10kg | Increases weight carried, slowing movement. |
| Sandstone (20kg) | 20kg | Further slows movement but progresses quest. |
| Granite (32kg) | 32kg | Heaviest, significantly slows movement. |
Choose the 20kg sandstone base for a balance of progress and manageability. Lazim will then ask for 20kg of sandstone for the body and 32kg of granite for the head, which you’ll need to mine from the quarry.
Exploring the Temple
After gathering materials, follow Lazim to a pile of sand. Clear it to reveal a trapdoor, which leads to an ancient temple beneath the desert. This temple is the heart of the quest, filled with puzzles and cutscenes revealing Enakhra’s story.
Gathering the Sigils
Inside the temple, you’ll navigate four rooms, each containing a sigil. Travel anticlockwise to view cutscenes in the correct order:
- North Room: Use the sandstone arms on the door. Watch a cutscene of Enakhra celebrating the temple’s completion for Zamorak.
- East Room: Attach the sandstone legs. See four Knights of Avarrocka attempt to destroy Enakhra, only to be defeated, with one frozen in ice.
- South Room: Place the granite head. Witness Akthanakos trying to convince Enakhra to defect from Zamorak.
- West Room: Use the sandstone body. This door requires a key obtained later.
Collect a sigil (M, R, K, or Z) from each room’s pedestal. These represent Zamorak’s name, tying into the quest’s lore.
Crafting the Camel Head
In the south room, use soft clay on the pedestal to create a camel head mould. Then, use a chisel on a 5kg granite block to carve a camel head. Place it on the pedestal to trigger a cutscene where Enakhra betrays Akthanakos, freezing him and affirming her loyalty to Zamorak.
Optional: Use a second soft clay on the granite head to craft a camel mask for yourself, a fun cosmetic item.
Unlocking the Final Room
To access the west room, you need a key. Return to the central chamber and use the sigils on the corresponding slots in the wall puzzle. Match each sigil (M, R, K, Z) to its slot, which unlocks a door to a new area.
Obtaining the Z Sigil
In the new area, you’ll face a level 44 Boneguard. Use Fire Bolt (or melee with Protect from Melee) to defeat it. Pick up the Z sigil it drops. If you struggle, lure the Boneguard to a corner and attack safely from a distance.
Using the Key
With the Z sigil, return to the west room door. Use the sigil to unlock it, revealing another cutscene of Enakhra’s plans. This completes the temple exploration phase.
Completing the Quest
After unlocking all rooms, speak to Lazim, who appears in the temple. He reveals his true intentions but rewards you for your help. To finish, speak to the frozen knight in the east room, who provides additional lore about Enakhra and Akthanakos.
Quest Rewards
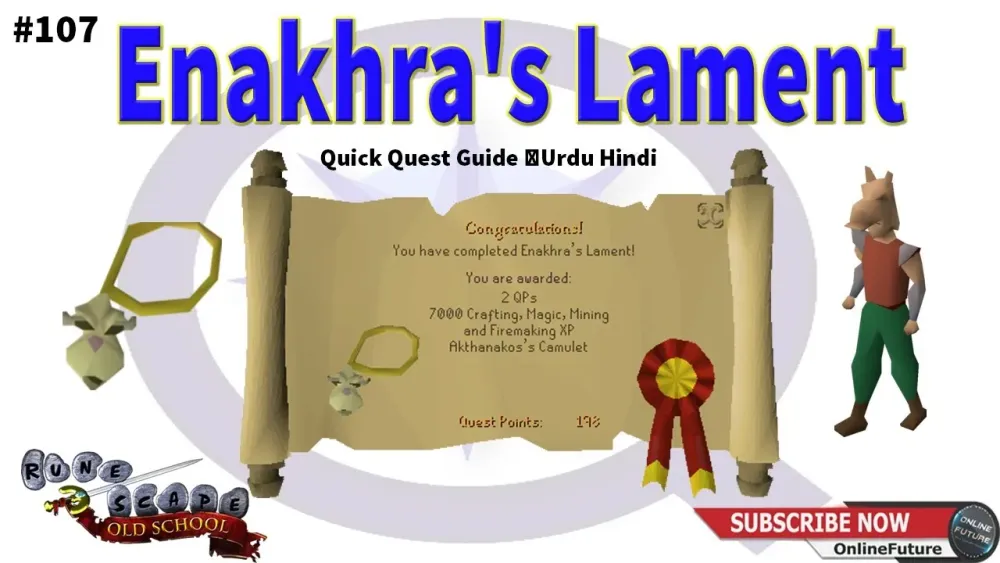
- 2 Quest Points
- 7,000 Crafting XP
- 7,000 Mining XP
- 7,000 Magic XP
- 7,000 Prayer XP
- Camel mask (if crafted)
- Access to Enakhra’s Temple for future use
Tips for Success
- Conserve prayer points: Use Protect from Melee only when necessary against the Boneguard.
- Bring extra waterskins: The desert heat can deplete health quickly.
- Bank before combat: Store unnecessary items to reduce weight and improve mobility.
- Use teleports: A Ring of Dueling speeds up travel to the Duel Arena for banking or healing.
Enakhra’s Lament is a lore-rich quest that sets the stage for future Mahjarrat-related content in OSRS. Completing it unlocks valuable experience and access to the temple, which may be useful for other activities. Follow this guide to navigate the quest efficiently and enjoy the story of Enakhra’s betrayal and Zamorak’s influence.
