Your cart is empty

Dust Devil Slayer Task OSRS: The Ultimate Guide to Mastering This Profitable Task
If you’re an Old School RuneScape (OSRS) player looking to level up your Slayer skill while raking in some solid gold, the Dust Devil Slayer task is one you won’t want to skip. Unlocked at Slayer level 65, Dust Devils are a fan-favorite task due to their high experience rates, multi-combat zones, and lucrative drops. Whether you’re a mid-level player or a seasoned veteran, this guide will walk you through everything you need to know to conquer your Dust Devil Slayer task in OSRS. From locations and gear setups to strategies and profit potential, we’ve got you covered!
Dust Devils stand out as one of the best Slayer tasks in OSRS for several reasons. They’re relatively easy to kill, offer excellent Slayer XP per hour, and drop items that can offset your supply costs—or even turn a profit. Plus, with the right setup, you can take advantage of multi-combat areas to burst or barrage them, making this task both efficient and rewarding.
Key Benefits of Dust Devils
- High XP Rates: With bursting or barraging, you can achieve up to 70k+ Slayer XP per hour.
- Profit Potential: Drops like alchables and rare items make this task financially viable.
- Multi-Combat Zones: Perfect for stacking and killing multiple Dust Devils at once.
- Low Defense: Their weakness to magic makes them quick to dispatch with the right gear.
Requirements to Get Started
Before you can tackle Dust Devils, you’ll need to meet a few prerequisites:
- Slayer Level 65: Required to damage Dust Devils.
- Desert Treasure I (Partial Completion): Needed to unlock Dust Devils as a Slayer task.
- Facemask or Slayer Helmet: Essential to avoid their stat-draining dust attacks.
Best Locations for Dust Devil Slayer Tasks
Dust Devils can be found in three key locations in OSRS, each with its own advantages. Your choice depends on whether you prioritize safety, profit, or XP rates. Let’s break them down:
Catacombs of Kourend
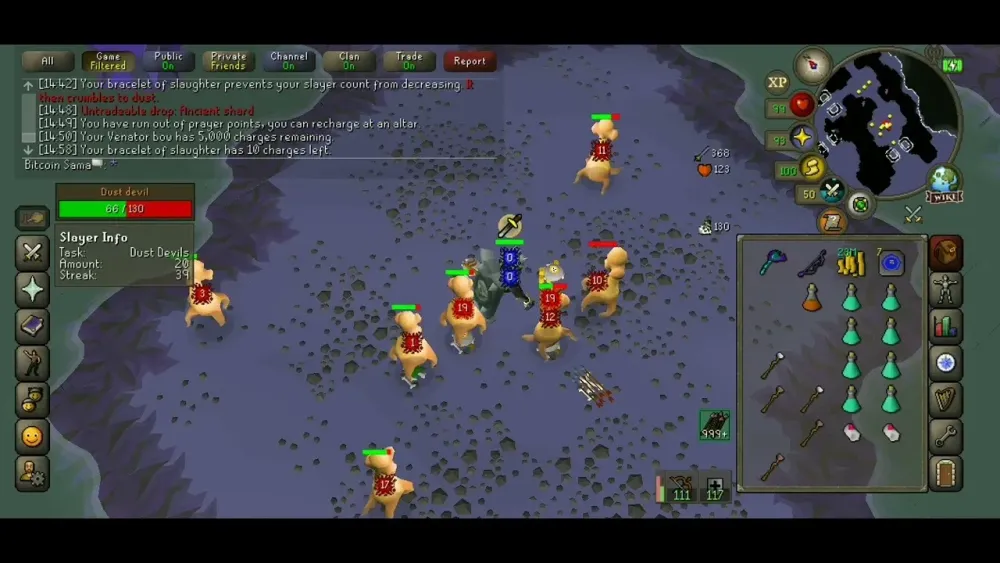
The Catacombs of Kourend is the go-to spot for most players. It’s a multi-combat area with stronger Dust Devils (Combat Level 110, 130 HP), making it ideal for bursting or barraging.
- Pros: Multi-combat, bonecrusher synergy (restores Prayer points), easy access via Kourend Castle Teleport or Xeric’s Talisman.
- Cons: Can get crowded during peak hours.
Smoke Dungeon
Located west of Pollnivneach, the Smoke Dungeon houses weaker Dust Devils (Combat Level 93, 105 HP). It’s a single-combat area unless you use the task-only section.
- Pros: Cannon allowed in the main area, less crowded than Catacombs.
- Cons: Requires Desert Treasure I progress, single-combat limits efficiency without the task-only area.
Wilderness Slayer Cave
For the risk-takers, the Wilderness Slayer Cave offers a multi-combat area with an extra drop table, boosting profit potential.
- Pros: Higher profit from Wilderness-specific drops, multi-combat for bursting.
- Cons: PKer risk—don’t bring gear you’re unwilling to lose.
Optimal Gear and Inventory Setup
To maximize efficiency and profit on your Dust Devil Slayer task, your gear and inventory need to be on point. Since Dust Devils are weak to magic, Ancient Magicks (Ice Burst or Barrage) are the meta for multi-combat zones. Here’s the breakdown:
Best-in-Slot Gear for Bursting
| Slot | Item | Alternative |
|---|---|---|
| Head | Slayer Helmet (i) | Facemask |
| Cape | Imbued God Cape | Ardougne Cloak |
| Neck | Occult Necklace | Amulet of Glory |
| Body | Ancestral Robe Top |