Your cart is empty

Discovering the Best Safe Spots for Bloodvelds in OSRS Slayer Tower

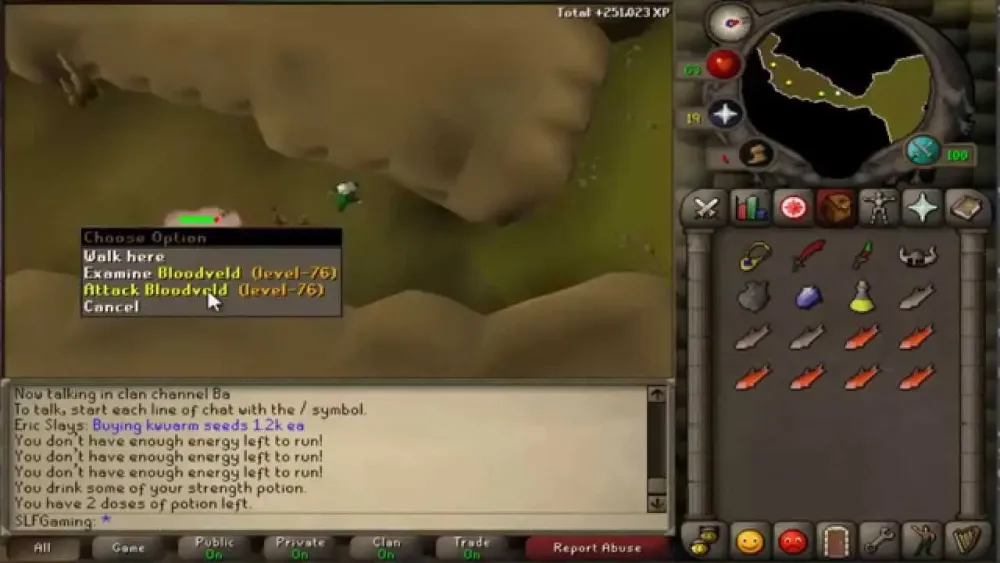
Bloodvelds are a popular choice for players in Old School RuneScape (OSRS) due to their unique mechanics and valuable drops. Known for their high hitpoints and manageable combat style, they provide an engaging experience for Slayer tasks. Understanding where to find them efficiently is crucial for maximizing your slayer experience and profit. This guide will delve into the characteristics of Bloodvelds and the optimal locations within the Slayer Tower for tackling these creatures safely.
The Slayer Tower is located in the Canifis area of Misthalin, making it a central hub for players looking to take on Bloodvelds. Accessible via the Ectophial for quick transportation, the Tower is easily reachable for players who have completed the “Ghosts Ahoy” quest. Bloodvelds can be found on the second and third floors of the Slayer Tower, providing ample space for players to engage with them without interference from other monsters.
When entering the Slayer Tower, players should be aware that Bloodvelds have specific combat mechanics that require some preparation. They are known for their ability to heal themselves, making it essential to maintain consistent damage output during fights. Utilizing a weapon that can deal high damage quickly, such as a whip or a scimitar, can help in defeating them efficiently. Furthermore, bringing food and potions can mitigate damage taken, as Bloodvelds can hit reasonably hard, especially in higher levels.
To enhance your safety while slaying Bloodvelds, it’s advisable to use the safe spots available on the second and third floors. These areas allow players to avoid being attacked while still being able to engage the Bloodvelds. Specifically, players can use the corners of the room or the pillars as shields to keep themselves out of harm’s reach. Positioning yourself correctly can also prevent multiple Bloodvelds from aggroing at once, making the encounter more manageable.
In terms of strategy, it is beneficial to bring along a Slayer master’s assigned task for Bloodvelds. Completing Slayer tasks not only earns you experience points but also contributes to your Slayer level, unlocking more challenging tasks and monsters. Additionally, Bloodvelds drop valuable items, such as the Bloodveld pet and runes, making them a lucrative source of income.
In conclusion, the Slayer Tower serves as an excellent location for hunting Bloodvelds. By understanding their mechanics, utilizing safe spots, and preparing accordingly, players can maximize their Slayer experience and efficiently farm these creatures for valuable rewards.
Why Choosing a Safe Spot is Important
When it comes to tackling Bloodvelds in OSRS Slayer Tower, picking the right safe spot is crucial for a smooth and efficient slaying experience. But why is it so important? Let’s break it down!
- Minimizes Damage Taken: Bloodvelds can hit hard, especially if you’re not prepared. A safe spot allows you to attack them without taking damage, keeping your health up and your supplies intact.
- Increases Slayer Efficiency: By avoiding damage, you can extend your trips and kill more Bloodvelds in a shorter time. This means more Slayer experience and better loot!
- Reduces Resource Consumption: Safe spots help you conserve food and potions, allowing you to use fewer resources during your tasks. This is especially important for budget players.
- Strategic Control: Being in a safe spot gives you control over the battlefield. You can manage your attacks and healing without being rushed or overwhelmed by multiple Bloodvelds.
- More Time for Other Activities: With less downtime spent healing or running back to the bank, you can focus on other Slayer tasks or even enjoy other aspects of the game!
In summary, choosing a safe spot is not just about being lazy or avoiding combat; it’s about maximizing your efficiency and enjoyment while tackling one of the game’s more formidable foes. So, make sure to take the time to find the best safe spot for your Bloodveld encounters!
Best Safe Spots for Bloodvelds Explained
Now that we understand why safe spots are essential, let’s dive into some of the best locations for slaying Bloodvelds in the Slayer Tower. Here are a few of the most effective spots:
| Location | Details |
|---|---|
| First Floor (North-East Corner) | Stand in the corner near the wall. Bloodvelds will not be able to reach you, allowing for uninterrupted attacks. |
| Second Floor (South-East Corner) | This spot offers a similar advantage. The Bloodvelds will be unable to hit you while you can freely cast spells or use ranged attacks. |
| Near the Stairs (First Floor) | Position yourself near the stairs where the Bloodvelds spawn. They’ll approach you but won’t be able to attack directly, making it a great spot for ranged or magic users. |
Each of these spots leverages the environment to keep you safe while you deal damage to the Bloodvelds. Remember, the key is to find a position where they cannot reach you but you can still hit them without interruption.
Experiment with these locations to see which one suits your playstyle best. Happy slaying!
Recommended Gear and Inventory Setup
When heading to Slayer Tower to take on Bloodvelds, having the right gear and inventory setup can make a significant difference in your efficiency and survivability. Here’s a breakdown of what you should consider bringing along:
Gear Recommendations
For tackling Bloodvelds, focus on gear that boosts your combat stats and provides decent protection. Here’s a list of recommended gear:
- Helmet: Slayer helmet (if you have unlocked it) or a good alternative like a Berserker Helm.
- Body: Karil’s crossbow or any high-tier armor piece like Bandos Chestplate.
- Legs: Bandos Tassets or any equivalent high-defense leg armor.
- Weapon: A high-damage weapon such as the Abyssal whip or Saradomin sword.
- Boots: Dragon boots or any boots that increase your strength and attack bonuses.
- Gloves: Barrows gloves for the best bonuses available.
- Amulet: Amulet of fury or Amulet of glory.
- Ring: Ring of wealth or a Berserker ring.
Inventory Setup
Your inventory should be balanced between healing items and combat supplies. Here’s a suggested inventory layout:
| Item | Quantity |
|---|---|
| Super restore potions | 2-4 |
| Sharks or Saradomin brews | 10-15 |
| Prayer potions | 2-4 |
| Teleportation method (e.g., Home Teleport or Amulet of glory) | 1 |
With the right gear and an optimized inventory, you’ll be well-equipped to tackle Bloodvelds effectively!
Strategies for Efficient Slayer Tasks
Taking on Slayer tasks can sometimes feel overwhelming, especially with Bloodvelds in the mix. However, employing the right strategies can enhance your efficiency and make the experience much smoother. Here are some tips to consider:
Utilize Your Prayer
Using Prayer effectively is crucial when dealing with Bloodvelds. Here are some key points:
- Protect from Melee: Always keep this prayer active to reduce incoming damage.
- Prayer Potions: Carry enough to maintain your prayer during the fight, especially for longer tasks.
Focus on Single Targets
Bloodvelds can heal themselves, so it’s essential to focus on killing them one at a time. Use a high-damage weapon to maximize your output and minimize their healing.
Positioning Matters
Position yourself strategically within the Slayer Tower. Here are some tips:
- Stay close to the stairs for quick escapes if necessary.
- Use obstacles to your advantage to prevent being overwhelmed.
Take Breaks as Needed
Slayer tasks can be long, and it’s important to manage your health and mental stamina. Don’t hesitate to take breaks to ensure you’re playing at your best.
By following these strategies, you’ll not only complete your Slayer tasks more effectively but also enjoy your time in OSRS a lot more!
Tips for New Players
Stepping into the world of Old School RuneScape (OSRS) can be overwhelming, especially when tackling Slayer tasks like Bloodvelds in the Slayer Tower. Here are some essential tips to help new players navigate this challenge:
- Understand Your Gear: When fighting Bloodvelds, make sure you equip the right gear. Prioritize items that boost your Magic or Strength levels, as these will help you deal more damage. Consider using a Magic shortbow or Staff of fire for ranged attacks.
- Bring the Right Supplies: Always carry enough food and potions. Sharks or Anglerfish are great for healing, while Super restore potions can replenish your Prayer points.
- Choose the Right Spot: Bloodvelds are found on the upper floors of the Slayer Tower. Look for spots that allow you to engage multiple Bloodvelds without being overwhelmed.
- Pay Attention to Levels: Bloodvelds can hit hard, especially if you’re low on health. Always keep an eye on your health and be prepared to escape if needed.
- Use Prayer Wisely: Bloodvelds are weak to prayer, so consider using Protect from Missiles to reduce damage. Make sure you have enough Prayer points to sustain this.
- Join a Community: Engage with other players in forums or Discord groups. They can provide valuable advice and tips on Slayer and Bloodveld strategies.
Conclusion and Final Thoughts
In conclusion, tackling Bloodvelds in the Slayer Tower can be an exciting yet challenging experience for new players in OSRS. With the right strategies, gear, and mindset, you can efficiently complete your Slayer tasks while enjoying the game’s rich content.
Here are a few key takeaways:
| Key Points | Importance |
|---|---|
| Proper Gear | Maximizes damage dealt to Bloodvelds. |
| Supplies | Ensures survival during fights. |
| Positioning | Helps avoid getting overwhelmed by multiple Bloodvelds. |
| Prayer Management | Reduces incoming damage and increases survivability. |
As you gain experience and confidence, you’ll find that the Slayer Tower is not just a place for combat; it’s an opportunity to grow your skills, meet other players, and explore different aspects of the game. So gear up, stay informed, and dive into the thrilling world of Slayer!
