Building your first settlement in RuneScape Dragonwilds
Share this on:
RuneScape: Dragonwilds, launched into Early Access on April 15, 2025, introduces players to the untamed continent of Ashenfall, where survival hinges on mastering crafting, combat, and base-building. For those drawn to creating a cozy homestead amidst dragon-filled chaos, the game’s building system stands out as a highlight, praised for its flexibility and depth. This guide walks you through constructing your first settlement, from gathering resources to placing that final roof tile, ensuring your base is both functional and aesthetically pleasing.
Getting Started: The Basics of Building
Before you can build, you need to understand the core mechanics. In Dragonwilds, base-building is accessed through the Build Mode (default key: B), which opens a menu of available structures and furniture. You’ll need resources like Ash Logs and Stone, gathered by chopping trees or mining rocks. Magic, a hallmark of the RuneScape universe, enhances building, spells like Astral Projection let you float in a free-cam mode to place pieces precisely without risking a fall.
Your first settlement serves as a safe haven, housing crafting stations, storage, and defenses against Ashenfall’s hostile creatures, like goblins and dragons. The system is forgiving, with snapping mechanics that make alignment easy and a repair mode to fix or relocate structures without losing resources. Unlike some survival games, Dragonwilds encourages experimentation, letting you level up your Construction skill through building.
Step 1: Choosing the Right Location
Location is critical. A well-placed settlement balances resource access, safety, and expansion potential. Here’s what to consider:
Proximity to Resources: Set up near Ash Trees and Stone Deposits to minimize travel. Look for Rune Geisers for crafting runes later.
Flat Terrain: Building on flat ground simplifies foundation placement. Hilly areas require more resources to level out.
Defensibility: Avoid open plains where enemies can swarm. A spot near a cliff or river can limit attack angles.
Water Access: Rivers provide fish and water, reducing the need to craft hydration items.
Fast Travel Points: Later, unlocking fast travel nodes makes a nearby node a strategic asset.
Recommended Starting Spot: Near the starting area, close to Doric’s camp, you’ll find flat land with Ash Trees, Stone, and a stream. It’s safe from early dragon attacks and close to tutorial NPCs like Vannaka and Zanik.
Step 2: Gathering Resources
Your first settlement requires basic materials. Here’s a table of essentials and how to acquire them:
Resource
Source
Tool Required
Notes
Ash Logs
Ash Trees
Axe (crafted or starter)
Use Axtral Projection spell (unlocked at Woodcutting level 5) for efficiency.
Stone
Stone Deposits
Pickaxe
Mine small rock formations near deposits for faster gathering.
Runic Essence
Rune Geisers
Pickaxe
Unlocked after meeting Zanik; used for Rune Altar and magic spells.
Fiber
Bushes/Plants
None
Gathered by hand; used for early ropes and crafting.
Tip: Craft a Crafting Table early (4x Ash Logs) by talking to Doric. This unlocks basic tools like axes and pickaxes, speeding up resource collection. Store excess materials in Storage Chests to avoid encumbrance, which slows movement when overloaded.
Step 3: Crafting Essential Stations
A settlement needs crafting stations to produce gear, runes, and food. Below is a table of key stations for your first base:
Station
Materials
Purpose
Unlock Condition
Crafting Table
4x Ash Logs
Crafts basic tools, weapons, armor
Talk to Doric near spawn
Rune Altar
12x Stone, 4x Runic Essence
Crafts runes for magic spells
Meet Zanik, deliver 50x Ash Logs
Cooking Fire
10x Ash Logs, 5x Stone
Cooks food to manage hunger
Unlocked after Doric’s crafting quest
Storage Chest
8x Ash Logs, 2x Fiber
Stores resources to avoid encumbrance
Available after crafting first table
Pro Tip: Place stations close together to streamline workflows. For example, keep the Rune Altar near the Crafting Table for quick spell-crafting. Use the Magical Mending Spell to repair gear without returning to the Crafting Table, saving time during exploration.
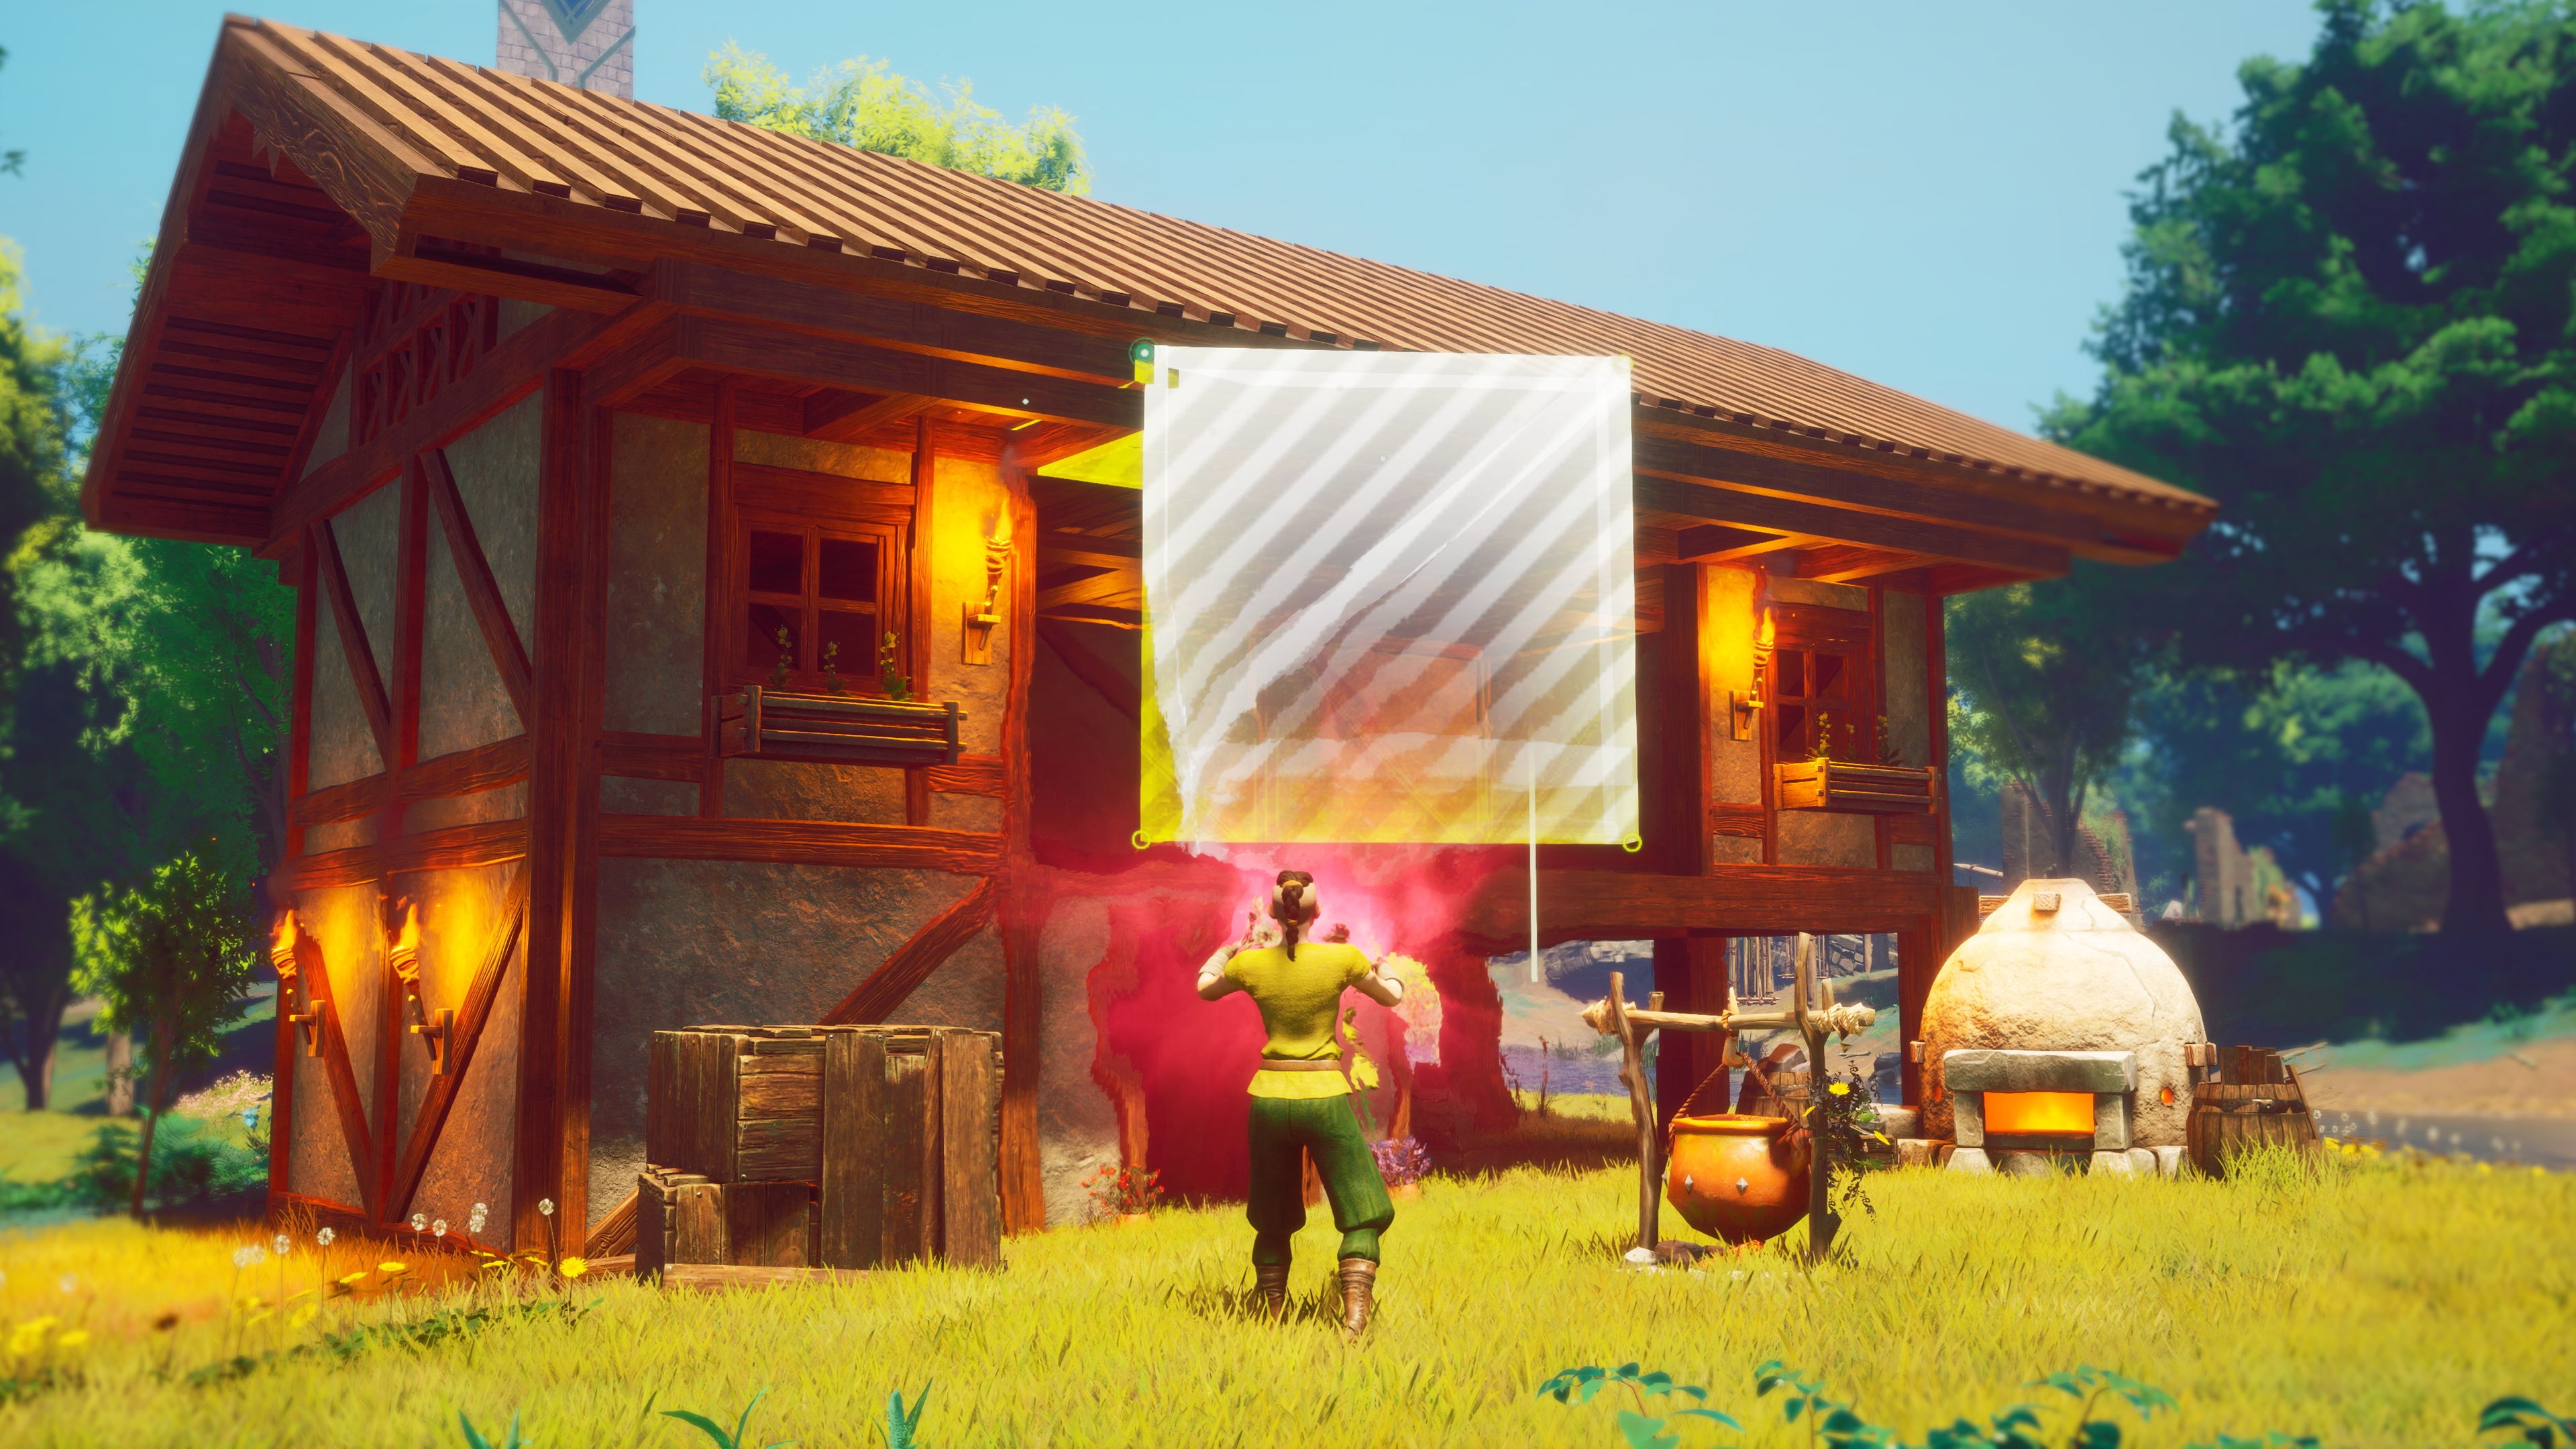
Step 4: Building Your First Structure
With resources and stations ready, it’s time to build. Follow these steps to create a simple, functional shelter:
Enter Build Mode: Press B to open the build menu.
Place Foundations: Start with Wooden Foundations (2x Ash Logs each). Lay a 3×3 grid for a small house. Snapping ensures clean alignment.
Add Walls: Use Wooden Walls (3x Ash Logs each). Place them along the foundation edges, leaving a gap for a Door Frame (4x Ash Logs).
Install a Door: Craft a Wooden Door (5x Ash Logs) and place it in the frame.
Build a Roof: Use Slanted Roof Pieces (4x Ash Logs each). Dragonwilds’ roof valley pieces allow flexible designs, mix 2-wide and 3-wide sections without alignment issues. Add Triangular Wall Pieces to fill gaps under slanted roofs.
Check Structural Integrity: The game warns if your roof lacks support. Add Wooden Beams (2x Ash Logs) or Pillars (3x Ash Logs) to stabilize large structures.
Magic Boost: Unlock Astral Projection (Construction level 10) to fly around while placing pieces, making roof and high-wall placement easier. This spell is a game-changer for complex builds.
Design Tip: Unlike rigid systems in games like Valheim, Dragonwilds lets you rotate pieces freely and adjust height with the Ctrl key. Experiment with lofted designs or asymmetrical layouts for a unique look.
Step 5: Defending Your Settlement
Ashenfall is dangerous, with goblin raids and occasional dragon attacks. Fortify your base with these defenses:
Defense
Materials
Purpose
Notes
Wooden Spikes
5x Ash Logs, 2x Fiber
Damages enemies that approach
Place around perimeter; upgrade to stone later
Watchtower
10x Ash Logs, 5x Stone
Provides high ground for archers
Unlocked at Construction level 15
Reinforced Door
8x Ash Logs, 2x Runic Essence
Stronger than basic door
Resists enemy attacks longer
Tactics:
Positioning: Place spikes in chokepoints, like near your door or along a riverbank, to funnel enemies.
Elevation: Build on a slight hill to make it harder for enemies to reach your walls.
Magic Support: Use Rune Spells (crafted at the Rune Altar) to cast protective barriers during raids.
Repair Mode: Enter Build Mode, toggle Repair Mode (key: T), and fix damaged structures with minimal resources.
Warning: Early Access has issues with enemies teleporting into bases or ignoring walls. Until patched, keep valuables in Storage Chests and avoid building overly large structures that attract bigger raids.
Step 6: Expanding and Decorating
Once your basic shelter is secure, expand with additional rooms or a second story. Add furniture to make it feel like home:
Furniture
Materials
Purpose
Aesthetic Notes
Wooden Bed
6x Ash Logs, 4x Fiber
Resting point; reduces hunger/thirst
Cozy, rustic look
Table and Chairs
8x Ash Logs, 2x Fiber
Decorative; minor crafting bonus
Great for a tavern vibe
Wall Torch
2x Ash Logs, 1x Runic Essence
Lights up base at night
Adds warmth; place symmetrically
Expansion Ideas:
Loft Area: Use Wooden Stairs (6x Ash Logs) to create a second-floor storage or sleeping area.
Crafting Hub: Dedicate a room for all crafting stations, with Storage Chests nearby.
Garden: Fence off an area with Wooden Fences (2x Ash Logs each) for farming herbs or food crops, unlocked via Herblore quests.
Creative Mode (Future Update): The roadmap promises a Creative Mode, letting you build without resource costs. For now, practice designs in single-player to avoid wasting materials.
Common Challenges and Solutions
Building isn’t without hiccups, especially in Early Access. Here’s how to tackle common issues:
Structural Collapse: If the game warns about integrity, add more pillars or shorten roof spans. Avoid stacking too many floors without beams.
Misplaced Structures: No direct “move” function exists. Enter Build Mode, toggle Repair Mode (T), and delete the structure with the middle mouse button to reclaim materials. Rebuild in the desired spot.
Enemy Raids: If goblins overwhelm your base, unequip gear and die to despawn them (a temporary workaround). Future updates promise better defense mechanics.
Resource Shortages: Over-harvesting near your base? Explore further or use fast travel (unlocked later) to reach new resource nodes. Craft multiple Storage Chests to stockpile.
Tips for Advanced Builders
For those aiming for architectural greatness, leverage Dragonwilds’ unique features:
Mix Roof Lengths: Combine 2-wide and 3-wide roof sections with valley pieces for complex, non-uniform roofs.
Free Placement: Turn off snapping (toggle in Build Mode) for organic, less grid-like designs.
Magic Enhancements: Higher Construction levels unlock spells like Anima Infusion, which strengthens structures against dragon attacks.
Community Feedback: Jagex actively incorporates player input. Suggest building features on the Steam forums or Reddit (r/RSDragonwilds) to shape future updates.
What’s Next: The Roadmap
Jagex’s Early Access roadmap outlines exciting building-related updates:
New Furniture and Blueprints: More decorative and functional items.
Homesteading Features: Farming and NPC interactions to make bases livelier.
Building Defenses: Traps and walls that enemies respect, reducing teleportation bugs.
New Region (Fellhollow): Unique resources and biomes for diverse building materials.
Creative Mode: Build freely without resource constraints.
These updates, driven by community feedback, ensure the building system will grow richer. Check the in-game roadmap menu for the latest objectives.
Frequently Asked Questions
Q: Can I move structures without deleting them?
A: Not currently. Enter Build Mode, toggle Repair Mode (T), delete the structure to reclaim materials, and rebuild elsewhere. Jagex may add a move function later.
Q: How do I protect my base from dragon attacks?
A: Build Reinforced Doors, place Wooden Spikes, and use Rune Spells for barriers. Avoid large bases early, as they attract stronger enemies. Store valuables in chests.
Q: What’s the best way to gather resources quickly?
A: Unlock Axtral Projection for wood and Runic Blast for mining (both via skill levels). Build near resource nodes and craft multiple Storage Chests.
Q: Is Creative Mode available now?
A: No, but it’s on the roadmap. For now, experiment in single-player to test designs without wasting resources.
Q: How do I level up Construction fast?
A: Build and delete structures repeatedly (materials are refunded). Focus on complex pieces like roofs and stairs for more XP.
Conclusion
Building your first settlement in RuneScape: Dragonwilds is a rewarding blend of creativity and strategy. With its intuitive snapping, magical enhancements like Astral Projection, and flexible roof designs, the game caters to both practical survivalists and aesthetic architects. Start small with a 3×3 shelter, prioritize crafting stations, and fortify against Ashenfall’s threats. As you level up Construction and unlock new spells, your settlement can evolve into a sprawling fortress or a cozy tavern.
Despite Early Access bugs, like enemy teleportation, Jagex’s commitment to player feedback and a robust roadmap promises a polished experience by the 2026 full release. Dive into Ashenfall, gather your Ash Logs, and start building, your dream settlement awaits, ready to withstand dragons and dazzle your co-op crew.
Share this on:
Get a Free Quote
Tell us what you need — questing, power leveling, bossing, coaching or OSRS gold. We'll reply within a few hours.