Your cart is empty

Bloodveld OSRS Slayer Task Guide: Best Strategies, Locations, and Tips
If you’re diving into the world of Old School RuneScape (OSRS) and tackling Slayer tasks, the Bloodveld Slayer task is one you’ll likely encounter. Known for their grotesque appearance and decent experience rates, Bloodvelds are a popular mid-tier monster for players looking to level up their Slayer skill. This comprehensive guide will walk you through everything you need to know about the Bloodveld OSRS Slayer task, including the best locations, gear setups, strategies, and tips to maximize your efficiency. Whether you’re a beginner or a seasoned player, this blog post has you covered!
Bloodvelds are demonic creatures in OSRS that require a Slayer level of 50 to damage. They’re assigned by Slayer Masters like Vannaka, Chaeldar, Nieve, Duradel, and Konar quo Maten. With their high hitpoints and low defense, they’re an excellent choice for training combat skills while earning Slayer XP. What makes them unique is their magic-based melee attack style, meaning your magic defense plays a key role in surviving their onslaught.
Key Characteristics of Bloodvelds
- Slayer Level Requirement: 50
- Combat Level: 76 (regular), 123 (mutated)
- Attack Style: Magic-based melee
- Weakness: No specific weakness; vulnerable to all combat styles
- Hitpoints: High (120 for regular, 170 for mutated)
Why Choose Bloodveld Tasks?
Bloodvelds are a favorite among players for several reasons. They offer solid XP rates, decent loot (especially from mutated variants), and can be killed in a variety of ways—melee, ranged, or even magic. Plus, their locations often allow for AFK training or cannon use, making them versatile for different playstyles.
Best Locations to Kill Bloodvelds

Where you choose to slay Bloodvelds can significantly impact your efficiency and enjoyment. Below are the top spots in OSRS, each with its own perks and challenges.
Slayer Tower
Located in Morytania, the Slayer Tower is a classic spot for Bloodvelds. You’ll find them on the second floor or in the basement (task-only area). It’s easily accessible via a Slayer Ring teleport or the fairy ring code CKS.
- Pros: Bonus Slayer XP with Morytania Diary (up to 10%), safespot options
- Cons: No cannon allowed, can get crowded
- Safespot Tip: Stand behind the chair in the northeastern corner of the center room.
Stronghold Slayer Cave
Found beneath the Tree Gnome Stronghold, this cave is ideal for players who want to use a cannon. It’s close to a bank, making it perfect for quick trips.
- Pros: Cannon-friendly, proximity to bank, decent spawn count (12)
- Cons: Single-way combat, requires a Slayer task
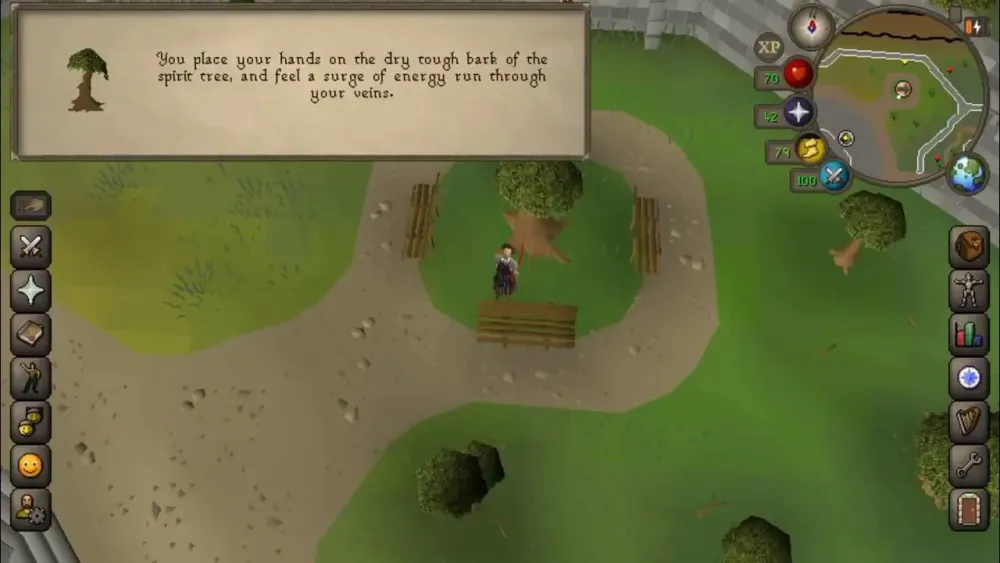
- Access: Use a Slayer Ring or Spirit Tree teleport.
Catacombs of Kourend
The Catacombs of Kourend house Mutated Bloodvelds, which are stronger but offer better loot and XP. It’s a multi-combat area, perfect for aggressive strategies.
- Pros: Mutated variants drop Ancient Shards and Dark Totem pieces, semi-AFK with prayer
- Cons: No cannon allowed, requires travel to Kourend
- Access: Kourend Castle Teleport (66 Magic, 60% Arceuus favor).
Meiyerditch Laboratories
Accessed during or after the “Sins of the Father” quest, this spot is great for cannon users targeting Mutated Bloodvelds.
- Pros: Cannonable, high XP rates with Mutated Bloodvelds
- Cons: Requires quest progress, harder to reach
- Access: Drakan’s Medallion to Ver Sinhaza, then navigate to the labs.
Iorwerth Dungeon
In Prifddinas, this dungeon offers Bloodvelds and Mutated Bloodvelds with Crystal Shard drops, ideal for late-game players.
- Pros: Crystal Shard drops, cannonable (single-way combat)
- Cons: Requires “Song of the Elves” quest
- Access: Teleport to Prifddinas.
Recommended Gear and Inventory for Bloodveld Slayer Task
Your gear setup depends on your combat style and whether you’re safespotting or tanking hits. Here’s a breakdown for melee and ranged approaches.
Melee Setup
Since Bloodvelds use magic-based melee, prioritize magic defense while maintaining high melee stats.
| Slot | Item |
|---|---|
| Head | Slayer Helmet |
| Neck | Amulet of Torture |
| Body | Bandos Chestplate or Karil’s Leathertop |
| Legs | Bandos Tassets or Karil’s Leatherskirt |
| Weapon | Abyssal Whip or Dragon Scimitar |
| Shield | Dragon Defender |
| Boots | Primordial Boots |
| Gloves | Barrows Gloves |
| Ring | Berserker Ring (i) |
Inventory: Prayer potions, super combat potion, food (sharks), teleport (Slayer Ring), cannon (if applicable).
Ranged Setup
Ranged is ideal for safespotting and offers great accuracy against Bloodvelds’ low defense.
| Slot | Item |
|---|---|
| Head | Slayer Helmet |
| Neck | Necklace of Anguish |
| Body | Armadyl Chestplate or Black D’hide Body |
| Legs | Armadyl Chainskirt or Black D’hide Chaps |
| Weapon | Toxic Blowpipe or Venator Bow |
| Cape | Ava’s Assembler |
| Boots | Pegasian Boots |
| Gloves | Barrows Gloves |
| Ring | Archers Ring (i) |
Inventory: Ranging potion, prayer potions, food, teleport, ammo (broad bolts or amethyst arrows).
Strategies for Efficient Bloodveld Slayer Tasks
To get the most out of your Bloodveld task, tailor your approach based on your goals—XP, profit, or AFK training.
Fastest XP: Cannon and Melee
For maximum XP, head to the Stronghold Slayer Cave or Meiyerditch Laboratories with a cannon. Set it up in a multi-combat area, use Protect from Melee, and melee the Bloodvelds. This can yield 60-70k Slayer XP per hour with Mutated Bloodvelds.
AFK Training: Catacombs of Kourend
In the Catacombs, wear prayer gear (Proselyte armor) and use Protect from Melee. Aggro multiple Mutated Bloodvelds, then AFK while they die one by one. Expect 30-40k Slayer XP per hour with minimal effort.
Profit-Focused: Mutated Bloodvelds
Target Mutated Bloodvelds in the Catacombs or Meiyerditch for better loot, including blood runes, alchables, and rare drops like the Ensouled Bloodveld Head. Bring an Ash Sanctifier (from Kourend Diary) to auto-scatter ashes for Prayer XP.
Bursting with Alts
For advanced players, bursting Mutated Bloodvelds in the Catacombs with alt accounts can push XP rates to 100k+ per hour. Use two alts to “dance” and stack the Bloodvelds, then cast Ice Burst or Barrage. This is costly but incredibly efficient.
Tips and Tricks for Bloodveld Slayer Tasks
Here are some pro tips to elevate your Bloodveld slaying experience:
Boost Efficiency with Diaries
Complete the Kourend & Kebos Diary (Hard or Elite) for the Ash Sanctifier, which scatters Vile Ashes for Prayer XP. The Morytania Diary boosts Slayer XP in the Slayer Tower.
Use Expeditious Bracelets
Wear an Expeditious Bracelet to reduce the number of kills needed per task, speeding up completion for point farming.
Safespot Like a Pro
In the Slayer Tower basement, stand between the chest and broken table in the northwest corner. In the Catacombs, use narrow passages to avoid damage.
Maximize Loot
Bring nature runes for High Alchemy to profit from steel and mithril drops. Mutated Bloodvelds also drop clue scrolls (hard) at a decent rate.
With these strategies, locations, and gear setups, you’re ready to tackle your Bloodveld OSRS Slayer task like a pro. Whether you’re chasing XP, loot, or just a chill AFK session, Bloodvelds offer something for every player. Happy slaying!
