Your cart is empty

Black Demons Slayer Task Guide OSRS
In Old School RuneScape (OSRS), the Black Demons slayer task is a formidable challenge that offers rewarding experience and valuable loot. Assigned by various Slayer masters at combat level 80, Black Demons are large, aggressive demons found in several dungeons across Gielinor. This comprehensive guide covers everything you need to know to tackle this task efficiently, including locations, strategies, gear setups, and tips to maximize your rewards. Whether you’re a seasoned player or a newcomer to high-level slayer tasks, this guide will help you slay Black Demons with confidence.
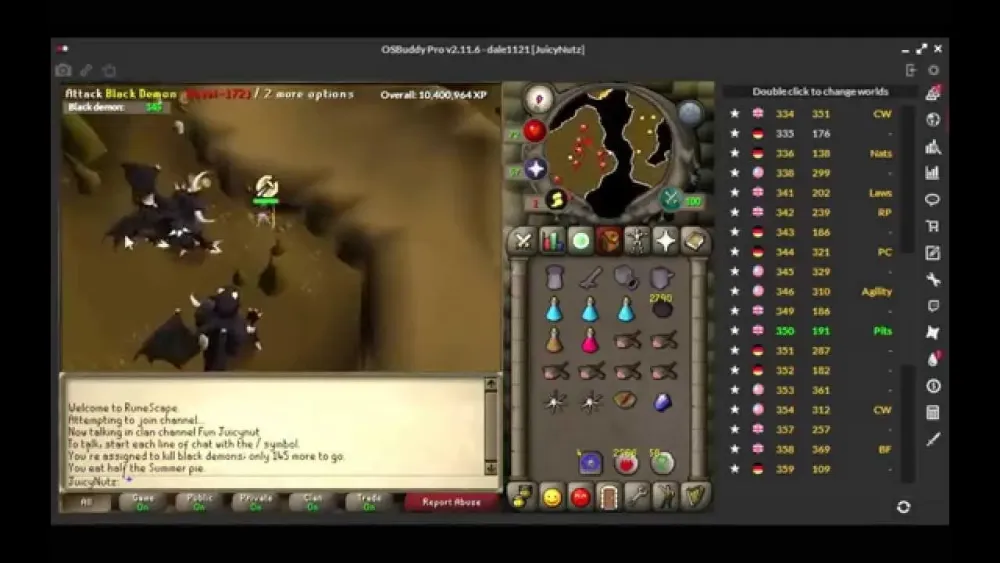
Black Demons are level 172 monsters known for their high combat stats but relatively low Defence, making them an appealing target for players looking to gain Slayer experience. As demons, they are weak to specific weapons and magical attacks, which you can exploit to make the task easier. They require no Slayer level but a combat level of 80 to be assigned, typically by masters like Chaeldar, Konar, Nieve, or Duradel.
Key Characteristics of Black Demons
- Combat Level: 172
- Hitpoints: 157
- Attack Style: Melee (slash)
- Weaknesses: Demonbane weapons (Silverlight, Darklight, Arclight), water spells, and magical attacks
- Slayer Requirement: None, but combat level 80 for task assignment
Why Take on Black Demons?
Black Demons are popular for their decent Slayer XP and valuable drops, such as infernal ashes and crimson charms. They’re also a good source of starved ancient effigies and can be killed in the Nightmare Zone for additional rewards. For players aiming to complete tasks quickly or farm specific items like the Zenyte shard (via Demonic Gorillas), Black Demons are a strategic choice.
Best Locations to Fight Black Demons
Black Demons inhabit several dungeons in Gielinor, each with unique advantages and challenges. Choosing the right location depends on your combat style, gear, and whether you’re prioritizing XP, loot, or AFK potential.
Taverley Dungeon
Located south of Taverley, this dungeon is a classic spot for Black Demons. It requires an Agility level of 70 to access the shortcut, but you can enter via the main route with a dusty key (obtained during or after The Tourist Trap quest). The area has safespots, making it ideal for Ranged or Magic users.
- Pros: Safespots available, relatively easy to access
- Cons: Can be crowded, requires dusty key or Agility shortcut
Chasm of Fire
Found in the Shayzien region of Kourend, the Chasm of Fire is perfect for cannon users aiming for fast XP. It’s a multi-combat area, allowing your cannon to deal significant damage while you attack from a safespot.
- Pros: Fast XP with cannon, safespots, less crowded
- Cons: Requires starting The Queen of Thieves quest, cannon ammo costs
Catacombs of Kourend
This multi-combat dungeon offers a chance for additional loot via ancient shards and totem pieces. Black Demons here are slightly spread out, but the area supports cannon use and has safespots.
- Pros: Extra loot (shards, totems), cannon-friendly
- Cons: Requires access to Kourend, can be busy
Wilderness Slayer Cave
Assigned by Krystilia, Black Demons in the Wilderness Slayer Cave come with a bonus tertiary drop table, including valuable items like Larran’s keys. However, this is a PvP area, so caution is advised.
- Pros: Bonus drops, high-reward potential
- Cons: Risk of PKers, single-combat area
Recommended Gear and Inventory
Your gear setup for Black Demons depends on your combat style—Melee, Ranged, or Magic. Below are optimized setups for each, focusing on efficiency and survivability.
Melee Setup
Melee is effective with the Protect from Melee prayer, especially with demonbane weapons like Arclight. Use high-strength gear to maximize damage output.
| Slot | Item |
|---|---|
| Weapon | Arclight (or Abyssal whip) |
| Shield | Dragon defender |
| Helm | Slayer helmet (i) |
| Chest | Bandos chestplate |
| Legs | Bandos tassets |
| Boots | Primordial boots |
Ranged Setup
Ranged is ideal for safespotting, using a crossbow or bow. Prioritize accuracy and prayer bonuses to sustain Protect from Melee.
| Slot | Item |
|---|---|
| Weapon | Toxic blowpipe (or Armadyl crossbow) |
| Ammo | Dragon darts (or Diamond bolts (e)) |
| Helm | Slayer helmet (i) |
| Chest | Armadyl chestplate |
| Legs | Armadyl chainskirt |
Magic Setup
Magic exploits Black Demons’ weakness to water spells. Use high-damage spells like Water Surge or Ice Barrage for efficiency.
| Slot | Item |
|---|---|
| Weapon | Trident of the swamp |
| Spell | Water Surge |
| Helm | Slayer helmet (i) |
| Chest | Ahrim’s robetop |
| Legs | Ahrim’s robeskirt |
Inventory Suggestions
- Prayer potions: 4–6 to sustain Protect from Melee
- Food: Sharks or better (6–8 pieces)
- Teleport: House teleport or location-specific (e.g., Kourend teleport)
- Runes/Ammo: For Magic or Ranged setups
- Cannon: Cannonballs and cannon parts (if in multi-combat)
Strategies for Efficient Black Demon Slaying
Maximizing efficiency requires leveraging safespots, cannons, and the right combat style. Here are proven strategies to complete the task quickly and profitably.
Safespotting with Ranged or Magic
In Taverley Dungeon, Chasm of Fire, and Catacombs, use safespots to avoid taking damage. Position yourself behind rocks or corners where Black Demons can’t reach you, and attack with Ranged or Magic. This method is ideal for low-Defence players or those conserving food.
Cannon Placement in Multi-Combat Areas
In the Chasm of Fire or Catacombs, set up a dwarf multicannon to deal passive damage. Place it centrally to hit multiple demons, and attack from a safespot to combine cannon and personal damage for faster kills. Expect to use 500–1000 cannonballs per task, depending on task size.
Melee with Protect from Melee
For Melee users, activate Protect from Melee to negate damage. Use Arclight for its demonbane bonus, which significantly boosts damage against Black Demons. Stay mindful of prayer points and sip potions as needed.
Demonic Gorillas as an Alternative
If assigned by a Slayer master who allows it (e.g., Duradel), you can kill Demonic Gorillas instead. Found in the Crash Site Cavern after Monkey Madness II, they count toward Black Demon tasks and drop Zenyte shards, worth over 13 million GP. However, they’re tougher, requiring you to switch between Protect from Melee and Protect from Ranged/Magic based on their attacks.
Notable Drops and Rewards
Black Demons offer a range of drops, from consistent items to rare, high-value loot. Understanding their drop table helps you prioritize tasks for profit or specific goals.
Common Drops
- Infernal ashes: 100% drop, used for prayer training
- Crimson charms: Over 40% drop rate, great for Summoning
- Runes: Fire, chaos, and death runes
Rare and Valuable Drops
| Item | Drop Rate | Approx. Value |
|---|---|---|
| Starved ancient effigy | 1/512 | Variable (XP reward) |
| Clue scroll (hard) | 1/128 | Variable |
| Rune chainbody | 1/128 | ~30k GP |
Wilderness-Specific Drops
In the Wilderness Slayer Cave, Black Demons have a bonus drop table when assigned by Krystilia, including:
- Larran’s key: Unlocks Larran’s chest for high-value loot
- Slayer’s enchantment: Used for enchanting Slayer staff
Tips for Maximizing Rewards
- Use Ring of Wealth: Increases rare drop table chances
- Bring Looting Bag: In Wilderness, store extra loot
- Complete Hard Kourend Diary: Boosts totem/shard drops in Catacombs
With the right setup and strategy, the Black Demons slayer task can be both profitable and efficient. Choose your location and combat style wisely, leverage safespots or cannons, and keep an eye out for valuable drops to make the most of this task. Happy slaying!
