Your cart is empty

Best Bloodveld Spot OSRS – Top Locations and Strategies for Slayer Tasks
Bloodvelds are a popular Slayer monster in Old School RuneScape (OSRS), requiring level 50 Slayer to kill. Known for their high hitpoints, low defense, and valuable drops like blood runes and alchables, they’re a favorite for both experience and profit. This guide explores the best spots to kill Bloodvelds, including regular and mutated variants, with detailed strategies, gear setups, and safespotting tips to maximize efficiency. Whether you’re a mid-level player or a seasoned slayer, this post will help you tackle Bloodveld tasks effectively.
Selecting the optimal location for Bloodvelds depends on your goals: experience, profit, or AFK training. Factors like accessibility, cannon usage, safespot availability, and drop tables play a significant role. Mutated Bloodvelds offer better loot and XP, while regular Bloodvelds are easier for lower-level players. Below, we break down the top locations and strategies to help you decide.
Top Bloodveld Locations in OSRS
Stronghold Slayer Cave – Best for Cannon and Accessibility
The Stronghold Slayer Cave, located near Nieve (or Steve post-Monkey Madness II), is the most popular spot for regular Bloodvelds due to its proximity to a bank and cannon-friendly environment. With 12 spawns, it’s ideal for fast tasks.
- Pros: Close to bank, cannonable, safespot available in the northeast section.
- Cons: Can be crowded, regular Bloodvelds have weaker drops.
- Access: Use a Slayer Ring or teleport to Gnome Stronghold and run southwest.
Safespot Tip: Stand in the northeast section behind a pillar or in the east room north of rocks to attack without taking damage. Use the RuneLite “Cannon” plugin to find the optimal cannon placement.
Catacombs of Kourend – Best for Mutated Bloodvelds and Profit
The Catacombs of Kourend is the go-to spot for Mutated Bloodvelds, offering 18 spawns, better XP, and enhanced drop tables, including ancient shards and dark totem pieces. It’s multi-combat, making it great for bursting or AFK melee.
- Pros: High XP, profitable drops, safespotting and bursting viable.
- Cons: Requires Client of Kourend quest, no cannon in single-combat areas.
- Access: Kourend Castle Teleport (66 Magic, 60% Arceuus favor) or Xeric’s Talisman.
Safespot Tip: Use the northeastern slope or narrow corridors to safespot. For bursting, use two alt accounts to stack Bloodvelds, though this is costly due to extra memberships.
Meiyerditch Laboratories – Best for Cannon and Mutated Bloodvelds
The Meiyerditch Laboratories, accessible after partial completion of Sins of the Father, is a multi-combat area with four Mutated Bloodveld spawns. It’s the best spot for cannon users seeking high XP and loot.
- Pros: Cannonable, great drops, less crowded.
- Cons: Requires quest progress, fewer spawns.
- Access: Fairy ring (code DLS) under Canifis Pub, then take the shortcut.
Strategy: Set up a cannon near the center and use Protect from Melee to minimize damage. Safespot by luring Bloodvelds behind objects like tables.
Slayer Tower – Best for Low-Level Players
The Slayer Tower in Morytania, with 15 regular Bloodveld spawns on the second floor (US), is ideal for low-level players or those seeking Morytania Diary XP bonuses (up to 10% with Elite Diary).
- Pros: Multiple safespots, diary XP boost, accessible.
- Cons: No cannon, regular Bloodvelds, can be busy.
- Access: Slayer Ring, fairy ring (CKS), or Salve Graveyard teleport.
Safespot Tip: Use the northeastern corner behind the chair or near armor stands in the central room. The basement also has a safespot in the northwest corner by the chest and shelves.
Iorwerth Dungeon – Best for Crystal Shards
The Iorwerth Dungeon, unlocked after Song of the Elves, is a single-combat area with Mutated Bloodvelds that drop crystal shards, valuable for Prifddinas content. It’s cannonable but less efficient for XP.
- Pros: Crystal shard drops, cannonable, quieter.
- Cons: Single-combat, long quest requirement.
- Access: Teleport to Prifddinas or Iorwerth camp.
Tip: Use a cannon for faster kills, but prioritize this spot if you need shards over XP.
Best Strategies for Killing Bloodvelds
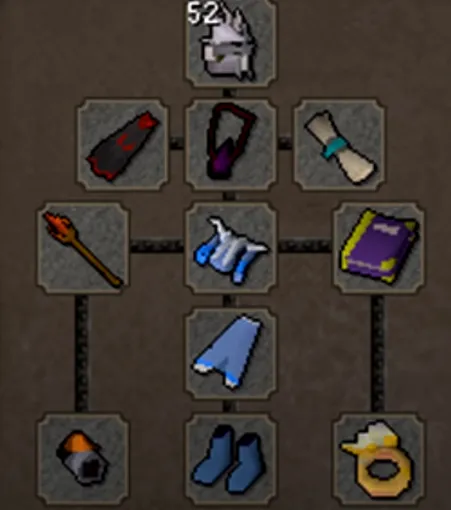
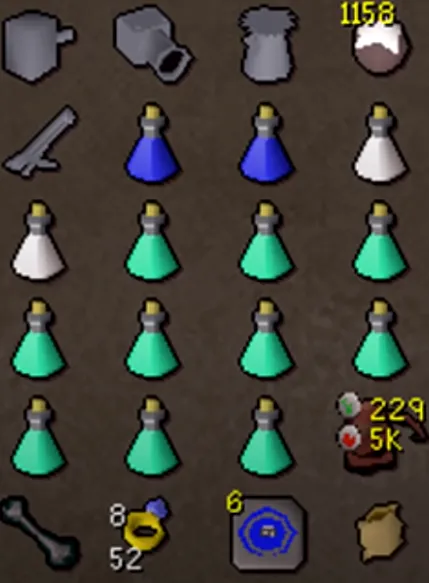
Gear and Inventory Setup
Bloodvelds use magic-based melee attacks, so high magic defense armor like dragonhide or Karil’s is essential unless using Protect from Melee (Prayer level 43). Demonbane weapons (e.g., Arclight) are effective due to their demon classification.
| Combat Style | Recommended Gear | Inventory |
|---|---|---|
| Melee | Slayer Helm, Proselyte Armor, Arclight/Abyssal Whip, Dragon Defender | Prayer Potions, Super Set, Food (Sharks), Teleports, Cannonballs |
| Ranged | Slayer Helm, Armadyl/Karil’s, Toxic Blowpipe, Ava’s Assembler | Ranging Potion, Food, Teleports, Rune Pouch (High Alchemy) |
| Magic (Bursting) | Slayer Helm, Ancestral, Trident of the Swamp, Occult Necklace | Blood/Death/Chaos Runes, Prayer Potions, Food, Teleports |
Combat Tips
- Prayer: Use Protect from Melee to nullify damage, paired with Proselyte for prayer bonus.
- Cannon: Deploy in multi-combat areas (Stronghold, Meiyerditch) for maximum kills.
- Bursting: In Catacombs, use Ice Burst with alt accounts to stack Bloodvelds for high XP (expensive).
- AFK Method: In Catacombs, tag multiple Bloodvelds with melee, pray melee, and AFK for a few minutes.
Maximizing Profit and Experience
Drop Tables and Loot
Mutated Bloodvelds are more profitable, averaging 2,606 GP per kill (4,000 GP on Konar tasks) with blood runes, alchables, and rare drop table access. Regular Bloodvelds yield about 1,000 GP per kill. Key drops include:
- Mutated Bloodvelds: 3.6 blood runes per kill, ancient shards, dark totem pieces, crystal shards (Iorwerth).
- Regular Bloodvelds: Fire runes, black boots, ensouled heads.
- Superior Variants: Insatiable Bloodveld (2,900 XP) and Insatiable Mutated Bloodveld (4,100 XP) with three drop table rolls.
Tip: Bring a Ring of Wealth to improve rare drop table chances and nature runes for High Alchemy to maximize profit.
Experience Rates
Bloodvelds are XP-efficient due to their high hitpoints (120 for regular, 134 for mutated) and low defense. Expect:
- Cannon in Meiyerditch: 40-50k Slayer XP/hour.
- Bursting in Catacombs: Up to 100k Magic XP/hour with alts.
- AFK in Catacombs: 25-30k Slayer XP/hour, 100k+ Melee XP.
Tips for Specific Slayer Masters
Konar and Krystilia Tasks
Konar tasks in the Slayer Tower are viable for diary XP boosts, but skip God Wars Dungeon tasks as they lack superior spawns. Avoid Krystilia’s Wilderness God Wars Dungeon tasks due to PKer risks and sparse spawns.
Alternative Method: Reanimated Bloodvelds
For Prayer training, use Expert Reanimation on ensouled Bloodveld heads (Arceuus spellbook). This counts toward tasks but yields less Slayer XP. Ideal for ironmen or low-combat players.
Conclusion
The best Bloodveld spot in OSRS depends on your priorities. For cannon users, Meiyerditch Laboratories and Stronghold Slayer Cave are top choices. Catacombs of Kourend excels for profit and XP, especially with bursting or AFK methods. Slayer Tower suits low-level players, while Iorwerth Dungeon is niche for crystal shards. Equip high magic defense or use Protect from Melee, and leverage safespots or cannons for efficiency. With these strategies, you’ll breeze through Bloodveld tasks while racking up XP and loot.