Your cart is empty

Basilisk Knight Task Guide OSRS

In Old School RuneScape (OSRS), the Basilisk Knight task is a challenging yet rewarding Slayer assignment that offers players a chance to earn valuable loot, including the coveted basilisk jaw. Found in Jormungand’s Prison beneath the Island of Stone, these formidable creatures require level 60 Slayer and completion of The Fremennik Exiles quest. This guide covers everything you need to know to tackle Basilisk Knights efficiently, from requirements and gear to strategies and loot, ensuring you maximize your Slayer experience.
Before you can take on Basilisk Knights, you need to meet specific requirements. These ensure you can access their location and deal damage effectively.
Slayer and Quest Prerequisites
- Level 60 Slayer: Required to damage Basilisk Knights.
- The Fremennik Exiles Quest: Grants access to Jormungand’s Prison on the Island of Stone.
- Mirror Shield or V’s Shield: Essential to avoid heavy damage and stat drain from their gaze attack.
Recommended Stats
While not mandatory, the following stats improve your efficiency:
| Skill | Recommended Level |
|---|---|
| Attack | 70+ |
| Strength | 70+ |
| Defence | 70+ |
| Ranged | 80+ (if ranging) |
| Prayer | 70+ (for Piety or Rigour) |
Getting to Jormungand’s Prison
Basilisk Knights reside in Jormungand’s Prison, accessible via the Island of Stone. Here’s how to get there efficiently.
Travel Options
- Lunar Isle Teleport: Use a Lunar Isle teleport or a portal in your Player-Owned House (POH), then speak to a citizen to be sent to Rellekka.
- Rellekka House Teleport: Teleport to Rellekka via POH and board Haskell’s boat north of Yrsa’s Accoutrements.
- Fairy Ring (Code AJS): Teleports you directly to the Island of Stone, near the cave entrance.
Navigating the Prison
Once on the Island of Stone, enter the cave in the center. Head to the southern chambers—specifically the southwest corner or the southernmost room—where Basilisk Knights spawn. These areas offer safespots for ranged attacks.
Combat Strategies for Basilisk Knights
Basilisk Knights have a combat level of 204, 300 hitpoints, and use magic and melee attacks with a max hit of 20. They’re weak to crush and ranged attacks, making these the preferred combat styles.
Ranged Strategy (Recommended)
Ranging is the safest and most popular method due to the availability of safespots.
- Safespotting: Stand behind stalagmites in Jormungand’s Prison, at least two tiles away, to avoid melee attacks. A common safespot is just outside the room’s doorway, where knights can’t pass.
- Gear: Use best-in-slot ranged gear like Armadyl armor, Necklace of Anguish, and Pegasian boots. A Slayer Helmet (i) boosts accuracy and damage on task.
- Weapons: Dragon darts or knives are ideal for max gear; hunters’ crossbow works well for mid-level players. Ruby dragon bolts (e) are effective at full HP, switching to Dragonstone dragon bolts (e) below 180 HP.
- Prayers: Use Protect from Magic to block their magic attacks. Flick Eagle Eye or Rigour for boosted ranged accuracy.
Tip: Bring runes for Telekinetic Grab to pick up drops while maintaining aggression.
Melee Strategy
Melee is faster but riskier, as safespotting is harder and you’ll take more damage.
- Gear: Opt for high-defence armor like Bandos or Torva, paired with a crush weapon like the Zamorakian Hasta or Dragon Mace. The Neitiznot Faceguard (if you’ve already obtained a jaw) is best-in-slot.
- Prayers: Use Protect from Magic and Piety for maximum damage output.
- Inventory: Bring super attack, strength, and defence potions, plus 4-6 prayer potions per trip.
Note: Melee is less AFK and consumes more resources, so it’s best for players with high combat stats (90+).
Prayer Flicking for Efficiency
To conserve prayer potions, flick Protect from Magic on the tick after your attack roll, as the knight’s damage is calculated then. This requires precise timing but can extend trips significantly. Monk’s robes or proselyte armor boost prayer bonus, making this viable for Ironmen or resource-conscious players.
Loot and Profitability
Basilisk Knights are a profitable Slayer task, especially due to the basilisk jaw drop, which upgrades the Helm of Neitiznot to the Neitiznot Faceguard.
Notable Drops
- Basilisk Jaw: 1/1,000 drop rate on task (1/5,000 off-task), worth approximately 15.5M GP.
- Dragon Bones: Common, valuable for prayer training.
- Runes: Nature and fire runes, useful for High Alchemy.
- Herbs (Noted): Decent profit, though single noted herbs can’t be stored in a herb sack.
- Brimstone Key: Dropped on Konar tasks, redeemable for loot.
Average Profit
According to the OSRS Wiki, the average kill value is:
- On-task: 27,977 GP per kill.
- Off-task: 8,902 GP per kill.
- Excluding Jaw: 4,133 GP per kill.
With 100-150 kills per hour (depending on gear and method), you can expect 100K-400K GP per hour without a jaw, with the potential for a massive payday if you get lucky.
Tips and Common Mistakes to Avoid
Maximize your efficiency and avoid pitfalls with these tips.
Pro Tips
- Extend Tasks: Use Slayer points to extend Basilisk tasks for more chances at the jaw.
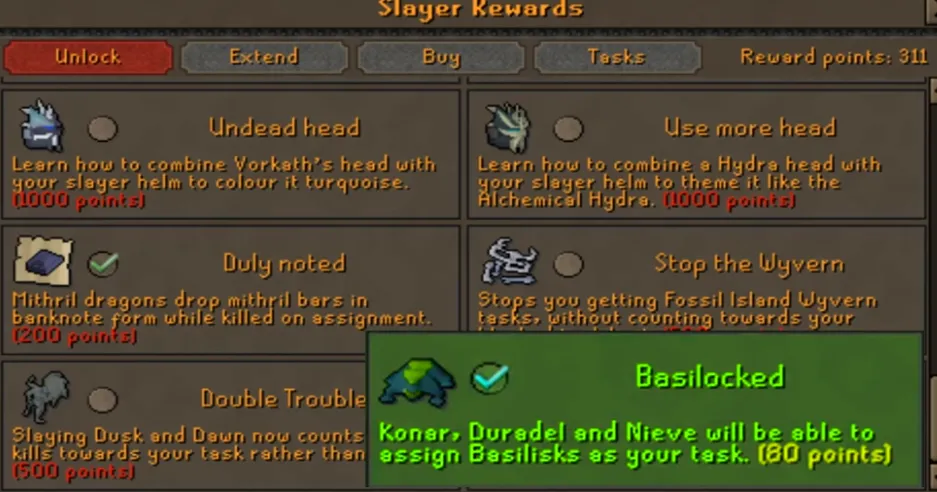
- Bigger and Badder: Unlock this perk (150 Slayer points) for a 1/200 chance of spawning a Basilisk Sentinel, a superior variant with better loot.
- POH Prayer Restore: Teleport to your POH to restore prayer between kills if low on potions.
- Ava’s Device: Works with proselyte armor, saving ammo for ranged setups.
Common Mistakes
- Ignoring Safespots: Always use stalagmites or doorways to avoid melee damage when ranging.
- Underestimating Prayer: Bring enough prayer potions (4-8 per trip) to maintain Protect from Magic.
- Wrong Combat Style: Avoid magic attacks; Basilisk Knights are resistant, and you’ll deal low damage.
- Not Flicking Prayers: Without flicking, you’ll burn through prayer potions quickly.
Fun Fact: Killing a Basilisk Knight solves the elite cryptic clue, “Reflection is the weakness for these eyes of evil.”
By following this guide, you’ll be well-equipped to tackle the Basilisk Knight task in OSRS. Whether you’re chasing the basilisk jaw for the Neitiznot Faceguard or grinding Slayer XP, this task offers a mix of challenge and reward. Use ranged safespots for safety, flick prayers to save resources, and keep an eye out for that rare drop. Good luck, and happy slaying!