Your cart is empty
How to Make Easy GP Killing the Alchemical Hydra in OSRS (2025 Method)

Yo, Scapers! Wanna stack some serious Gold Pieces (GP) by taking on the Alchemical Hydra? This bad boy is hands-down one of the best money-makers in Old School RuneScape (OSRS) in 2025. I’ve got thousands of kills under my belt, and let me tell ya, it’s a goldmine if you know what you’re doing. Why’s it so good? Easy: big drops, steady profits, and a fight that’s honestly not that tough once you get the hang of it. Ready to pull in 4-6M GP an hour? Maybe even more? Let’s break it down, step-by-step, like I’m sittin’ next to ya at the GE.
Why Bother with the Alchemical Hydra?
The Alchemical Hydra is a level 426 Slayer boss chilling in the Karuulm Slayer Dungeon up in Mount Karuulm. You need a Hydra Slayer Task from Konar to fight it, which means 95 Slayer. Is the grind to 95 worth it? Heck yeah! Here’s the deal:
- Big Money: You’re looking at 4-6M GP per hour on average, and if RNGesus smiles, you could hit 7M+ with unique drops. Each kill averages about 216k GP based on 2025 GE prices.
- Juicy Drops: Think Hydra’s Claw (39M+), Brimstone Ring pieces (6.5M), and stacks of Dragon Knives or Thrownaxes (175k-1.5M). Every kill’s a lottery ticket!
- Slayer XP: You’re snagging 1,320 Slayer XP per kill, so you’re leveling while banking.
- Chill Mechanics: Once you learn the fight, it’s like riding a bike. I’ve done so many kills I could probably do it blindfolded (don’t try that, tho).
Sounds good, right? But is it really easy? With the right gear and a bit of practice, you bet it is. Let’s get you set up.
What You Need to Start
Before you go charging into the Karuulm Dungeon, you gotta prep like a pro. The Hydra’s no joke, but with the right stuff, you’ll be laughing to the bank. Here’s what you need:
Bare Minimum Requirements
- 95 Slayer: Gotta have it to get the task from Konar.
- Kourend & Kebos Elite Diary (optional, but a game-changer): Skips the need for Boots of Stone/Brimstone/Granite, letting you rock Pegasian Boots for that sweet +12 Ranged bonus.
- 75+ Ranged: Higher is better for faster kills.
- 70+ Prayer: For Piety and protection prayers to keep you alive.
- 80+ Hitpoints and Defence: So you don’t get smoked if you mess up.
- Boots of Stone/Brimstone/Granite: If you don’t have the Elite Diary, these protect you from the dungeon’s floor burning your toes off.
Stats I’d Recommend
- 90+ Ranged: Makes kills way faster with a Toxic Blowpipe or Twisted Bow.
- 85+ Defence: Less damage taken means longer trips.
- 90+ Hitpoints: Gives you a buffer for mistakes.
- 70+ Prayer: Lets you keep Piety up without chugging pots like crazy.
Gear Setup
Ranged is the meta in 2025. Why? It’s safer, hits harder, and lets you use safespots. Melee with a Dragon Hunter Lance works, but it’s riskier and slower unless you’re a god-tier player. Here’s the gear setup I swear by:
| Slot | Best-in-Slot | Budget Option |
|---|---|---|
| Head | Slayer Helmet (i) | Black Mask (i) |
| Neck | Necklace of Anguish | Amulet of Fury |
| Cape | Ava’s Assembler | Ava’s Accumulator |
| Body | Armadyl Chestplate | Blessed D’hide Body (any god) |
| Legs | Armadyl Chainskirt | Blessed D’hide Chaps (any god) |
| Weapon | Twisted Bow | Toxic Blowpipe (Adamant darts) |
| Shield | Twisted Buckler | Book of Law |
| Gloves | Barrows Gloves | Blessed Vambraces |
| Boots | Pegasian Boots (with Elite Diary) | Boots of Brimstone |
| Ring | Archers Ring (i) | Ring of Wealth |
| Ammo | Dragon Arrows (Twisted Bow) | Amethyst Darts (Blowpipe) |
| Special Attack | Dragon Claws | Dragon Dagger (p++) |
Inventory Setup
Your inventory’s gotta be on point to last 6-10 kills per trip. Here’s what I bring:
- 2 Ranging Potions (4): Boost that Ranged stat for max DPS.
- 2 Antidote++ (4): Keeps poison at bay. One dose lasts 12 minutes, so sip early.
- 8-10 Prayer Potions (4): You’ll need these to keep Piety and protection prayers going.
- 5-10 Sharks or Manta Rays: For when you flub a dodge and need to heal.
- Rune Pouch: Pack High Alchemy runes (Nature/Fire) to turn junk drops into GP.
- House Teleport Tablets: Quick banking when you’re out of supplies.
- Rada’s Blessing 4 (optional): Unlimited teleports to Mount Karuulm if you’ve got the Elite Diary.
- Bracelet of Slaughter (optional): Extends your task for more kills (and more GP!).
- Bonecrusher Necklace (optional): Auto-buries Hydra bones for +8 Prayer points per kill. Saves pots!
Got your gear? Awesome. Now, how do you even get to this beast?
Getting to the Alchemical Hydra
The Hydra’s holed up in the Karuulm Slayer Dungeon on Mount Karuulm. Here’s the fastest way to get there:
- Teleport: If you’ve got Rada’s Blessing 3/4 (Hard/Elite Diary), use it for a direct teleport. No Diary? Hit up the Fairy Ring (CIR) or use Xeric’s Talisman to Kourend Castle, then hoof it north.
- Navigate the Dungeon: Run past the Tasakaal, then east past those pesky regular Hydras. You’ll spot Orrvor quo Maten guarding the Hydra’s lair. Got 88 Agility? Use the mysterious pipe shortcut behind Kaal-Ket-Jor to save time.
- Enter the Fight: Jump over the rock barrier to start the instanced fight. Heads-up: once you’re in, you’re locked in until you kill the Hydra, die, or teleport out.
Oh, and if you die? Orrvor quo Maten holds your stuff for 100k GP. Don’t die again before grabbing it, or you’re gonna have a bad day.
The Fight: How to Outsmart the Hydra
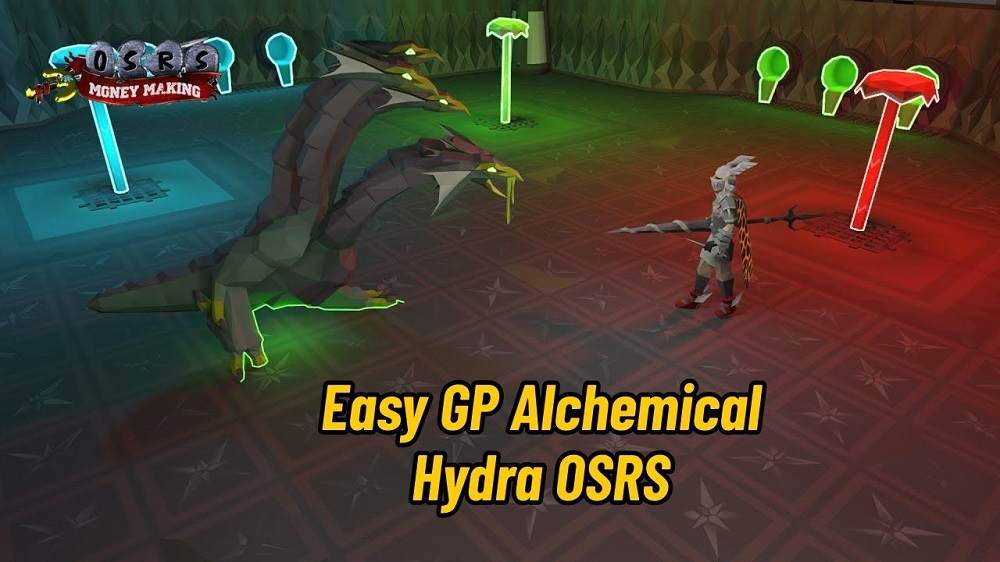
The Alchemical Hydra’s got four phases, each with its own tricks. Sounds scary, but trust me, it’s like a dance once you learn the steps. Your job is to lure the Hydra to the right chemical pool to strip its damage reduction and dodge its special attacks. Here’s how I do it:
Phase 1: Green Carapace (Poison Phase)
- Health: 1100 to 825 HP.
- Lure: Red chemical pool (east side).
- Special Attack: Poison blobs that splatter in a 3×3 area, hitting for up to 7 damage. Standing on pools deals 12 poison damage per tick, and getting hit inflicts 4-6 poison.
- How to Handle It:
- Start by standing next to the red chemical vat. The Hydra spawns and gets lured automatically.
- After three attacks, run north on the fourth to dodge those poison blobs. Count the attacks out loud if you’re new!
- Switch between Protect from Magic (left head) and Protect from Ranged (right head) every three attacks.
- Sip Antidote++ if you get poisoned. I forgot once and nearly died. Don’t be me.
Phase 2: Blue Carapace (Lightning Phase)
- Health: 825 to 550 HP.
- Lure: Green chemical pool (west side).
- Special Attack: An electric ball spawns four lightning currents that chase you, dealing up to 22 damage and binding you.
- How to Handle It:
- Right after Phase 1, lure the Hydra to the green pool.
- When lightning spawns, run west along the north wall to dodge it. Pro move? Use the lightning skip: stand in the northwest corner, step one tile southeast when lightning’s two tiles away, then back north.
- Keep switching prayers every three attacks. Muscle memory’s your friend here.
Phase 3: Red Carapace (Fire Phase)
- Health: 550 to 275 HP.
- Lure: Blue chemical pool (south side).
- Special Attack: Fire walls that push you back and hit for up to 20 damage.
- How to Handle It:
- Lure to the blue pool as soon as Phase 2 ends.
- Walk (don’t run!) to dodge fire walls. Stay near the center for more wiggle room.
- Keep up the prayer-switching every three attacks. You got this!
Phase 4: Grey Carapace (Enrage Phase)
- Health: 275 to 0 HP.
- Lure: No pool needed; the Hydra’s damage reduction is gone.
- Special Attack: Alternates Magic and Ranged every attack, with faster attacks and higher damage. Poison blobs come back after three attacks, then every nine.
- How to Handle It:
- Prayer-switch every single attack. If Phase 3 ended with Ranged, start with Protect from Magic, and vice versa.
- Run north to dodge poison blobs.
- Pop a Dragon Claws special attack to melt this phase. I love seeing that health bar drop!
General Tips
- Prayer Flicking: Count to three for each prayer switch or listen for the attack sound. Mess this up, and you’re eating big hits.
- Turn Off Auto-Retaliate: Keeps you from running into poison or lightning like an idiot (been there).
- High Alch Junk: Alch stuff like Rune Platebodies or Mystic Staves to free up inventory space.
- Kill Time: Expect 2-3 minutes per kill with decent gear, giving you 20-28 kills per hour. Pros with a Twisted Bow can push 30+.
Cashing In: Drops and Profits
The Hydra’s drops are where the real GP flows. You get two rolls on the drop table per kill, plus guaranteed loot like bones or small stuff. Here’s the good stuff in 2025:
| Item | Drop Rate | Value (2025 GE) |
|---|---|---|
| Hydra’s Claw | 1/1001 | 39M |
| Brimstone Ring (Eye/Fang/Heart) | 1/181 (each) | 6.5M (combined) |
| Hydra Tail | 1/513 | 1M+ (Bonecrusher Necklace) |
| Dragon Knives/Thrownaxes | 1/2001 | 175k-1.5M |
| Alchemical Hydra Heads | 1/256 | 1M+ (trophy) |
| Jar of Chemicals | 1/2000 | 500k+ |
Profit Breakdown
- Average Kill: ~216k GP, including common drops like noted herbs, runes, and alchables.
- Hourly Profit: 20 kills/hour = 4.3M GP/hour; 28 kills/hour = 6M GP/hour.
- Big Drops: A Hydra’s Claw or Brimstone Ring piece can push your hourly profit to 10M+.
- Supplies Cost: Around 100-200k per hour for potions and food. Alching junk helps cover this.
Pro tip: Slap on a Ring of Wealth to ditch “nothing” drops and slightly boost your chances at the good stuff.
Pro Tips to Up Your Game
Wanna squeeze out more kills and GP? Here’s what I’ve learned from grinding this boss:
- Lightning Skip: Master that northwest corner trick in Phase 2. Check YouTube for tile markers (TheSpazDevil’s vids are gold).
- Twisted Bow: If you can afford it (1.1B+), it’s a game-changer. The Hydra’s high Magic level makes it melt.
- Dragon Claws: Save the special attack for Phase 4 to end fights quick.
- Runelite Plugins: Use tile markers for chemical pools and safe spots. Makes luring brainless.
- Mobile Practice: I’ve done Hydra on mobile during lunch breaks. Count attacks out loud to stay sharp.
Mistakes to Dodge
- Forgetting Boots: No Elite Diary and no proper boots? The dungeon floor will roast you.
- Ignoring Poison: Sip Antidote++ before the fight. I skipped it once and burned through all my food.
- Prayer Fails: Miscounting attacks or forgetting to switch prayers = big oof.
- Not Alching: Don’t let junk drops clog your inventory. Alch ‘em for extra GP.
- Double Death: If you die, grab your stuff from Orrvor quo Maten for 100k GP. Die again before that, and it’s gone.
Worth It?
Oh, you bet it is! The Alchemical Hydra is a top-tier money-maker in 2025. With 4-6M GP per hour, solid Slayer XP, and a shot at bank-making uniques, it’s a no-brainer for high-level Slayers. The fight’s a breeze once you learn the rhythm, and after a few dozen kills, you can chill with some Netflix while farming (I’m at 2k+ KC and still hooked).


