Your cart is empty

OSRS Greater Demons Catacombs of Kourend Guide
In Old School RuneScape (OSRS), Greater Demons are a popular Slayer monster known for their rewarding drops and accessibility. The Catacombs of Kourend is one of the best locations to tackle these fearsome creatures, offering unique advantages like multicombat areas and exclusive loot. This guide dives into everything you need to know about slaying Greater Demons in the Catacombs, including strategies, gear setups, and tips to maximize efficiency.
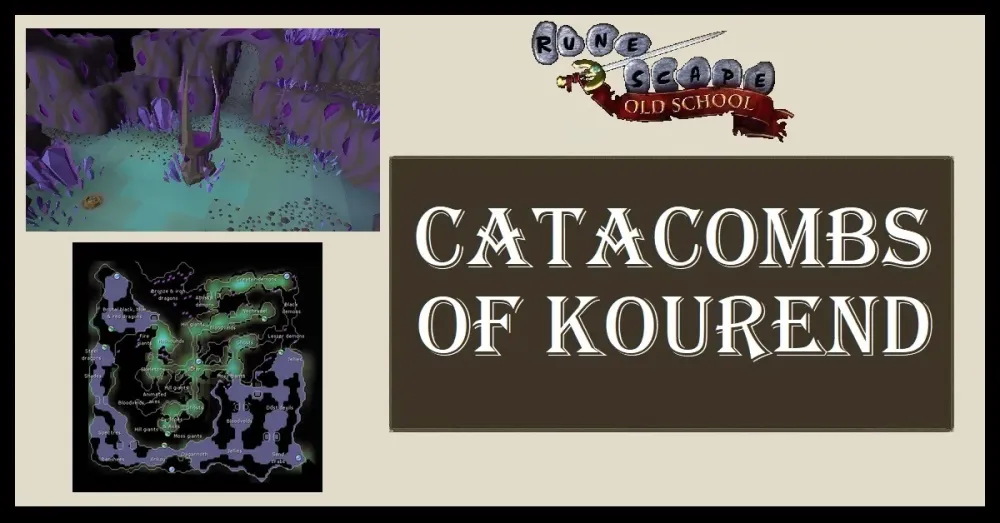
The Catacombs of Kourend, located beneath Great Kourend, is a sprawling dungeon packed with Slayer monsters. It’s a top choice for Greater Demon tasks due to its multicombat environment, exclusive drops like Ancient Shards and Dark Totem pieces, and the ability to restore Prayer points by burying bones. Whether you’re after Slayer XP, loot, or Skotizo totems, this location has it all.
Key Features of the Catacombs
- Multicombat Area: Allows multiple Greater Demons to attack simultaneously, ideal for AFK strategies.
- Prayer Restoration: Burying bones restores Prayer points (1 for regular bones, 2 for big bones, 4 for dragon bones).
- Exclusive Drops: Greater Demons in the Catacombs drop Ancient Shards and Dark Totem pieces, used to fight Skotizo.
- Accessibility: Easy to reach via Fairy Ring (CIS) or Kourend Castle teleport with 60% Arceuus favor.
Comparison with Other Locations
While Greater Demons can be found in places like the Chasm of Fire or Wilderness Slayer Cave, the Catacombs stand out for their safety and unique loot. The Chasm of Fire is cannonable but lacks the Catacombs’ exclusive drops, while the Wilderness is risky due to PKers. The Catacombs offer a balanced mix of efficiency and rewards.
Getting to the Greater Demons in the Catacombs
Reaching the Greater Demons in the Catacombs is straightforward, with multiple travel options to suit different player setups.
Fastest Travel Methods
- Fairy Ring (CIS): Unlock the Fairy Ring for 80,000 coins, then run east to the Demon’s Run entrance (requires unlocking the vine from inside the Catacombs first).
- Kourend Castle Teleport: Requires 60% Arceuus favor. Inspect the statue in Kourend Castle to enter the Catacombs, then head northeast to Demon’s Run.
- Xeric’s Talisman: Use the “Xeric’s Heart” teleport to arrive near Kourend Castle, then enter the Catacombs.
Navigating to Demon’s Run
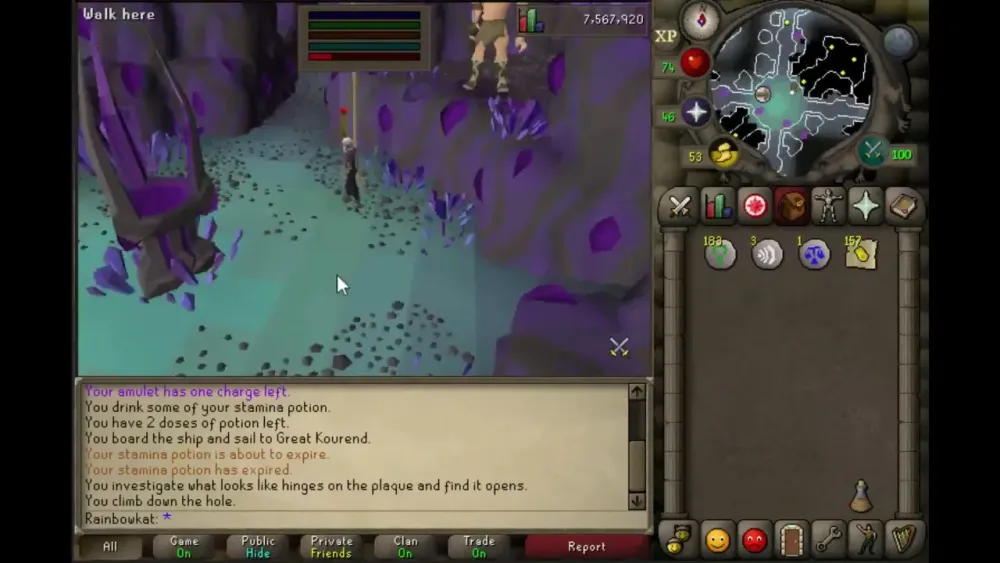
The Greater Demons are located in the Demon’s Run section, in the northeast corner of the Catacombs. From the main entrance, head northeast past ghosts and black demons. The area is marked by an archway and a rope exit leading to the surface near the Arceuus essence mine.
Combat Strategies for Greater Demons
Greater Demons in the Catacombs have combat levels of 100, 101, 104, and 113, with 115-130 Slayer XP per kill. They’re weak to all attack styles, making them versatile for melee, ranged, or magic setups. Here are the best strategies to slay them efficiently.
AFK Melee Strategy
The Catacombs’ multicombat nature makes it a prime spot for AFK training. Here’s how to set it up:
- Gear: Wear Proselyte armor for high Prayer bonus, paired with a high-damage weapon like the Abyssal Whip or Dragon Scimitar.
- Prayer: Use Protect from Melee to negate damage. Bring Prayer potions to sustain it.
- Method: Stand in the center of the Greater Demon area, let them pile up, and reset aggression every 10 minutes by running a few screens away and back.
This method is low-effort and allows you to collect Dark Totem pieces passively while gaining Slayer XP.
Safespotting with Ranged or Magic
For players preferring less risk, safespotting is highly effective in the Catacombs.
- Safespot Locations: Stand under the arch dividing the Greater Demon area or in the northeast corner behind the rope exit.
- Gear: Use a Toxic Blowpipe or Trident of the Seas for fast kills. Wear high Magic or Ranged defense gear like Black d’hide or Mystic robes.
- Inventory: Bring runes/ammo, Prayer potions, and a Bonecrusher for passive Prayer restoration.
Safespotting is ideal for Ironmen or players with lower combat stats, as it minimizes damage taken.
Cannon Setup (Not Recommended)
Unlike the Chasm of Fire, the Catacombs do not allow dwarf multicannons, so you’ll need to rely on manual combat. If you want to use a cannon, consider the Chasm of Fire or Wilderness Slayer Cave instead.
Gear and Inventory Setup
Your gear and inventory depend on your chosen combat style and whether you’re prioritizing XP, loot, or AFK efficiency. Below is a recommended setup for the AFK melee strategy, with alternatives for safespotting.
Melee Gear Setup
| Slot | Item | Alternative |
|---|---|---|
| Head | Proselyte Sallet | Helm of Neitiznot |
| Cape | Ardougne Cloak | Fire Cape |
| Body | Proselyte Hauberk | Bandos Chestplate |
| Legs | Proselyte Cuisse | Bandos Tassets |
| Weapon | Abyssal Whip | Dragon Scimitar |
| Shield | Dragon Defender | Rune Defender |
| Gloves | Barrows Gloves | Combat Bracelet |
| Boots | Primordial Boots | Dragon Boots |
| Ring | Ring of Wealth (i) | Berserker Ring |
Inventory Setup
- Prayer Potions (6-8): Sustain Protect from Melee for AFK sessions.
- Bonecrusher: Automatically buries bones for Prayer point restoration.
- Teleport Method: Xeric’s Talisman or Teleport to House tablets for quick exits.
- Food (Optional): Sharks or Monkfish for emergencies, though Protect from Melee should prevent damage.
- Looting Bag: Store stackable drops like coins and herbs to extend trips.
For safespotting, swap Prayer potions for runes/ammo and add a Ranging or Magic potion to boost damage.
Drops and Rewards
Greater Demons in the Catacombs offer a mix of standard and exclusive drops, making them a decent money-maker alongside Slayer XP.
Notable Drops
- Rune Full Helm (1/128): A valuable drop worth around 20,000 coins.
- Hard Clue Scroll (1/128): Offers a chance at rare rewards like ornament kits or dyes.
- Ancient Shard (1/256): Used to create Arclight, a powerful demon-slaying weapon.
- Dark Totem Pieces (1/400): Combine to form a Dark Totem for fighting Skotizo, a demi-boss with lucrative loot.
The Ring of Wealth (i) increases the chance of receiving a hard clue scroll to 1/64 and removes “nothing” drops from the rare drop table, boosting overall profit.
Skotizo and Dark Totems
Collecting Dark Totem pieces (base, middle, top) is a major incentive for slaying Greater Demons in the Catacombs. Once assembled, the Dark Totem allows you to fight Skotizo, a level 321 demi-boss in the Catacombs. Skotizo drops include the Skotos pet, Jar of Darkness, and a guaranteed hard or elite clue scroll, making it a high-value target.
Drop Table Overview
| Drop | Rarity | Approx. Value |
|---|---|---|
| Rune Full Helm | 1/128 | 20,000 coins |
| Hard Clue Scroll | 1/128 (1/64 with RoW) | Varies |
| Ancient Shard | 1/256 | Untradeable |
| Dark Totem Piece | 1/400 | Untradeable |
| Adamantite Ore | 1/42 | 1,200 coins |
| Fire Rune (150) | 1/42 | 600 coins |
Final Tips for Success
To make the most of your Greater Demon Slayer task in the Catacombs of Kourend, keep these tips in mind:
- Prioritize Prayer: The Bonecrusher and Prayer potions are your best friends for long AFK sessions.
- Bank Efficiently: Use a Looting Bag and teleports to minimize banking time.
- Watch Aggression: Reset the 10-minute aggression timer by briefly leaving and returning to Demon’s Run.
- Save Totems: Stockpile Dark Totems for Skotizo kills, especially if you’re hunting the pet or clue scrolls.
- Consider Extensions: Unlock the “Greater Challenge” perk for 100 Slayer points to extend tasks to 200-250 kills for more loot.
By leveraging the Catacombs’ unique features and optimizing your setup, you’ll breeze through Greater Demon tasks while racking up XP and valuable drops. Happy slaying!
