Your cart is empty

Dragon Slayer 2 OSRS Final Boss Galvek Guide

Dragon Slayer II is one of Old School RuneScape’s (OSRS) most iconic Grandmaster quests, released on January 4, 2018, as a sequel to the original Dragon Slayer I. Its final boss, Galvek, is a formidable dragon that tests players’ combat skills, preparation, and understanding of mechanics. This guide dives into everything you need to know to defeat Galvek, from preparation to phase-by-phase strategies, ensuring you conquer this epic fight and unlock the rewards of the Myths’ Guild.
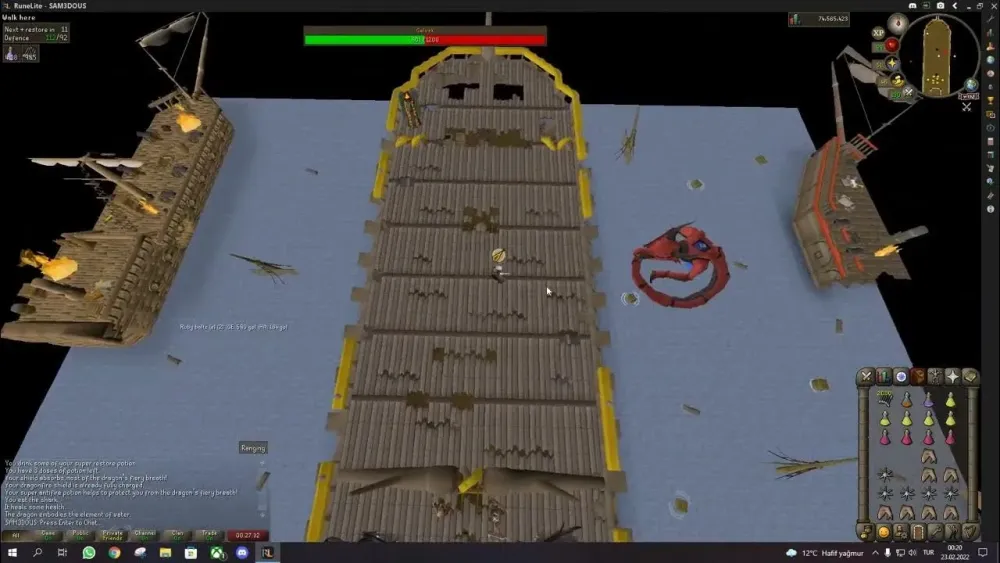
Galvek, meaning “Fate” in the Dragonkin language, is a serpent-like dragon incubated by the Dragonkin Zorgoth to wreak havoc on humanity. Fought aboard a ship in an instanced area, Galvek has 1200 hitpoints divided across four phases (300 HP each), each introducing unique mechanics. His attacks include Slash, Ranged, Magic, and high-damage Dragonfire, with a combat level of 608. Galvek’s fight is considered one of the toughest quest bosses in OSRS due to his diverse attack styles and environmental hazards.
Why Galvek Is Challenging
Galvek’s difficulty stems from his ability to disable prayers, deploy environmental traps, and summon waves of dragons that players must defeat before focusing on him. His high Magic defense (280) makes Ranged the most effective combat style, while his Dragonfire can hit up to 121 damage without protection. The fight requires precise movement, prayer switching, and inventory management, especially for mid-level players.
Preparation for the Galvek Fight

Proper preparation is critical to defeating Galvek. You’ll face him after battling waves of dragons (Black, Steel, Brutal Red, Mithril, Adamant, and Rune), so conserve resources during these encounters. There’s a checkpoint after the Rune Dragon, allowing you to teleport out and restock.
Recommended Stats and Gear
While Galvek can be defeated with mid-level stats, higher levels make the fight more manageable. Aim for:
- Ranged: 75+ (80+ recommended for consistency)
- Defence: 70+ for better survivability
- Prayer: 70+ for access to Piety or Rigour
- Hitpoints: 70+ to withstand high-damage attacks
Gear setup is crucial. Since Galvek’s Magic defense is high, prioritize Ranged gear with prayer and defense bonuses. Below is a recommended setup:
| Slot | Item | Alternative (Budget) |
|---|---|---|
| Head | Armadyl Helmet | Blessed D’hide Coif |
| Body | Armadyl Chestplate | Black D’hide Body |
| Legs | Armadyl Chainskirt | Black D’hide Chaps |
| Weapon | Rune Crossbow | Crossbow (with Ruby Bolts (e)) |
| Shield | Dragonfire Ward | Anti-dragon Shield |
| Ammo | Ruby Bolts (e) / Diamond Bolts (e) | Adamant Bolts |
| Amulet | Amulet of Fury | Amulet of Glory |
Inventory Setup
Your inventory should balance damage, healing, and utility. A suggested setup includes:
- 1-2 Ranging Potions: Boost Ranged accuracy and damage
- 3-4 Super Restore Potions: Restore Prayer and stats drained by Galvek’s attacks
- 1 Stamina Potion: Maintain run energy for dodging
- High-healing Food: Sharks or Manta Rays (10-12)
- 1-2 Prayer Potions: Sustain Protection prayers
- Anti-dragon Shield/Potion: Both required, as Super Antifire Potions don’t fully protect
- One-click Teleport: For emergencies (e.g., Games Necklace)
Tip: Turn off Auto-Retaliate to avoid unnecessary movement during dragon waves, especially in Phase 3.
Galvek’s Fight Mechanics and Phases
Galvek’s fight is divided into four phases, each with 300 hitpoints and distinct mechanics. You’ll also face dragon waves before engaging him fully. Understanding each phase is key to survival.
Dragon Waves Before Galvek
Before Galvek becomes the primary target, you must defeat two waves of dragons while dodging his fireballs:
- Wave 1: Black Dragon, Steel Dragon, Brutal Red Dragon
- Wave 2: Mithril Dragon, Adamant Dragon, Rune Dragon
Each dragon uses Melee, Ranged, Magic, and Dragonfire. Use Protect from Missiles for Adamant Dragon’s Blood Forfeit attack and avoid poison splashes. Dodge Galvek’s fireballs by moving when he starts his casting animation. After the Rune Dragon, you hit a checkpoint to restock.
Phase 1 Fire Traps and Magic Attacks
Galvek uses Magic-based attacks and deploys eight fire traps that deal massive damage (up to your max HP) in a 3×3 area. Strategy:
- Use Protect from Magic to reduce damage.
- Position yourself one square south of Galvek on the ship’s north side.
- Run two squares south when he casts a fireball, then return after it misses.
- Avoid fire traps; they explode after a set time or when the phase ends.
Phase 2 Hurricanes and Ranged Attacks
Galvek moves to the west, using Ranged attacks and launching transparent hurricane projectiles that drain stats, especially run energy. Strategy:
- Switch to Protect from Missiles.
- Drink Super Restores to counter stat drain.
- Continue dodging fireballs using the north-south movement pattern.
- Use Ruby Bolts (e) for high-damage procs early in the phase.
Phase 3 Tsunami and Dragonfire
Galvek’s attacks intensify with a tsunami attack (high-damage Dragonfire) and continued Ranged attacks. Strategy:
- Maintain Protect from Missiles.
- Watch for the pink Dragonfire that disables prayers; reactivate them immediately.
- Switch to Diamond Bolts (e) if Galvek’s HP is low to bypass his defenses.
- Stay mobile to avoid tsunami and fireball combos.
Phase 4 The Final Push
Galvek combines all previous mechanics, adding fire traps and stat-draining hurricanes. Strategy:
- Keep Protect from Missiles active.
- Conserve food and potions, as this phase is the longest.
- Focus on dodging fireballs and traps while dealing consistent damage.
- Reapply prayers after pink Dragonfire and use Super Restores for stat drain.
Tips and Tricks for Success
Galvek’s fight is mechanically demanding, but these tips can make it easier:
- Practice Movement: Master the north-south dodge pattern during dragon waves to build muscle memory.
- Prayer Management: Set Quick Prayers to Protect from Magic and Eagle Eye/Rigour for Phase 1, switching to Protect from Missiles for Phases 2-4.
- Bolt Switching: Use Ruby Bolts (e) for high HP phases and Diamond Bolts (e) when Galvek’s HP is below 50% for better accuracy.
- Conserve Resources: Eat only when necessary during dragon waves to save food for Galvek.
- Learn from Deaths: Deaths cost 100,000 GP to retrieve items, but they’re safe. Analyze mistakes and adjust your strategy.
Pro Tip: Watch YouTube guides (e.g., “Short & Simple Galvek Guide” by TokSRS) to visualize mechanics before attempting the fight.
Rewards and Post-Fight Benefits
Defeating Galvek completes Dragon Slayer II, granting access to the Myths’ Guild and its rewards:
- Myths’ Guild Access: Includes the Wrath Altar, Spirit Tree, and Pool of Dreams to refight Galvek.
- Rune Dragons: Profitable Slayer monsters for high-level players.
- Ava’s Assembler: Crafted using Vorkath’s head for a powerful Ranged cape.
- Quest Points: 2 Quest Points toward your Quest Cape.
The sense of accomplishment from defeating Galvek is immense, and the lore surrounding the Dragonkin adds depth to the OSRS experience.
With this guide, you’re equipped to tackle Galvek and claim victory in Dragon Slayer II. Prepare thoroughly, stay focused, and don’t be discouraged by setbacks. Good luck, adventurer!
