Your cart is empty
Inferno Tile Markers OSRS A Comprehensive Guide to Mastering the Inferno

The Inferno in Old School RuneScape (OSRS) is one of the most formidable challenges players can face, a solo minigame that tests combat skills, strategy, and mental endurance. With 69 waves of increasingly difficult enemies culminating in a battle against TzKal-Zuk, success demands precision. A critical tool for conquering this fiery gauntlet is tile markers, visual aids that help players navigate the complex Inferno arena. This guide dives deep into what Inferno tile markers are, how to use them effectively, and why they’re essential for earning the coveted Infernal Cape.
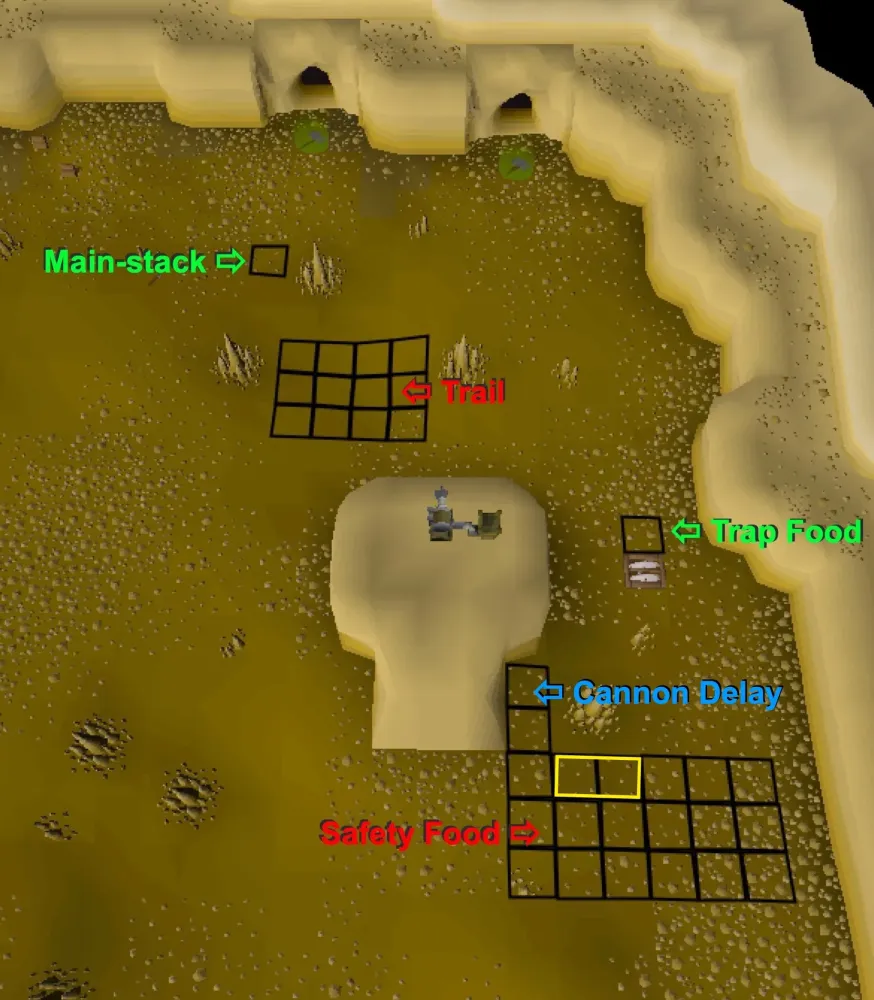
Tile markers are custom annotations placed on specific in-game tiles to guide players during challenging content like the Inferno. In OSRS, they are primarily used through the RuneLite client’s Ground Markers plugin, which allows players to mark and label tiles for strategic purposes. In the Inferno, tile markers indicate safe spots, attack zones, and optimal movement paths, reducing the chaos of its dynamic encounters.
Why Tile Markers Matter
The Inferno’s difficulty lies in its relentless waves of enemies, including Jal-Nibs, Blobs, Meleers, Rangers, and Mages, all with unique attack patterns. Tile markers provide:
- Precision Movement: Mark safe spots to avoid enemy attacks, especially during multi-monster waves.
- Enemy Pattern Prediction: Anticipate spawn points and movement, crucial for high waves and TzKal-Zuk.
- Resource Efficiency: Minimize damage taken, conserving food and potions.
- Faster Learning: Help beginners visualize strategies, flattening the steep learning curve.
Accessing Tile Markers with RuneLite
To use tile markers, you need the RuneLite client:
- Download and install RuneLite from its official website.
- Enable the Ground Markers plugin in the RuneLite plugin hub.
- Hold Shift, right-click a tile, and select “Mark Tile” to place a marker.
- Customize colors and labels via the plugin settings for clarity.
You can also import pre-made tile marker sets from sources like RuneMarkers.net or the OSRS Wiki by copying the tile string and importing it via the World Map orb in-game.
Setting Up Inferno Tile Markers for Success
Proper setup of tile markers is crucial for their effectiveness. Here’s how to optimize your markers for the Inferno’s unique challenges.
Choosing Colors and Labels
Consistency is key when marking tiles:
- Red for Safe Spots: Mark tiles where you can hide behind pillars to avoid enemy attacks.
- Green for Attack Zones: Indicate positions for maximizing damage output, like when attacking TzKal-Zuk.
- Yellow for Paths: Outline movement routes to reposition during waves.
- Blue for Spawns: Highlight enemy spawn points, especially for waves 50+.
Avoid overloading your screen with too many markers. Focus on key tiles to maintain clarity under pressure.
Importing Pre-Made Tile Sets
Community resources like RuneMarkers.net and Reddit posts offer pre-configured tile sets for the Inferno. For example, a 2021 Reddit post by u/Zacxion shared a detailed set with safe spots for waves 50+ to minimize Ranger damage. To import:
- Copy the JSON tile string from a trusted source.
- Right-click the World Map orb in RuneLite and select “Import Ground Markers.”
- Paste the string and confirm to load the markers.
Always verify imported sets in a practice run to ensure they suit your playstyle.
Manual Marking for Specific Waves
For advanced players, manually marking tiles based on wave-specific needs can be more effective. For instance, in wave 63 (3x Nibbler, 2x Blob, 1x Melee, 1x Ranger, 1x Mage), mark safe spots behind the north pillar to corner-trap the Melee while freezing Nibblers.
Strategic Use of Tile Markers in the Inferno
Tile markers shine in the Inferno’s high-stakes environment, where every step can mean survival or defeat. Here’s how to use them strategically across different phases.
Early Waves (1–30)
Early waves introduce basic enemies like Jal-Nibs and Bats. Use tile markers to:
- Mark pillar safe spots to avoid Nibbler damage.
- Indicate Blob spawn points to prioritize their elimination.
Keep markers minimal to build familiarity with enemy patterns.
Mid Waves (31–66)
As waves intensify, tile markers become critical for managing multiple enemies:
- Safe Spotting: Use pillars to block line-of-sight for Rangers and Mages, marking tiles to stand behind. For example, the south-west corner of a pillar can block a Ranger while allowing you to attack a Blob.
- Corner Trapping: Mark tiles to trap Meleers, ensuring they can’t attack diagonally (safe for three tiles from the pillar).
- Barrage Spots: Indicate tiles to cast barrage spells, hitting multiple enemies like Nibblers and Mages simultaneously.
Triple Jads and TzKal-Zuk (Waves 67–69)
The final waves are the ultimate test. Tile markers help manage the chaos:
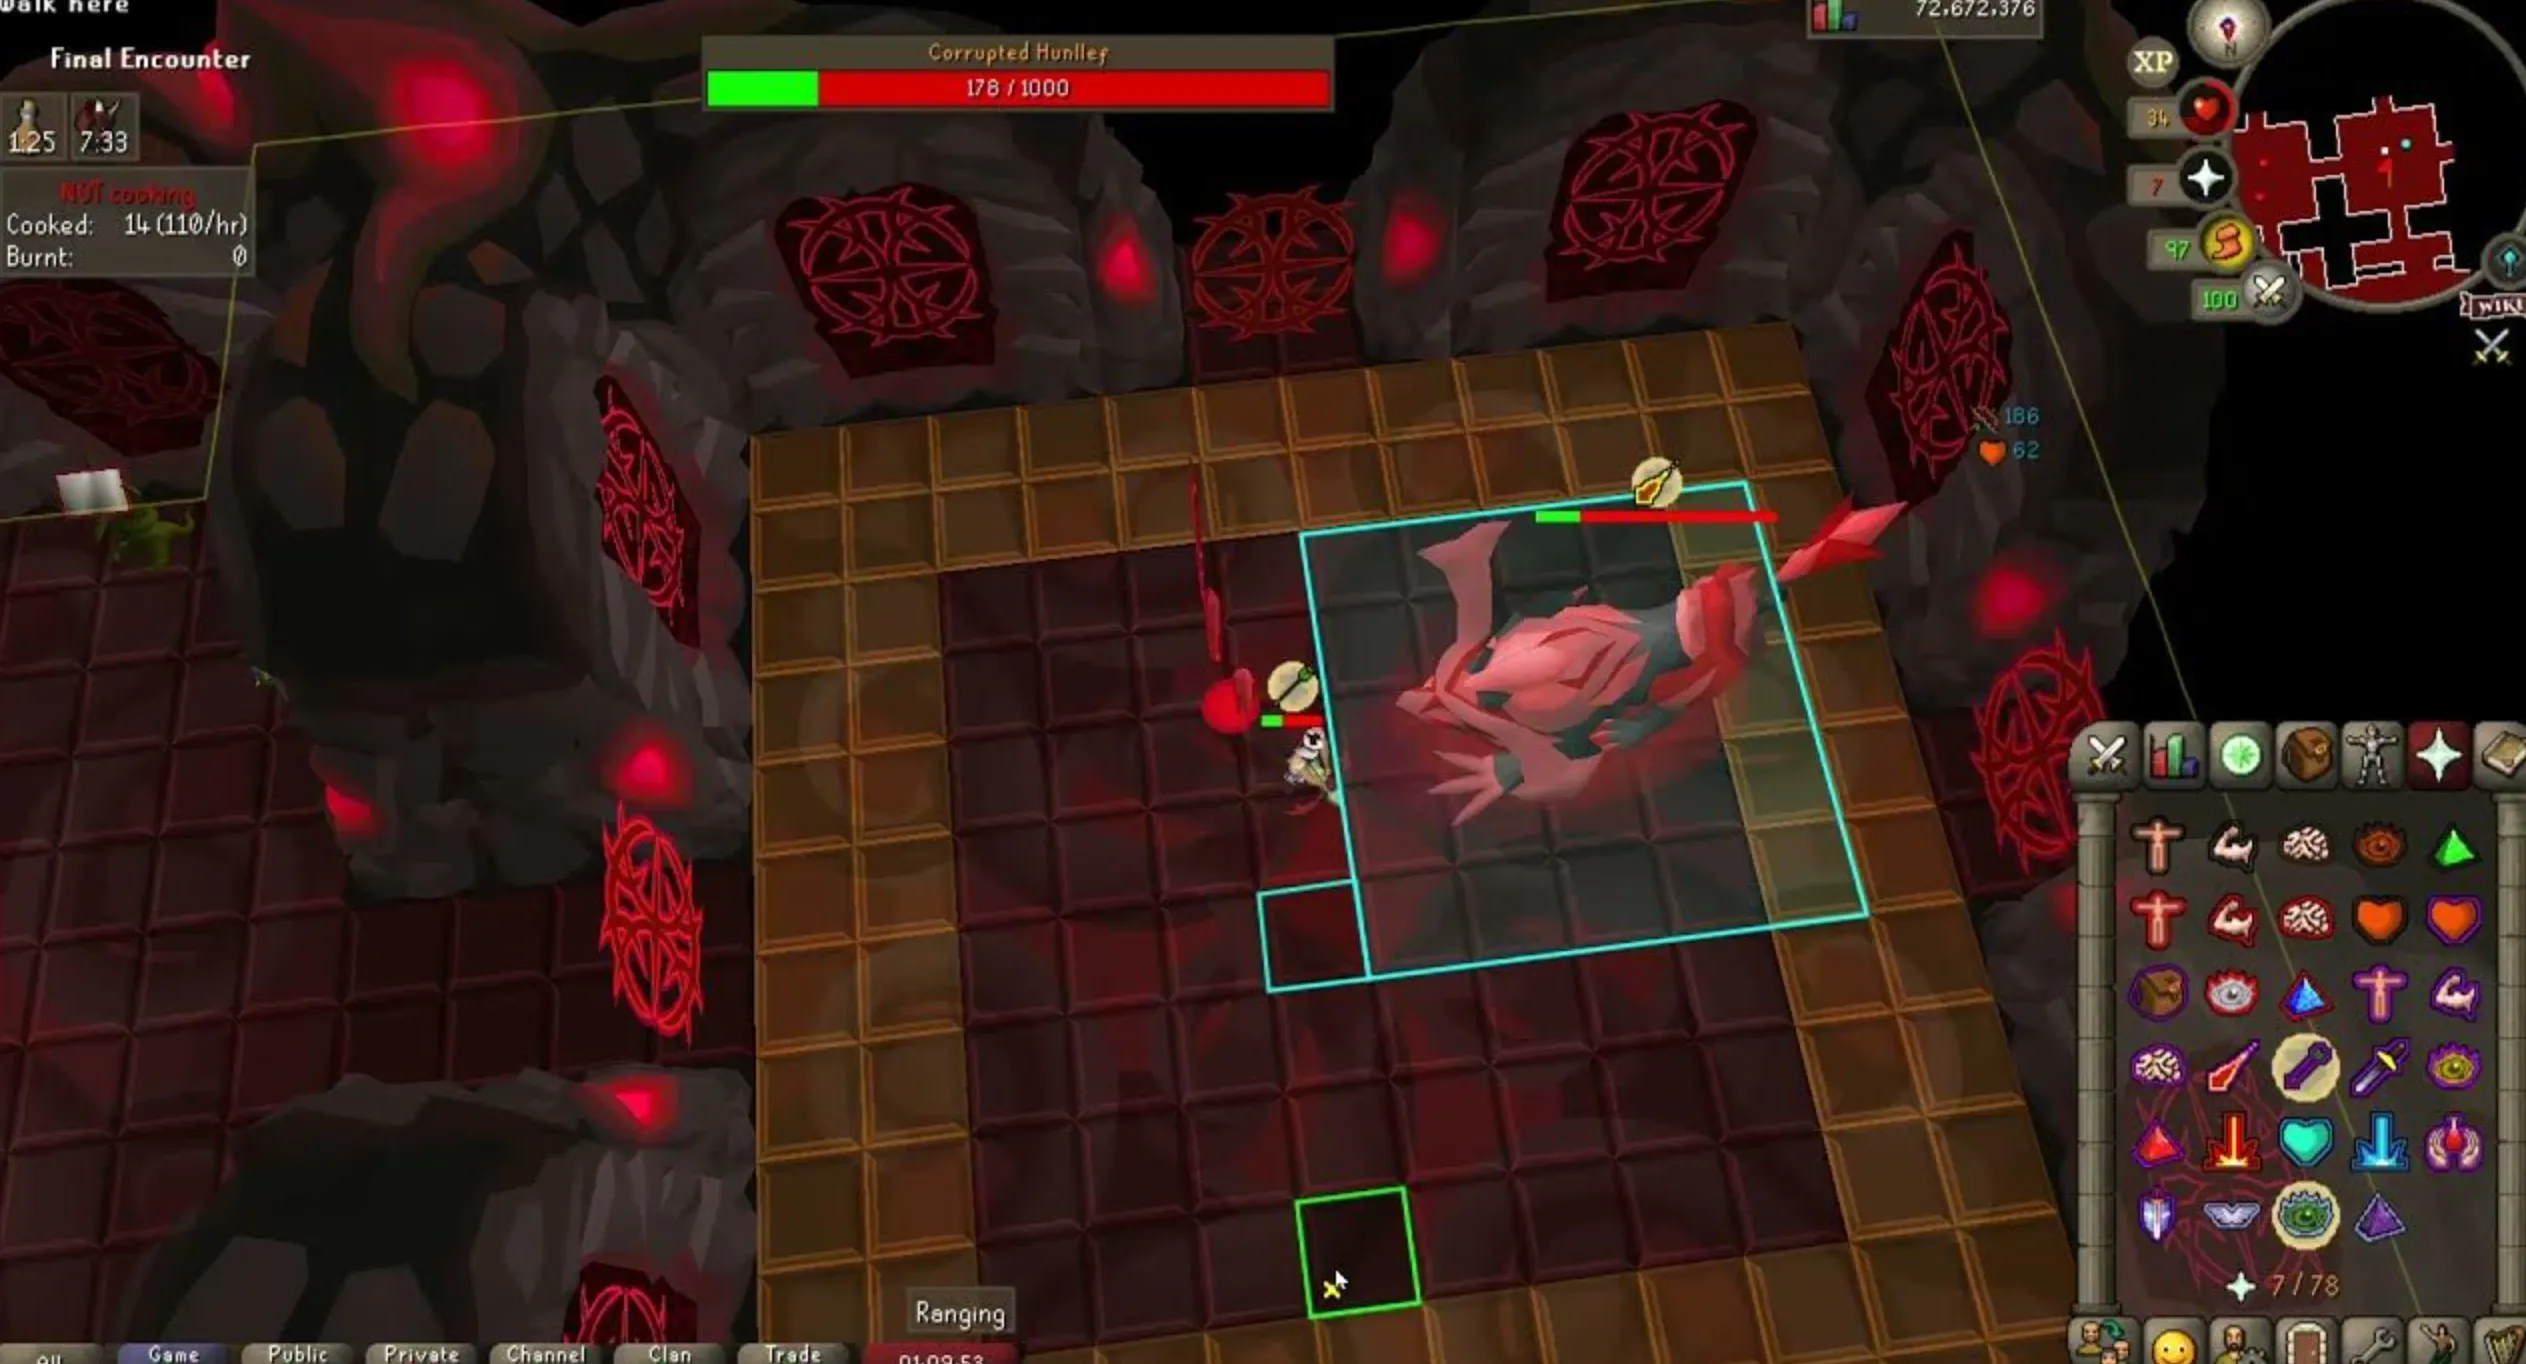
- Triple Jads (Wave 67): Mark prayer flick zones to switch between Protect from Magic and Ranged as the three Jads attack. Use distinct colors for each Jad’s attack zone.
- TzKal-Zuk (Wave 69): Mark safe spots to avoid Zuk’s massive attacks and healer spawn points. For example, tiles 5–8 spaces from Zuk’s platform are ideal for Blowpipe users, while Twisted Bow users mark tiles at 10 spaces.
Best Practices for Tile Marker Management
To maximize tile marker effectiveness, follow these best practices:
Keep It Simple
Overloading your screen with markers can lead to confusion. Limit markers to 5–10 per wave, focusing on critical tiles like safe spots and spawn points.
Practice in Low-Stakes Environments
Before tackling the Inferno, practice placing and interpreting markers in easier content, like the Fight Caves or Slayer bosses. This builds muscle memory for quick recognition.
Update Markers Regularly
As you refine your Inferno strategy, adjust your markers. For example, if you switch from a Blowpipe to a Twisted Bow, update attack range markers (5 tiles vs. 10 tiles).
Backup and Share
Export your tile sets via RuneLite’s Ground Markers plugin to save them. Share effective sets with the community on platforms like Reddit or the OSRS Wiki to contribute to the player base.
Common Tile Marker Sets for the Inferno
Below is a sample tile marker set for key Inferno scenarios, inspired by community contributions. This table outlines tiles for wave 63 and TzKal-Zuk, using RuneLite’s JSON format for easy import.
| Scenario | Purpose | Tile Coordinates (regionId, regionX, regionY, z, color) |
|---|---|---|
| Wave 63 Safe Spot | North Pillar Safe Spot | {“regionId”:13139,”regionX”:52,”regionY”:18,”z”:0,”color”:”#FF999999″} |
| Wave 63 Melee Trap | Corner Trap Melee | {“regionId”:13139,”regionX”:53,”regionY”:17,”z”:0,”color”:”#FF00FF00″} |
| TzKal-Zuk Safe Spot | Avoid Zuk Attacks | {“regionId”:13139,”regionX”:45,”regionY”:21,”z”:0,”color”:”#FFFF0000″} |
| TzKal-Zuk Attack Zone | Twisted Bow Range | {“regionId”:13139,”regionX”:46,”regionY”:23,”z”:0,”color”:”#FF00FF00″} |
Copy these JSON strings into RuneLite’s Ground Markers import feature to test them. Adjust colors and positions based on your setup.
Final Thoughts: Inferno tile markers are a game-changer for OSRS players tackling this grueling challenge. By marking safe spots, attack zones, and paths, you can transform the Inferno’s chaos into a manageable strategy. Whether you’re a first-timer or a seasoned veteran, mastering tile markers will bring you closer to the Infernal Cape. Practice, refine, and share your setups to join the elite ranks of Inferno conquerors.

