Your cart is empty

How to Get Lava Cape in OSRS – Ultimate Guide to the Fire Cape
The Lava Cape, commonly known as the Fire Cape in Old School RuneScape (OSRS), is one of the most iconic and sought-after items in the game. It’s a symbol of skill, perseverance, and mastery over the TzHaar Fight Cave. This melee-focused cape offers a +4 Strength bonus and +11 defensive stats, making it the second-best melee cape, only surpassed by the Infernal Cape. Whether you’re a seasoned player or a newcomer aiming to conquer TzTok-Jad, this guide will walk you through everything you need to know to secure your Fire Cape. Let’s dive into the steps, strategies, and tips to make your journey through the Fight Cave a success.
Before embarking on your quest for the Fire Cape, it’s essential to understand what it entails. The Fire Cape is a reward for completing the TzHaar Fight Cave, a challenging solo PvM minigame located in the TzHaar city of Mor Ul Rek. You’ll face 63 waves of increasingly difficult enemies, culminating in a battle against the formidable TzTok-Jad.
Why Aim for the Fire Cape?
The Fire Cape isn’t just about bragging rights (though it’s definitely a flex). Here’s why it’s worth your time:
- Combat Boost: +4 Strength bonus and +11 defensive stats make it ideal for Slayer tasks, bossing, and melee training.
- Utility: Grants access to Mor Ul Rek’s inner city and boosts fire spell damage against Ice Strykewyrms.
- Prestige: Its animated lava flow design screams accomplishment.
Minimum Requirements
While there are no strict level requirements, certain stats and gear will make the Fight Cave much easier. Here’s a baseline:
| Skill/Stat | Recommended Level |
|---|---|
| Ranged | 70+ |
| Prayer | 43+ (for Protect prayers) |
| Defence | 40+ |
| Hitpoints | 50+ |
You’ll also need access to the TzHaar city, which requires no specific quest but is located on Karamja. Completing the Fight Cave typically takes 1-2 hours, depending on your experience.
Preparing for the TzHaar Fight Cave

Preparation is key to surviving the Fight Cave. From gear to inventory setup, every choice matters when facing 63 waves of enemies.
Recommended Gear Setup
Ranged is the most effective combat style for the Fight Cave due to its ability to attack from a distance, minimizing damage taken. Here’s a recommended setup for mid-level players:
- Helmet: God coif or Armadyl helmet
- Cape: Ava’s accumulator or assembler
- Body: Black dragonhide body or Armadyl chestplate
- Legs: Black dragonhide chaps or Armadyl chainskirt
- Weapon: Rune crossbow or Toxic blowpipe
- Ammo: Broad bolts or amethyst arrows
- Shield: Book of law or Unholy book (optional)
- Gloves: Barrows gloves or Black dragonhide vambraces
- Boots: Ranger boots or Snakeskin boots
- Ring: Archers ring or Ring of suffering
For budget players, items like a coif, snakeskin armor, and a magic shortbow work fine. If you’re using a blowpipe, bring plenty of darts and scales.
Inventory Setup
Your inventory should balance healing, prayer restoration, and combat efficiency. A solid setup includes:
- 8-10 Saradomin brews (heals HP and boosts Defence)
- 12-14 Super restores (restores Prayer and other stats)
- 2-4 Ranging potions (boosts Ranged accuracy and damage)
- 1 Stamina potion (optional for run energy)
- 300-500 bolts or arrows (depending on your weapon)
Fill remaining slots with high-healing food like sharks or manta rays as a backup. Avoid overloading on food to maximize potion space.
Navigating the 63 Waves of the Fight Cave

The Fight Cave consists of 63 waves, each introducing tougher enemies. Understanding their mechanics and using the environment will keep you alive.
Enemy Types and Strategies
You’ll encounter five main enemy types, each with unique attack styles:
- Tz-Kih (Level 22): Melee attackers that drain Prayer. Kill them first to preserve Prayer points.
- Tz-Kek (Level 45): Melee enemies that split into smaller versions when killed. Low priority unless close.
- Tok-Xil (Level 90): Ranged attackers. Use Protect from Missiles and prioritize after Tz-Kih.
- Yt-MejKot (Level 180): Melee enemies that heal themselves. Lure them behind rocks to avoid damage.
- Ket-Zek (Level 360): Magic and melee attackers. Use Protect from Magic and attack from a distance.
Always prioritize targets based on threat level: Tz-Kih > Tok-Xil > Ket-Zek > Yt-MejKot > Tz-Kek.
Using Safe Spots
The Fight Cave’s layout includes rocks and walls you can use to trap enemies. The “Italy rock” (a boot-shaped rock in the center) is ideal for luring high-level enemies like Ket-Zek and Yt-MejKot, preventing them from reaching you while you attack safely. Practice positioning to avoid getting cornered by multiple enemies.
Wave Progression Tips
The waves follow a predictable pattern, starting with one Tz-Kih and escalating to combinations of all enemies. Key tips:
- Conserve Prayer: Only use Protect prayers when necessary, especially in early waves.
- Stay Calm: Panic leads to mistakes. Focus on one enemy at a time.
- Restock Prayer: Sip a Super restore every few waves to maintain Prayer points.
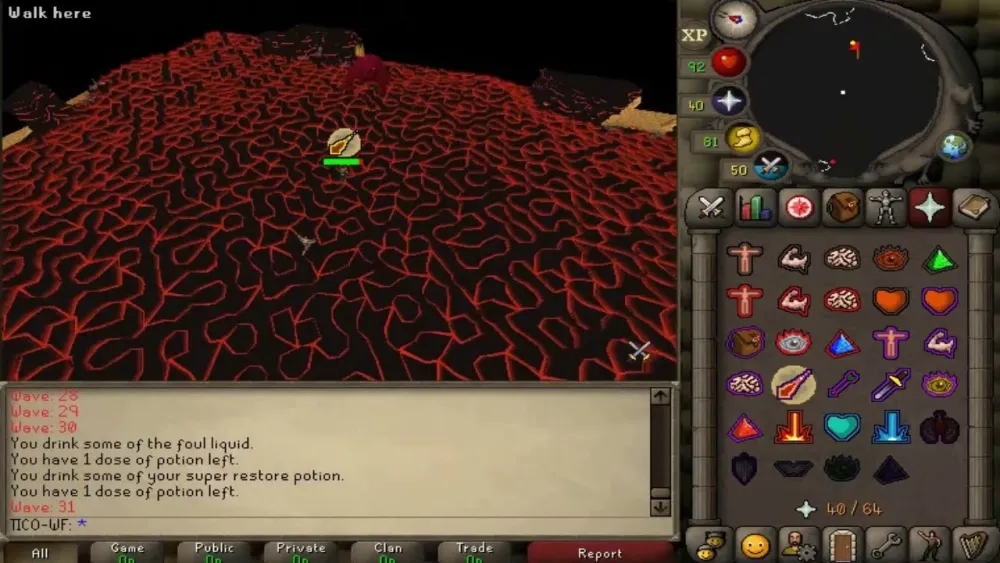
By wave 30, expect multiple high-level enemies. Stay near safe spots and keep your health above 50%.
Defeating TzTok-Jad
Wave 63 pits you against TzTok-Jad, a level 702 boss with devastating attacks. This is where most players falter, but with preparation, you can prevail.
Understanding Jad’s Attacks
Jad uses three attack styles, and you must switch Protect prayers to block them:
- Ranged: Jad stomps and a boulder falls. Activate Protect from Missiles.
- Magic: Jad rears up and breathes fire. Activate Protect from Magic.
- Melee: Jad swings if you’re in melee range. Stay at a distance to avoid this.
Watch Jad’s animations closely. The key is to switch prayers the moment you see the attack start, not after it lands.
Dealing with Healers
At 50% health, Jad spawns four Yt-HurKot healers that heal him. To handle them:
- Tag Healers: Attack each healer once to draw their aggro to you.
- Lure Them: Move behind a rock to trap healers, keeping them away from Jad.
- Focus Jad: Once healers are distracted, resume attacking Jad while prayer-switching.
Ignoring healers risks prolonging the fight, so address them quickly but don’t lose focus on Jad’s attacks.
Practice with Simulators
If you’re nervous about facing Jad, try an OSRS Jad simulator online. These tools mimic Jad’s attack patterns, letting you practice prayer-switching without risking your run. Search for “OSRS Jad Simulator” to find free options.
Tips for Success and Post-Cape Rewards
Securing the Fire Cape is a marathon, not a sprint. Here are final tips to ensure victory and what to expect afterward.
General Tips for the Fight Cave
- Stay Focused: A single misclick can end your run. Avoid distractions.
- Practice Prayer-Switching: Master switching between Protect from Magic and Missiles before attempting Jad.
- Bring Extras: Over-prepare with potions and ammo to avoid running out.
- Use Plugins: If you use RuneLite, plugins like “Fight Cave Wave Predictor” can help track waves.
What Happens After You Win?
Upon defeating Jad, you’ll receive the Fire Cape automatically. You can:
- Equip It: Enjoy its melee bonuses and animated lava design.
- Sell It: Trade it to TzHaar-Mej-Jal for 8,000 Tokkul, though this is rarely recommended.
- Use It: Show it to TzHaar-Ket guards to access Mor Ul Rek’s inner city.
Note: If you lose the cape, you must defeat Jad again to replace it. Store it on a cape rack in your player-owned house to keep it safe.
Next Steps After the Fire Cape
Once you’ve earned your Fire Cape, consider these challenges:
- The Inferno: Sacrifice your Fire Cape for a shot at the Infernal Cape, a tougher melee cape.
- Jad Pet: Gamble Fire Capes for a chance at the TzRek-Jad pet (1/200 chance).
- Slayer Tasks: Use the cape’s bonuses to tackle high-level bosses like Cerberus or Vorkath.
With the Fire Cape in hand, you’re well on your way to becoming an OSRS legend. Keep practicing, stay patient, and enjoy the thrill of the Fight Cave!
