Your cart is empty

OSRS Kalphite Queen Gear Guide for Efficient Kills
The Kalphite Queen (KQ) is one of the most iconic bosses in Old School RuneScape (OSRS), known for her challenging mechanics and valuable drops like the Dragon chainbody and Dragon pickaxe. Located deep in the Kalphite Lair in the Kharidian Desert, she demands careful preparation, especially when it comes to gear. This guide dives into the best gear setups for tackling the Kalphite Queen, whether you’re a solo player, on a Slayer task, or aiming for efficient kills. We’ll cover setups for different budgets, combat styles, and strategies to help you maximize your success.
Before choosing your gear, it’s crucial to understand how the Kalphite Queen operates. She has two phases, each with 255 Hitpoints and a combat level of 333. Her Ranged and Magic attacks have 100% accuracy, meaning they always hit, though they may deal zero damage occasionally. Her Melee attack, however, can miss, making it preferable to stand in melee range to reduce damage taken.
First Phase: Crawling Form
In her first phase, the Kalphite Queen uses Protect from Magic and Protect from Missiles prayers, which increase her defense against those styles rather than granting full immunity. Melee is the most effective attack style here, as it bypasses her enhanced defenses.
Second Phase: Airborne Form
Once her first form is defeated, she transforms into an airborne wasp-like creature. In this phase, she uses Protect from Melee, making Ranged or Magic the go-to styles. You’ll need to switch gear or combat styles to deal optimal damage.
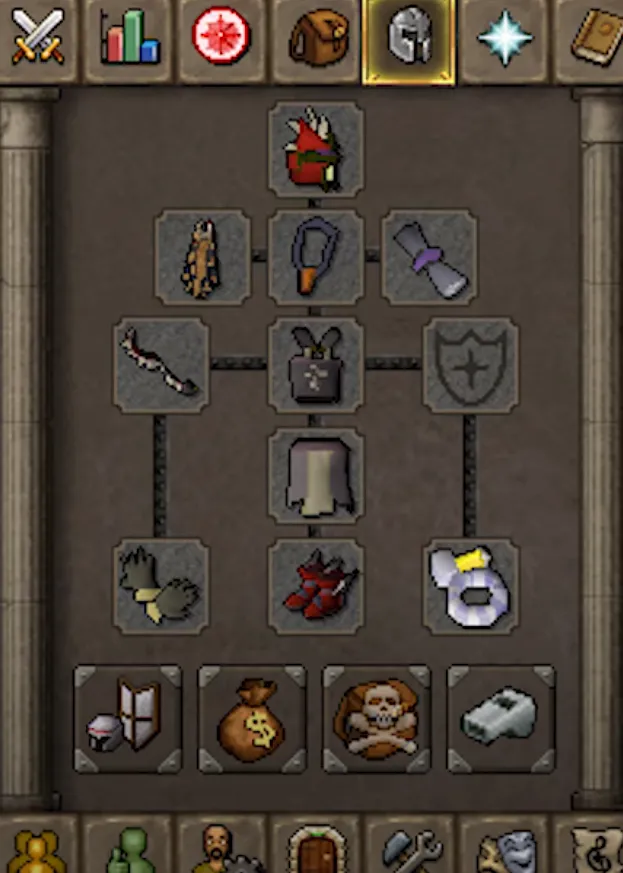
Recommended Gear Setups for Kalphite Queen
Choosing the right gear depends on your combat stats, budget, and whether you’re soloing or in a group. Below, we outline setups for Melee, Ranged, and Magic, with options for high, mid, and low budgets. All setups assume you’re using the Hard Desert Diary shortcut to avoid needing ropes, unless otherwise noted.
High-End Melee Setup for Phase 1
For players with near-maxed stats and a hefty bank, this setup maximizes damage output in the first phase. Use this with Protect from Magic prayer to mitigate her accurate attacks.
- Helmet: Slayer Helmet (i) (on Slayer task) or Torva Full Helm
- Amulet: Amulet of Torture
- Chest: Torva Platebody or Bandos Chestplate
- Legs: Torva Platelegs or Bandos Tassets
- Weapon: Scythe of Vitur or Inquisitor’s Mace
- Shield: Avernic Defender or Dragon Defender
- Cape: Infernal Cape or Fire Cape
- Gloves: Ferocious Gloves or Barrows Gloves
- Boots: Primordial Boots
- Ring: Ring of Suffering (ri) for recoil damage or Berserker Ring (i)
Tip: The Ring of Suffering (ri) is excellent due to the Queen’s frequent attacks triggering recoil damage, speeding up kills.
Mid-Tier Melee Setup
For players with moderate budgets, this setup balances cost and effectiveness. It’s ideal for those with 80+ Melee stats.
- Helmet: Helm of Neitiznot or Slayer Helmet (on task)
- Amulet: Amulet of Fury or Glory
- Chest: Fighter Torso or Proselyte Platebody
- Legs: Obsidian Platelegs or Proselyte Cuisses
- Weapon: Abyssal Bludgeon or Keris Partisan (with Beneath Cursed Sands completed)
- Shield: Dragon Defender or Rune Defender
- Cape: Fire Cape or Skill Cape (trimmed)
- Gloves: Barrows Gloves
- Boots: Dragon Boots
- Ring: Warrior Ring (i) or Ring of Wealth
Note: The Keris Partisan is highly effective against Kalphites, offering a 33% damage boost and a chance for tripled hits.
Ranged Setup for Phase 2
Ranged is king in the second phase due to the Queen’s Melee protection. This high-end setup is for players aiming for 30+ kills per hour.
- Helmet: Masori Mask (f) or Armadyl Helmet
- Amulet: Necklace of Anguish
- Chest: Masori Body (f) or Armadyl Chestplate
- Legs: Masori Chaps (f) or Armadyl Chainskirt
- Weapon: Toxic Blowpipe (with Dragon or Amethyst darts) or Bow of Faerdhinen
- Cape: Ava’s Assembler
- Gloves: Zaryte Vambraces or Barrows Gloves
- Boots: Pegasian Boots
- Ring: Archers Ring (i)
- Ammo: Dragon Arrows (if using a bow)
Pro Tip: The Toxic Blowpipe is faster but ammo-intensive. Use it with Rigour prayer for maximum DPS.
Budget Ranged Setup
For players with limited funds, this setup works well for Phase 2 and is accessible with 70+ Ranged.
- Helmet: God Coif or Archer’s Helm
- Amulet: Amulet of Glory
- Chest: Black D’hide Body
- Legs: Black D’hide Chaps
- Weapon: Rune Crossbow or Magic Shortbow
- Cape: Ava’s Accumulator
- Gloves: Black D’hide Vambraces
- Boots: Snakeskin Boots
- Ring: Ring of Wealth
- Ammo: Broad Bolts or Mithril Arrows
Magic Setup for Phase 2
Magic is viable for Phase 2, especially with high-end gear like Tumeken’s Shadow. This setup assumes 90+ Magic.
- Helmet: Ancestral Hat or Ahrim’s Hood
- Amulet: Occult Necklace
- Chest: Ancestral Robe Top or Ahrim’s Robetop
- Legs: Ancestral Robe Bottom or Ahrim’s Skirt
- Weapon: Tumeken’s Shadow or Sanguinesti Staff
- Shield: Elidinis’ Ward (f) or Arcane Spirit Shield
- Cape: Imbued God Cape
- Gloves: Tormented Bracelet
- Boots: Eternal Boots
- Ring: Seers Ring (i)
Insight: Tumeken’s Shadow allows you to camp Magic for both phases, simplifying the fight but requiring a massive investment.
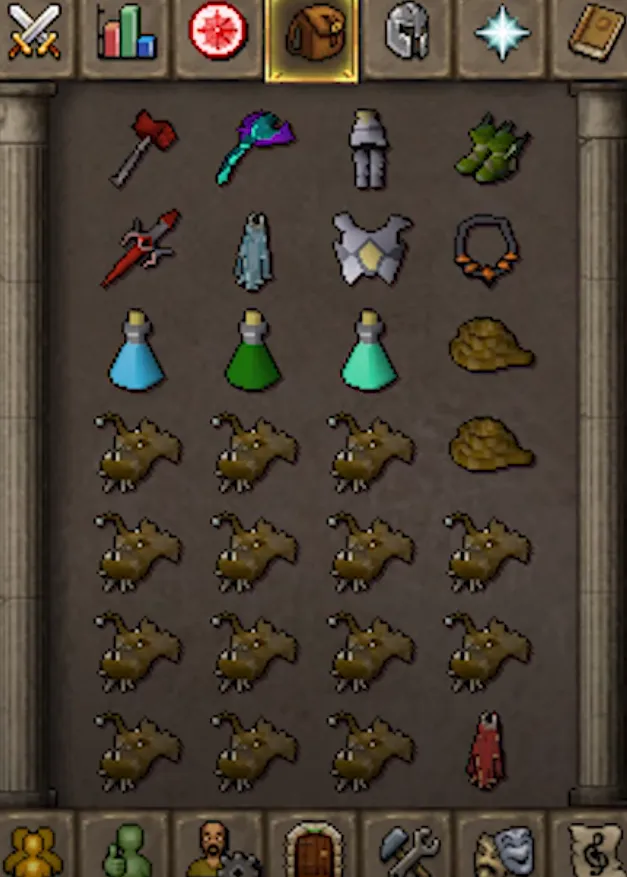
Inventory Setup and Supplies
Your inventory is just as critical as your gear. Here’s a recommended setup for a typical trip, assuming you’re using the Elite Desert Diary shortcut and a Player-Owned House (POH) with an Ornate Rejuvenation Pool.
| Item | Purpose |
|---|---|
| Super Combat Potion | Boosts Attack, Strength, and Defence |
| Ranging Potion | Boosts Ranged for Phase 2 |
| Prayer Potions (4-6) | Restores Prayer points for Piety/Rigour |
| Sharks or Better (10-14) | Primary food source |
| Antipoison++ | Protects against poison from Kalphite Guardians |
| Emergency Teleport | Ectophial or Teleport Tablet for safety |
| Special Attack Weapon | Dragon Warhammer for defence reduction |
| Rune Pouch | Vengeance runes for extra DPS |
Tip: When eating, walk under the Kalphite Queen to avoid taking damage during animations. This “step-under” technique is crucial for conserving food.
Strategies to Optimize Gear Usage
Proper gear management can make or break your Kalphite Queen kills. Here are some strategies to get the most out of your setup.
Flinching for Low-Level Players
If you have lower stats (70+ combat skills), consider flinching. Hit the Queen once, then walk under her to pause her attacks. This method is slower but conserves resources, making it ideal for Ironmen or budget accounts.
- Gear: Use budget Melee gear like Rune armor and a Dragon Scimitar.
- Inventory: Prioritize food over potions to stay longer.
Using Verac’s Set for Simplicity
Verac’s Barrows set is a low-effort option because its set effect allows hits through the Queen’s prayers. It’s perfect for both phases without switching styles.
- Pros: Simplifies the fight, decent for mid-level players.
- Cons: Lower DPS compared to high-end setups.
Maximizing Kills per Hour
For high-level players, aim for 31-34 kills per hour with these tips:
- Teleport to POH: Use a Max Cape or House Teleport after each kill to restore stats at an Ornate Pool.
- Fairy Ring (BIQ): Quick return to the lair with Lumbridge & Draynor Diary completed.
- Dragon Warhammer Specs: Lower her defence early to speed up kills.
Additional Tips for Success
Beyond gear, a few extra considerations can boost your efficiency.
Slayer Task Advantage
Always fight the Kalphite Queen on a Slayer task if possible. The Slayer Helmet (i) provides a massive damage and accuracy boost, making kills faster and less resource-intensive.
Diary Completion
Complete the Hard and Elite Desert Diaries for faster access. The Elite Diary’s shortcut (86 Agility) eliminates the long run through the lair, saving time.
Group vs. Solo
Soloing is viable with good gear, but groups can be easier for beginners. In teams, spread out to force the Queen to turn, reducing her attack frequency.
With the right gear and strategy, the Kalphite Queen becomes a manageable and rewarding boss. Whether you’re chasing her head for the Desert Diary, hunting for rare drops, or just testing your PVM skills, this guide equips you for success. Grab your gear, head to the Kalphite Lair, and start slaying!
