Your cart is empty
OSRS F2P Quest Efficiency Guide: Complete All Free-to-Play Quests Fast

Warning: Undefined variable $post in /home/osrsmoneymaking.guide/public_html/wp-content/themes/kadence/functions.php on line 391
Warning: Attempt to read property "ID" on null in /home/osrsmoneymaking.guide/public_html/wp-content/themes/kadence/functions.php on line 391
Old School RuneScape (OSRS) offers a rich free-to-play (F2P) experience, and its 22 quests are a fantastic way to dive into the game’s lore, earn rewards, and level up skills without spending hours grinding. For new players or those looking to optimize their time, completing these quests efficiently can set you up for success. This OSRS F2P quest efficiency guide will walk you through the best order to tackle these quests, grouping them by region and overlapping tasks to save time. Whether you’re aiming for the 44 quest points or just want to explore Gielinor smarter, this guide has you covered.
Questing in OSRS isn’t just about the story—it’s a gateway to unlocking skills, items, and experience points (XP) that can jumpstart your journey. For F2P players, efficiency is key because resources are limited, and travel can be slow without teleports. By following an optimized quest order, you can:
- Minimize travel time by grouping quests in the same region.
- Stack tasks like gathering items for multiple quests at once.
- Boost skills early with XP rewards to meet later quest requirements.
- Enjoy the game more by reducing repetitive grinding.
With that in mind, let’s break down the most efficient path to conquer all F2P quests in OSRS.
Optimal Quest Order for OSRS F2P

The key to efficiency is tackling quests in a sequence that leverages regional proximity and shared objectives. Below is a step-by-step guide, grouped by area, with tips to streamline your progress. Note: This assumes you’re starting fresh, but experienced players can adapt as needed.
Step 1: Lumbridge Starter Quests
Lumbridge is your starting hub, and several beginner-friendly quests are right at your doorstep. Completing these early sets the foundation.
- Cook’s Assistant
- Sheep Shearer
- Location: North of Lumbridge
- Requirements: None
- Rewards: 150 Crafting XP, 1 Quest Point
- Tip: Shear 23 sheep (not 20) to get extra wool for “Prince Ali Rescue” later.
- Rune Mysteries
- Location: Lumbridge Castle to Varrock
- Requirements: None
- Rewards: Runecrafting access, 1 Quest Point
- Tip: Start this alongside others; it’s mostly dialogue and travel.
- The Restless Ghost
Efficiency Tip: While in Lumbridge, grab a bucket of milk, an egg, and flour for “Cook’s Assistant,” shear extra sheep for wool, and pick up the ghostspeak amulet for “The Restless Ghost.” This knocks out multiple objectives in one trip.
Step 2: Varrock and Surroundings
After Lumbridge, head north to Varrock to tackle quests in this bustling city and its nearby areas.
-
- Location: Varrock Square
- Requirements: None
- Rewards: 5 Quest Points
- Tip: Quick dialogue quest—do it while passing through.
- Demon Slayer
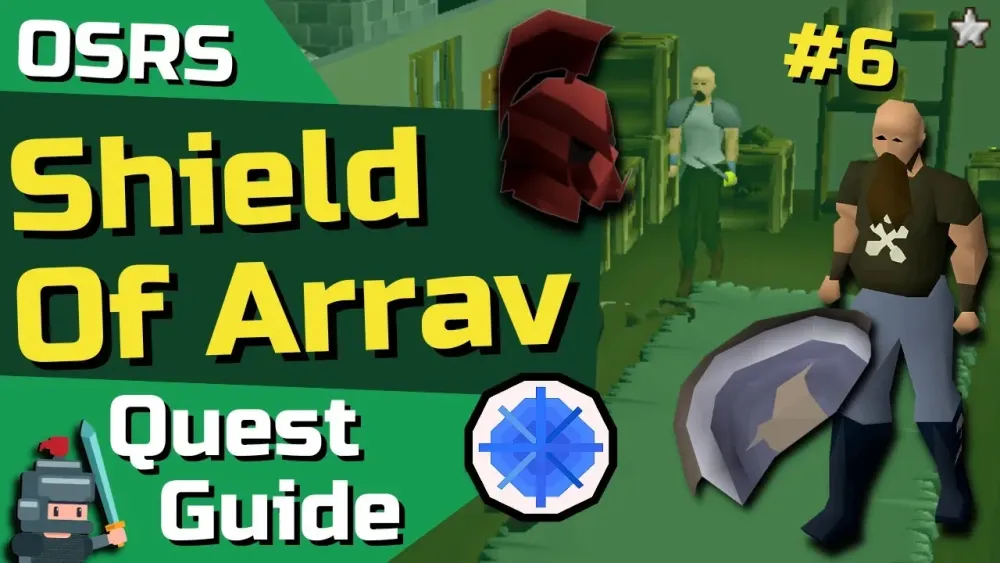
- Shield of Arrav
- Location: Varrock
- Requirements: Partner or solo with Phoenix Gang
- Rewards: 600 GP, 1 Quest Point
- Tip: Join Phoenix Gang for easier solo completion.
Efficiency Tip: While in Varrock, pick up cadava berries south of the city for “Romeo & Juliet” and visit the museum basement for 9 Slayer and Hunter XP (free bonus).
Regional Quest Clusters

To cut down on backtracking, group quests by region. Here’s how to handle the next batch efficiently.
Step 3: Draynor and Port Sarim
Head west from Lumbridge to Draynor Village and Port Sarim for a mix of quick and combat-heavy quests.
- Pirate’s Treasure
- Location: Port Sarim
- Requirements: None
- Rewards: 450 GP, 2 Quest Points
- Tip: Buy rum and a spade in Port Sarim to save a trip.
- Vampire Slayer
- Location: Draynor Village
- Requirements: None
- Rewards: 4,825 Attack XP, 3 Quest Points
- Tip: Bring food and the Silverlight from “Demon Slayer” for Count Draynor.
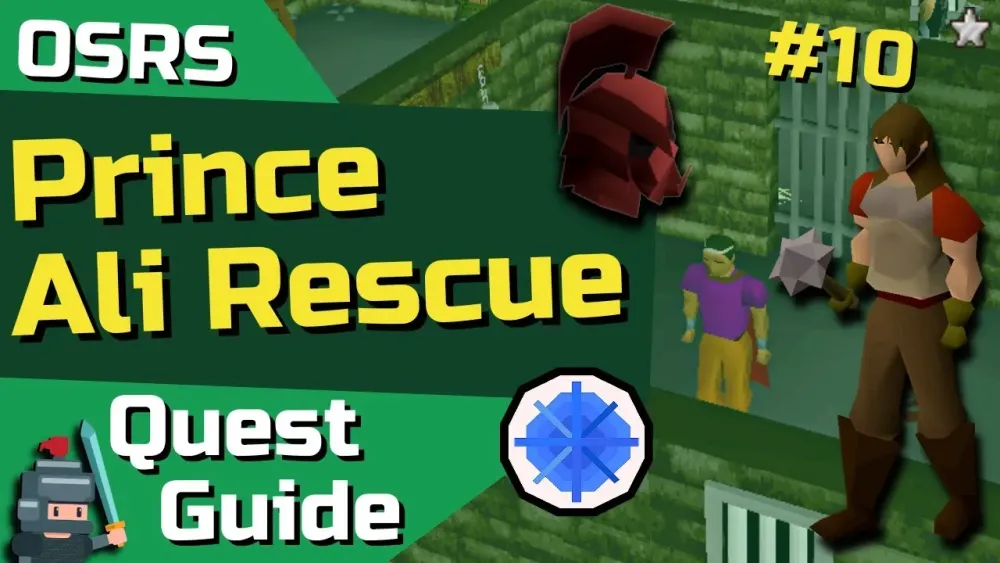
- Prince Ali Rescue
Efficiency Tip: Buy beers in Port Sarim for “Vampire Slayer” and pick up a rope in Draynor for “Prince Ali Rescue” while you’re there.
Step 4: Falador and Beyond
Falador is your next stop, with quests that require a bit more combat prep.
- Black Knights’ Fortress
- The Knight’s Sword
Efficiency Tip: Train Mining to 10 early (e.g., at Varrock’s southeast mine) to breeze through “The Knight’s Sword.”
Finishing Strong: Endgame F2P Quests
These final quests require more prep but wrap up your F2P journey with big rewards.
Step 5: Scattered Challenges
- Witch’s Potion
- Location: Rimmington
- Requirements: None
- Rewards: 325 Magic XP, 1 Quest Point
- Tip: Grab an onion and rat’s tail nearby.
- Imp Catcher
- Location: Wizards’ Tower
- Requirements: None
- Rewards: 875 Magic XP, 1 Quest Point
- Tip: Buy beads from other players or kill imps yourself.
- Dragon Slayer
Efficiency Tip: Do “Witch’s Potion” and “Imp Catcher” while traveling between Port Sarim and Falador. Save “Dragon Slayer” for last after building combat stats.
Tools and Tips for Faster Questing
To maximize efficiency, use these tools and strategies:
RuneLite Quest Helper
The RuneLite plugin highlights NPCs, items, and locations for every quest, cutting down on guesswork. It’s a must-have for speed.
Inventory Management
Keep your inventory light to run longer. Bank unneeded items and only carry essentials for the quests you’re tackling.
Combat Prep Table
| Quest | Recommended Combat Level | Key Items |
|---|---|---|
| Vampire Slayer | 20+ | Silverlight, food |
| Black Knights’ Fortress | 15+ | Cabbage, armor |
| Dragon Slayer | 40+ | Anti-dragon shield, food, weapon |
Pro Tip: Fish and cook trout at Barbarian Village early to stockpile food for combat quests.
Conclusion: Master OSRS F2P Quests Efficiently
By following this OSRS F2P quest efficiency guide, you’ll complete all 22 free-to-play quests with minimal wasted time. Start in Lumbridge, group tasks by region, and use tools like RuneLite to stay on track. Whether you’re a new player or an Ironman, this approach ensures you get the most out of your F2P experience. Ready to quest? Grab your gear and start exploring Gielinor today!
Warning: Undefined variable $post in /home/osrsmoneymaking.guide/public_html/wp-content/themes/kadence/functions.php on line 391
Warning: Attempt to read property "ID" on null in /home/osrsmoneymaking.guide/public_html/wp-content/themes/kadence/functions.php on line 391

