Your cart is empty

How to Complete the Fastest Bloodveld Task in OSRS

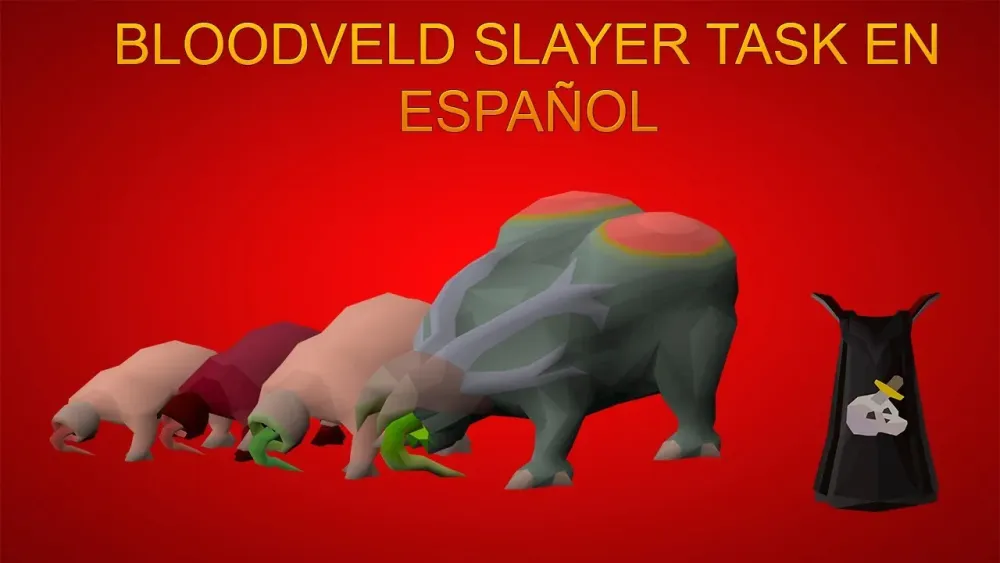
Bloodvelds are a unique type of monster in Old School RuneScape (OSRS) known for their distinctive appearance and combat mechanics. They are found primarily in the Slayer Tower and are a popular choice for Slayer tasks due to their relatively low combat level and the experience they provide. Players often seek efficient strategies to defeat them quickly, especially when aiming to complete Slayer tasks in a timely manner. Understanding their mechanics and weaknesses can greatly enhance your efficiency while tackling these creatures.
Bloodvelds are level 50 monsters that can be found in various locations, including the Slayer Tower and the Catacombs of Kourend. They possess a few distinct mechanics that players should be aware of. One notable feature is their ability to heal themselves when they deal damage, making it crucial to manage your attack strategy effectively. Bloodvelds utilize magic attacks that can deal significant damage if you are not prepared, so using armor that offers protection against magic damage is advisable.
Another important aspect of Bloodvelds is their weakness to the Dragon and Abyssal whip, which allows for faster kills. Utilizing these weapons will maximize your damage output. Additionally, they are weak to both the ‘Magic’ and ‘Ranged’ combat styles, so players can opt for spells or ranged attacks if they prefer. However, using melee is often the fastest method due to the high damage potential of the whips.
Bloodvelds also have a unique mechanic known as the “Bloodveld Heal,” where they can heal themselves for a portion of the damage they inflict. This means that while they can be killed relatively quickly, they can also sustain themselves if you fail to maintain consistent damage output. To counteract this, utilizing potions like Saradomin brews or Super restore potions can help maintain your health while you deal damage. Additionally, employing prayer against their magic attacks can conserve your health and resources.
Finally, consider using the ‘Slayer Helm’ for added bonuses while on a Slayer task. It provides a damage boost and increases your chances of receiving rare drops. Keeping your inventory stocked with food, potions, and other resources will ensure you can sustain a long fight against multiple Bloodvelds, making it easier to complete your task efficiently. By understanding these mechanics and preparing appropriately, players can significantly reduce the time it takes to complete their Bloodveld tasks in OSRS.
Optimal Gear Setup for Bloodveld Tasks
When tackling Bloodveld tasks in Old School RuneScape (OSRS), having the right gear can make a significant difference in your efficiency and overall experience. Here’s a breakdown of the optimal gear setup you should consider:
Weapon:
- Godsword: If you have access to one, the Zamorak Godsword is a fantastic choice due to its special attack, which can help you deal with Bloodvelds quickly.
- Dragon Scimitar: For those who don’t have a Godsword, the Dragon Scimitar is a solid alternative, offering a good balance between speed and damage.
Armor:
- Karil’s Crossbow: This provides excellent range attack bonuses and is very effective against Bloodvelds.
- Void Knight Gear: The Void Knight set is a great choice for both melee and ranged attacks, providing a nice damage boost.
Accessories:
- Amulet of Fury: This amulet boosts your combat stats significantly, making it a valuable piece of equipment.
- Seer’s Ring: If you’re using magic, this ring increases your magic damage, helping you deal more damage to Bloodvelds.
Don’t forget about potions! Bringing along Super Attack and Super Strength potions can greatly enhance your damage output. Also, consider using Prayer Potions to maintain your prayers, especially if you’re using Protect from Melee to mitigate damage.
Best Locations for Bloodveld Tasks
Finding the right location for your Bloodveld tasks can drastically speed up your kills. Here are some of the best spots:
| Location | Notes |
|---|---|
| Meiyerditch | Great for high-level players. Lots of Bloodvelds and a good respawn rate. |
| Catacombs of Kourend | Offers a safe area with multiple Bloodveld spawns. Use the fairy ring for easy access. |
| Slayer Tower | Classic spot, especially for lower-level players. Be aware of the other monsters in the area. |
Each location has its pros and cons, so choose one that fits your combat level and gear. For example, Meiyerditch is ideal for higher-level players with good gear, while the Slayer Tower is more suitable for those just starting out.
Remember to utilize your teleportation options to minimize travel time, and always keep an eye out for nearby spawns to maximize your kills per hour!
5. Efficient Strategies for Killing Bloodvelds
When tackling Bloodvelds in Old School RuneScape (OSRS), efficiency is key to completing the task quickly. Here are some proven strategies to help you maximize your effectiveness:
- Choose the Right Gear: Equip gear that boosts your magic damage, as Bloodvelds are weak to magic attacks. Consider using items such as:
- Infinity Robes
- Void Knight gear
- Occult Necklace
- Use AOE Spells: Spells like Fire Wave or Blood Barrage can hit multiple Bloodvelds at once, speeding up your kills significantly.
- Optimal Location: Head to the Bloodveld area in the Smoke Dungeon or the Kourend Catacombs. These locations have high concentrations of Bloodvelds, ensuring you spend less time walking.
- Utilize Auto-Retaliate: Turn on auto-retaliate to keep attacking while you manage your inventory or potion use. This allows for seamless gameplay.
- Keep an Eye on the Spawn Rates: Bloodvelds respawn fairly quickly, so always be aware of your surroundings to maximize kill count.
By implementing these strategies, you’ll find your Bloodveld task much more manageable and faster to complete.
6. Utilizing Prayer and Potions Effectively
Using Prayer and potions effectively is crucial for enhancing your survivability and efficiency while facing Bloodvelds in OSRS. Here’s how to make the most out of them:
- Prayer Potions: Bring along a few Prayer potions to maintain your Prayer points. This will allow you to use protective prayers without running out.
- Protect from Magic: Bloodvelds deal magic damage. Activate the Protect from Magic prayer to significantly reduce incoming damage, keeping you in the fight longer.
- Using Overloads: If you’re high enough in combat and have access, using an Overload potion can give you a significant boost in stats, enhancing your damage output and survivability.
- Super Restore Potions: These are helpful when your Prayer points run low. They can restore your Prayer while also replenishing your other stats.
By strategically using your Prayer and potions, you can sustain your combat effectiveness against Bloodvelds, leading to a quicker completion time for your task. Remember, preparation is key!
Tips for Completing Tasks Quickly
Completing the Bloodveld task in Old School RuneScape (OSRS) can be a race against time, especially if you’re looking to maximize your efficiency. Here are some tried-and-true tips to help you breeze through this task:
- Gear Up Wisely: Equip gear that provides bonuses against magic attacks. Bloodvelds are magic-based creatures, so wearing items like the Void Knight gear or Armadyl items can be beneficial.
- Use Prayer: Activate your Protect from Magic prayer to minimize damage taken. This allows you to focus on defeating them without worrying too much about your health.
- Bring the Right Supplies: Stock up on food and potions. Consider bringing Super Restore potions or Sharks to keep your health up while you’re in the fight.
- Choose the Right Location: Bloodvelds can be found in various locations, but the best spots are often in the Slayer Tower or the Catacombs of Kourend. Find a spot that’s less crowded to maximize your kill rate.
- Utilize the Slayer Skill: If you’re on a Slayer task, make sure to activate your slayer helmet for the combat bonus. This small boost can make a significant difference.
- Manage Your Inventory: Keep your inventory organized. Use the first few slots for essentials like food and potions, and reserve the rest for loot.
By following these tips, you can streamline your Bloodveld task and complete it as quickly as possible!
Common Mistakes to Avoid
While you might be eager to jump into the Bloodveld task, there are pitfalls that can slow you down. Here’s a rundown of common mistakes to avoid:
- Ignoring Gear: Wearing suboptimal gear can lead to taking more damage and slower kill times. Always choose gear that enhances your combat effectiveness against Bloodvelds.
- Forgetting About Prayer: Many players forget to activate their Protect from Magic prayer. This can lead to unnecessary damage and the need for more supplies.
- Overlooking Inventory Space: Not leaving enough space for loot can be frustrating. Always ensure you have room for drops, as Bloodvelds can yield valuable items.
- Not Using Potions: Skipping potions like Super Attack or Super Strength can hinder your damage output. Always buff yourself before starting the task.
- Choosing the Wrong Location: Going to a crowded area can greatly reduce your kill rate. Always scout for a less populated spot to maximize efficiency.
- Neglecting Health Management: Many players dive in without paying attention to their health. Always keep an eye on your hitpoints and be ready to eat food when necessary.
Avoiding these mistakes can significantly enhance your efficiency and ensure you complete your Bloodveld task in record time!
How to Complete the Fastest Bloodveld Task in OSRS
Completing Bloodveld tasks in Old School RuneScape (OSRS) can be a rewarding experience, but efficiency is key to maximizing your time and resources. Here are the essential steps to quickly and effectively finish your Bloodveld task.
Preparation
- Gear Up: Equip the best possible gear for your combat level. Consider using:
- Magic gear for maximum damage output.
- High-defense armor to minimize damage taken.
- Potions such as Super Restore or Saradomin Brews for healing.
- Inventory Setup: Bring the following items:
- Runes or a staff for casting spells.
- Food for healing.
- Teleportation items for quick escapes, if needed.
Location
Bloodvelds can be found in several locations, but the fastest spots include:
| Location | Notes |
|---|---|
| Slayer Tower | Recommended for high-level players due to proximity to a bank. |
| Catacombs of Kourend | Good for lower-level players; requires a bit of exploration. |
Strategy
Utilize the following strategies to maximize your efficiency:
- Use area-of-effect spells or attacks to hit multiple Bloodvelds at once.
- Focus on one Bloodveld at a time to minimize damage taken.
- Take advantage of prayer bonuses if you have access to protection prayers.
Experience Gains
Experience gained from killing Bloodvelds is substantial. Remember to:
- Use experience-boosting items like the Slayer helmet.
- Complete additional Slayer tasks for bonus experience.
Conclusion
By preparing effectively, choosing the right location, and employing smart strategies, you can complete your Bloodveld tasks in OSRS quickly and efficiently, unlocking further opportunities in the game.
